
Taurus V6-195 3.2L DOHC SHO (1994)
A/C Clutch Removal
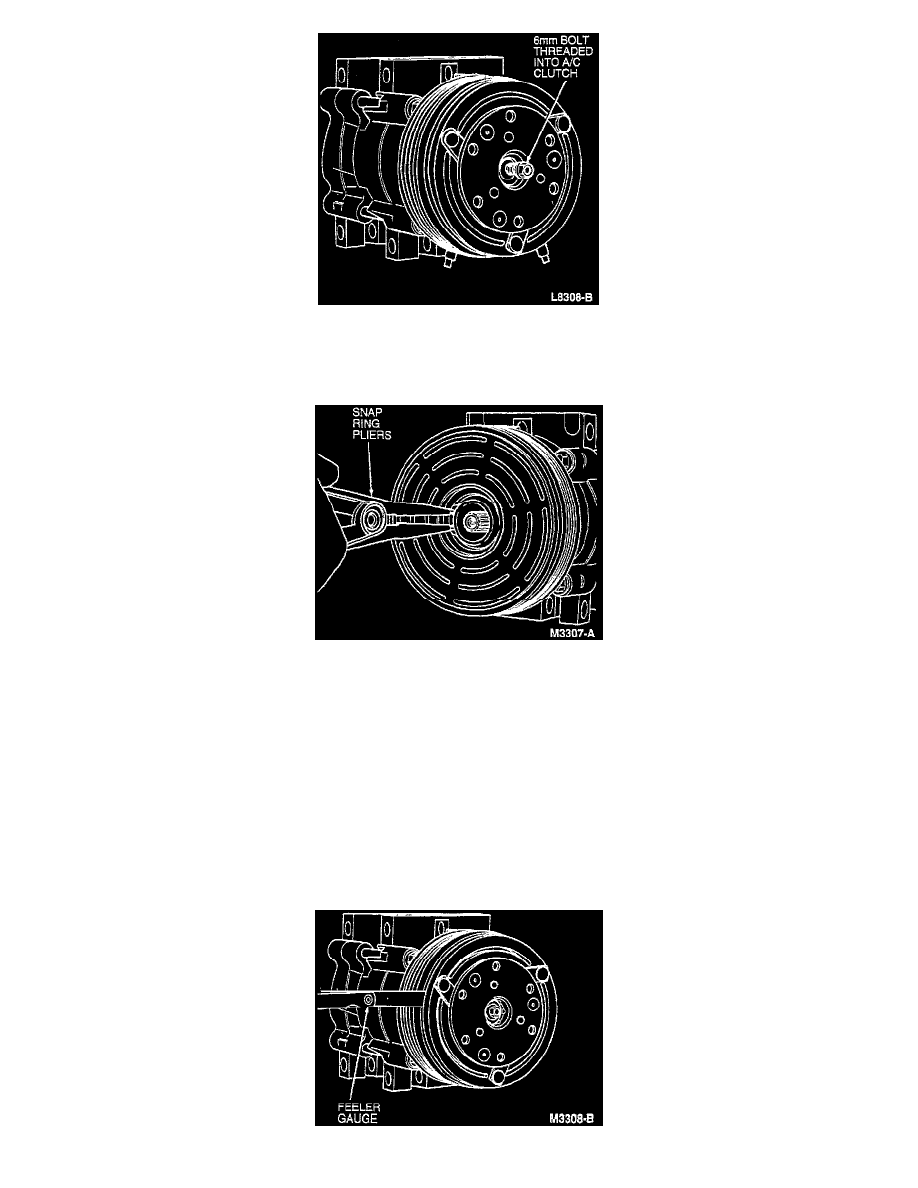
2. Pull the A/C clutch and the shims from the compressor shaft. If the A/C clutch cannot be pulled from the compressor shaft, screw a 6 mm bolt into
the shaft hole of the A/C clutch to force it from the shaft.
A/C Pulley Snap Ring - Removal/Installation
3. Remove the pulley snap ring.
4. Pull the A/C compressor clutch pulley assembly from the A/C compressor.
INSTALLATION
1. Clean the pulley bearing surface of the compressor head to remove any dirt or corrosion.
2. Install the A/C compressor clutch pulley assembly on the A/C compressor. The bearing is a slip-fit on the compressor head and, if properly
aligned, it should slip on easily.
3. Install the pulley snap ring with the bevel side of the snap ring out.
4. Place one nominal thickness spacer shim inside the hub spline opening and slide the A/C clutch on the end of the compressor shaft.
5. Thread a new 6 mm hub retaining bolt into the end of the compressor shaft. Tighten the hub retaining bolt to 11-13 Nm (8-10 ft lb).
CAUTION: Do not use air tools.