
Taurus V6-232 3.8L (1989)
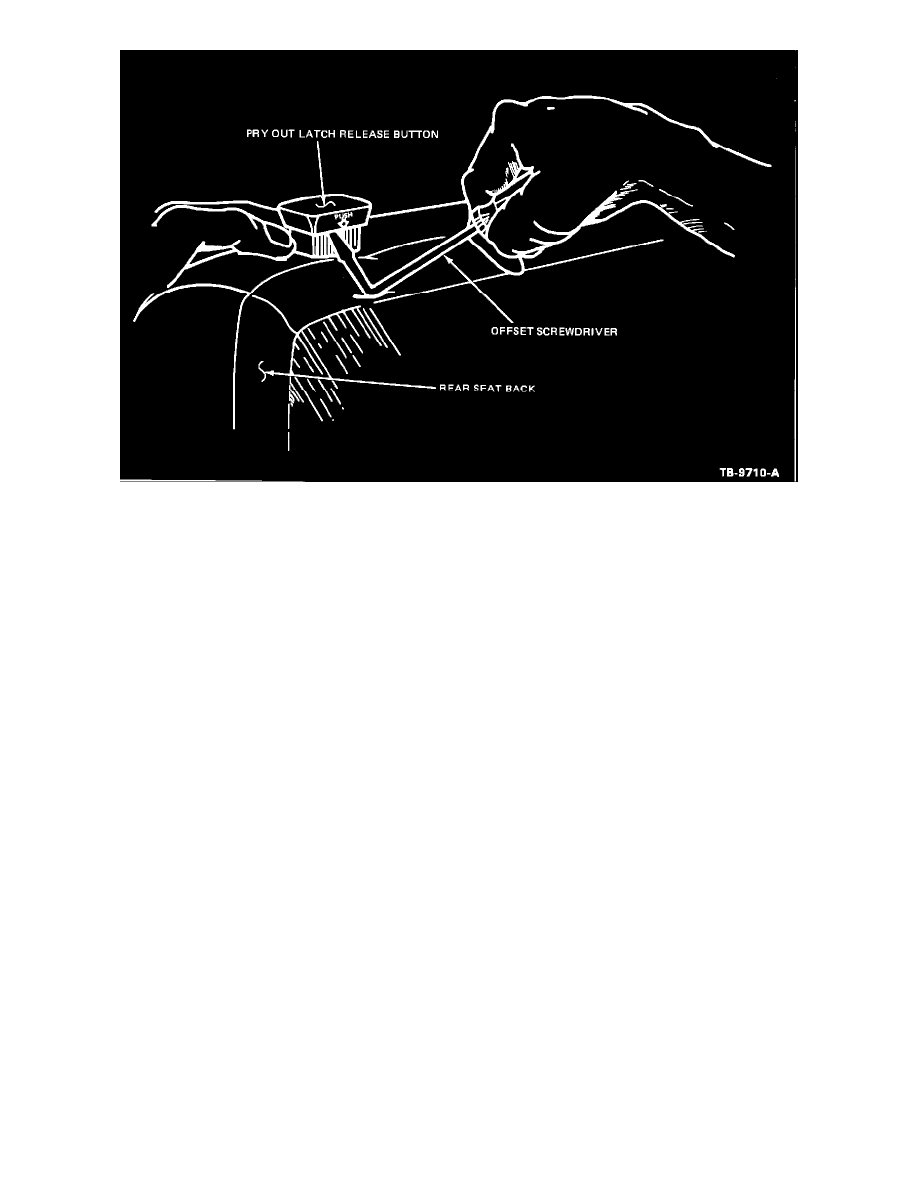
FIGURE 4
7.
Remove the latch release button by prying it up with an offset screwdriver, Figure 4.
8.
Remove or snap out the bezel and trim plate.
9.
Unzip the rear seat back cover and roll it inside out to expose the rear seat back latch control assembly.
10.
Remove the three (3) nuts retaining the control assembly to the rear seat back panel assembly.
11.
Remove the screw holding the cable retainer to the rear seat back latch assembly.
12.
Rotate the cable eyelet 90 degrees and remove it from the actuator pin of the latch assembly.
13.
Remove the broken rear seat back latch control assembly and throw it away.
14.
Obtain a new control assembly, (E6DZ-74613K52-A), and install it to the rear seat back. (Adjust the latch as described in section 41-20 of the
Taurus/Sable Shop Manual.)
15.
Reverse Steps 1 through 12 for reassembly.
16.
Repeat for the opposite side of the rear seat back, if necessary.
NOTE:
DO NOT STRIKE OR FORCE THE REAR SEAT BACK LATCH CONTROL RELEASE BUTTON. IF THE REAR SEAT BACK IS IN
THE DOWN AND LOCKED POSITION, PUSH DOWN ON THE REAR SEAT BACK AND ACTIVATE THE LATCH RELEASE
BUTTON AT THE SAME TIME TO RELIEVE STRESS ON THE CONTROL WHILE IT UNLOCKS. THEN PULL THE REAR SEAT
BACK TO THE "UP" POSITION.
PART NUMBER
PART NAME
CLASS
E6DZ-74613K52-A
Latch Control Assembly
B
OTHER APPLICABLE ARTICLES: None
WARRANTY STATUS: "INFORMATION ONLY"