
Taurus V6-3.0L DOHC VIN S (2000)
15. Remove the safety belt retractor.
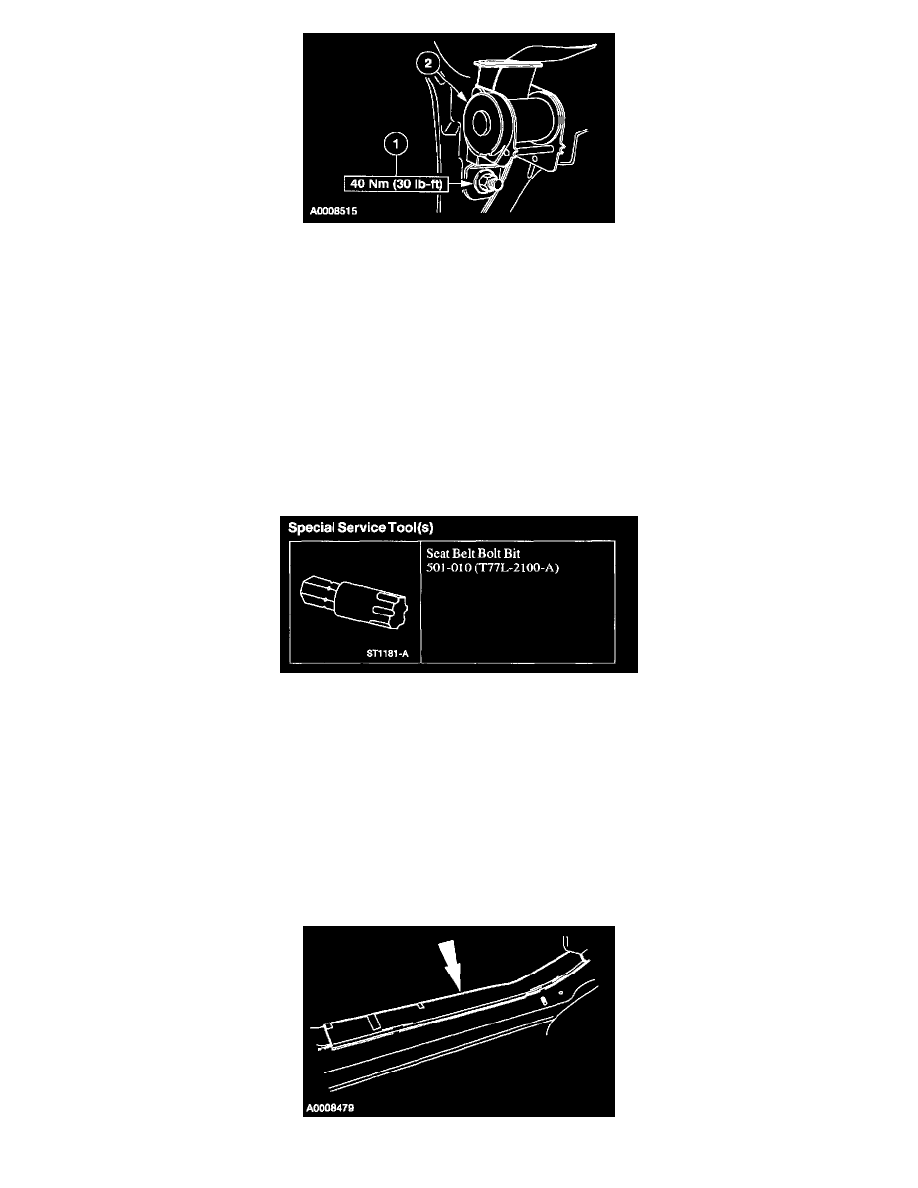
1
Remove the retaining nut.
2
Remove the safety belt retractor.
16. To install, reverse the removal procedure.
^
See the removal procedure or Specifications for torque specifications.
NOTE:
^
Make sure the safety belt webbing is not twisted prior to installation.
^
Make sure to tighten nuts and bolts to specification.
^
Make sure that the safety belt buckles are accessible after seat installation.
^
If the safety belt guide cover is damaged or if it does not remain closed, install a new cover.
17. Check the restraint system for correct operation.
Rear Safety Belt Retractor - Second Row, Wagon
Seat Belt Bolt Bit
Special Service Tool(s)
REMOVAL AND INSTALLATION
NOTE: New safety belt buckles, height adjusters, center adjust tongues and belts and retractors can be installed separately. However, if a safety belt
assembly was in use during a collision, a new belt and retractor must be installed as well as the center adjust tongue and belt and buckle assembly or the
center adjust tongue and the cable and buckle assembly. When installing new safety belts and buckles, height adjusters, safety cables and buckles, center
adjust tongues and belt and retractors, use only the parts specified in the Ford Master Parts Catalog for the make and model of the vehicle being repaired.
Safety belt assemblies must not be interchanged between vehicle models.
1. Position the front seat to its most forward position.
2. Pull up to release the retaining clips and remove the front door scuff plate.