
Taurus V6-3.0L VIN 2 Flex Fuel (1997)
Piston Pin: Service and Repair
Disassembly
DISASSEMBLY
CAUTION:
Component Location/Orientation
The location and orientation of each precision machined component should be noted. When engine is assembled each component should be
installed in its original position. These components include:
-
Rocker arms, push rods, rocker arm seats and valve tappets.
-
Crankshaft main bearings and bearing caps.
-
Connecting rod bearings and bearing caps.
-
Pistons, piston rings and piston pins.
1. Remove connecting rod bearings from connecting rods and caps.
2. Remove piston rings using a suitable piston ring expander.
3. Mark connecting rod cap to make sure assembly with the same piston and installation in the same cylinders from which they were removed.
NOTE: Mark piston to match cylinder number. Matching letters are stamped in the sides of corresponding connecting rod and cap.
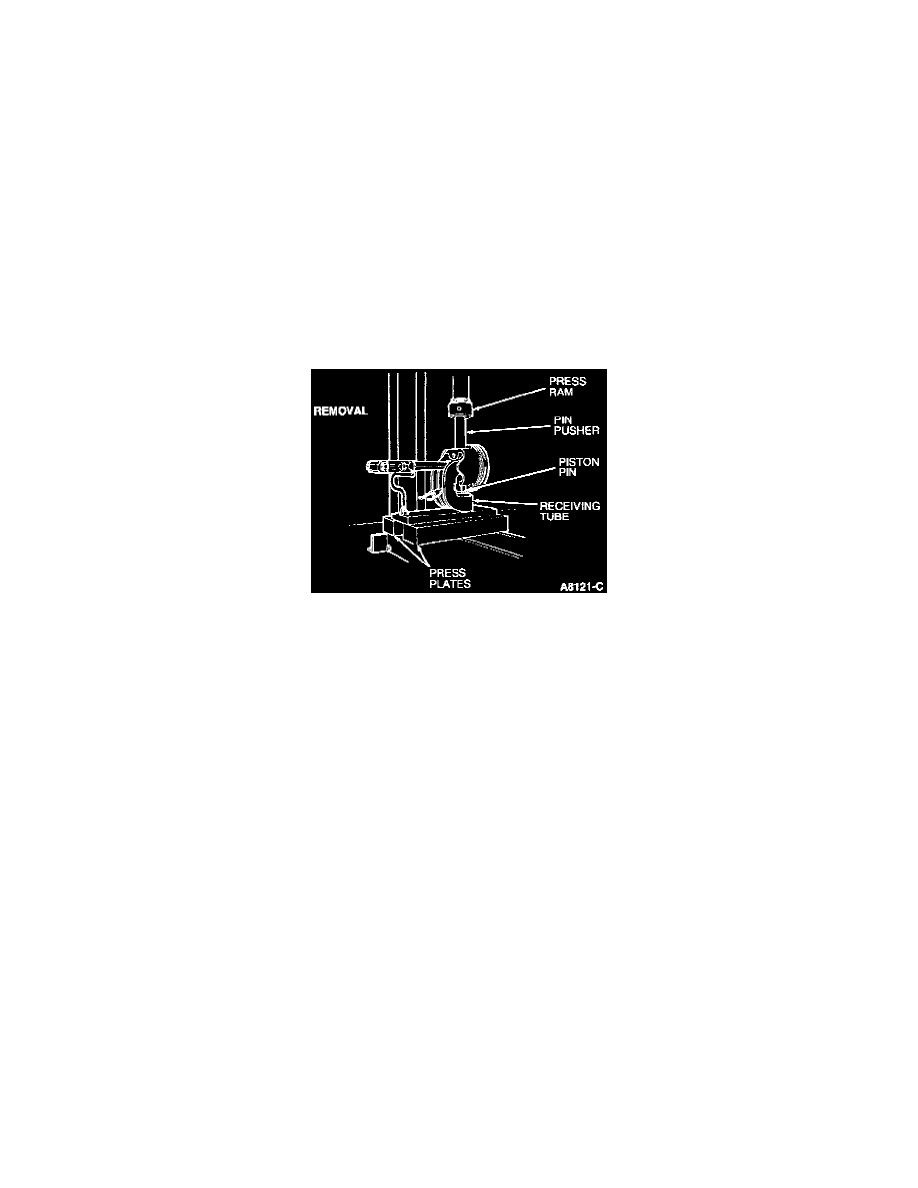
4. Using an Arbor Press and Piston Pin Remover/Replacer T68P-6135-A, press the piston pin from the piston and connecting rod.
INSPECTION
NOTE: Refer to the proper component for complete inspection procedures.
1. Perform piston and cylinder bore inspections.
2. Check piston to cylinder bore clearance.
3. Check the end gap of all piston rings. It must be within specification.
CAUTION: The piston pin bore of a connecting rod and the diameter of the piston pin must be within specification.
4. Check piston pin clearances.
5. Check the piston ring side clearance with feeler gauge. The gauge should slide freely around the entire ring circumference without binding.
6. Check for piston ring groove wear. Any wear that occurs will form a step at the inner portion of the lower land. If the lower lands have high steps,
the piston should be replaced.
ASSEMBLY
NOTE: Check the fit of a new piston in the cylinder bore before assembling the piston and piston pin to the connecting rod.
1. Apply a light coat of Engine Assembly Lubricant D9AZ-19579-D or equivalent meeting Ford specification ESR-M99C80-A to all components.
2. Assemble the piston to the connecting rod, putting the notch in the piston dome and the connecting rod on the same side.
NOTE: Both sides of connecting rod have larger chamfers.
3. Start the piston pin in the piston and connecting rod. (This may require a very light tap with a mallet.)
NOTE: A pressure of 4,000 N (900 lbs.) minimum should be needed to install the pin into the connecting rod.