
Taurus AWD V6-3.5L (2009)
1. Remove the screw and 2 pushpins from the RH front lower air deflector.
2. Remove the front tires and wheels.
3. Remove the engine exhaust Y-pipe.
4. Remove the lower roll restrictor-to-subframe bolt.
-
To install, tighten to 90 Nm (66 lb-ft).
5. Remove the lower ball joint nuts and separate the lower ball joints from the steering knuckles.
-
To install, tighten to 115 Nm (85 lb-ft).
6. Remove the stabilizer bar-to-front subframe bracket bolts.
-
To install, tighten to 50 Nm (37 lb-ft).
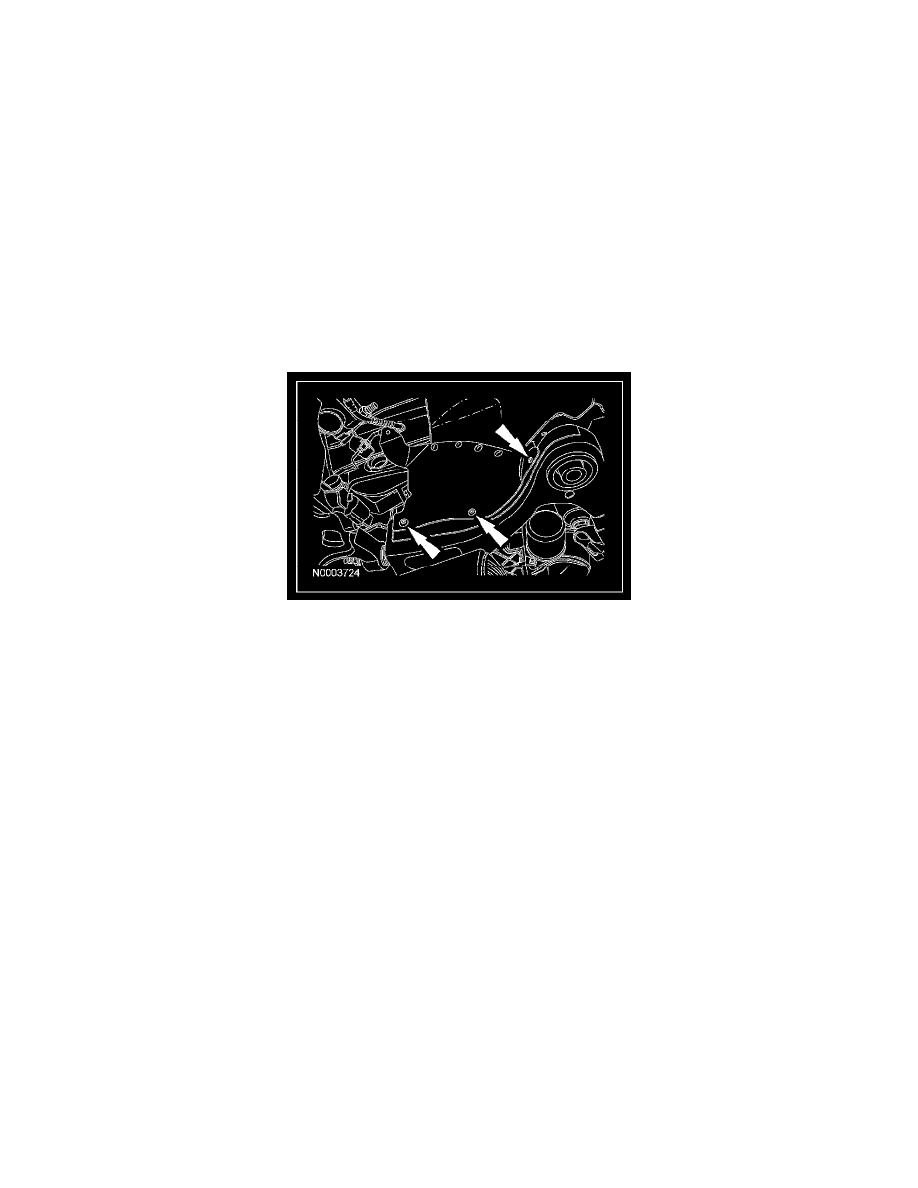
7. Remove the 3 power steering line routing bolts.
8. Remove the power steering gear-to-front subframe bolts and nuts.
-
To install, tighten to 117 Nm (86 lb-ft).
9. Support the power steering gear and stabilizer bar to the underbody of the vehicle with mechanic's wire.
10. Remove the 3 RH fender insert-to-front subframe pin-type retainers.
Special Tool(s)
11. Position a lifting table under the front subframe.
12. Remove the 4 front subframe rear bracket bolts.
-
To install, tighten to 55 Nm (41 lb-ft).
13. Remove the 4 front subframe bolts.
-
To install, tighten the front subframe front bolts to 200 Nm (148 lb-ft).
-
To install, tighten the front subframe rear bolts to 150 Nm (111 lb-ft).
14. Remove the front subframe.
15. Transfer components as necessary.
16. To install, reverse the removal procedure.
17. Check the front end alignment and adjust as necessary.