
Taurus AWD V6-3.5L (2009)
11. NOTICE: Do not allow the halfshaft to move outboard. Overextension of the tripod Constant Velocity (CV) joint may result in
separation of internal parts, causing failure of the halfshaft.
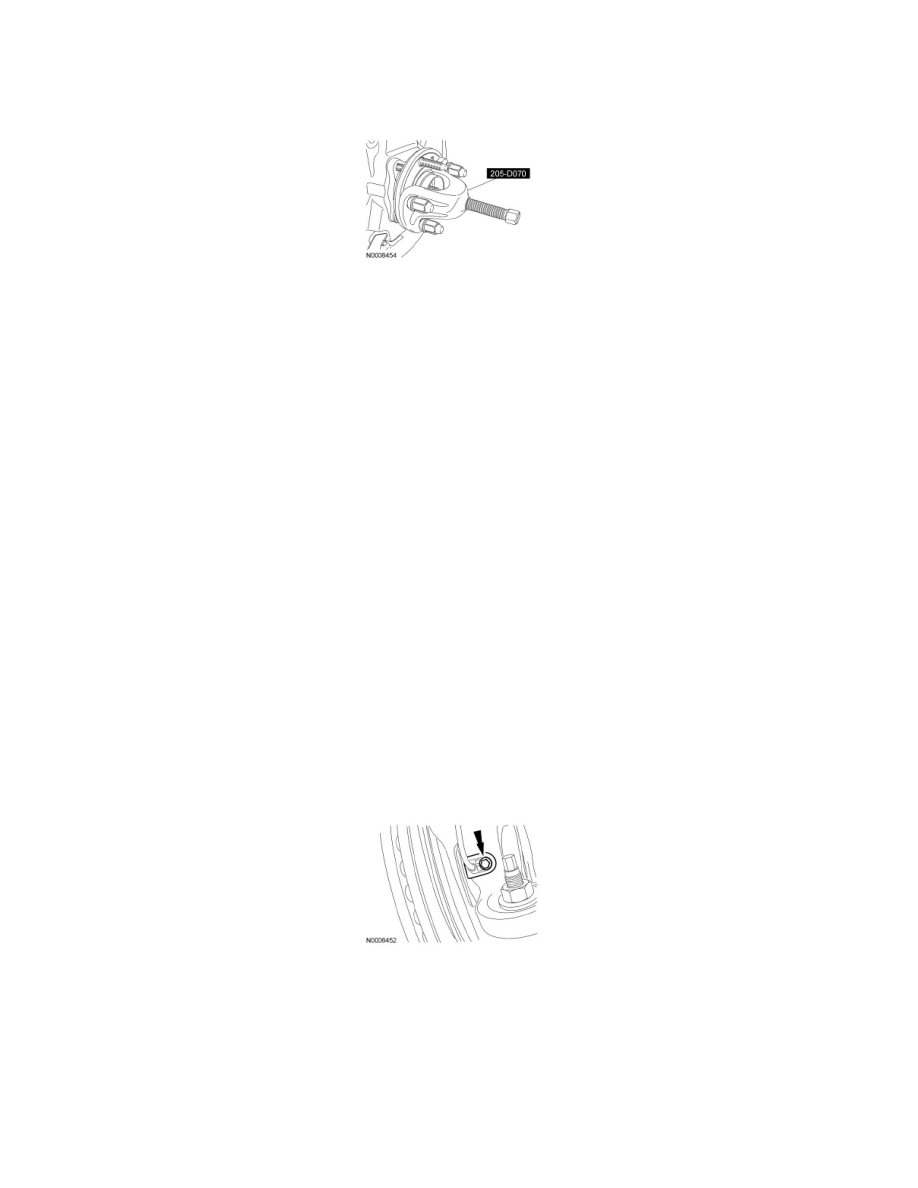
Using the Front Wheel Hub Remover, press the halfshaft from the wheel bearing and hub. Support the halfshaft in a level position.
12. Remove and discard the 4 upper strut mount nuts.
13. Remove the wheel knuckle and the strut and spring as an assembly.
14. Remove and discard the strut-to-wheel knuckle nut and flagbolt.
15. Separate the strut and spring assembly from the wheel knuckle.
Installation
1. Position the wheel knuckle onto the strut and spring and install a new strut-to-wheel knuckle nut and flagbolt.
-
Tighten the nut to 175 Nm (129 lb-ft).
2. Install the wheel knuckle and the strut and spring as an assembly.
3. Loosely install the 4 new upper strut mount nuts.
4. While supporting the halfshaft in a level position, install the halfshaft into the wheel bearing and hub.
5. NOTICE: Use care not to damage the ball joint seal while installing the ball joint stud into the wheel knuckle.
Push the lower arm downward and install the ball joint stud into the wheel knuckle.
6. NOTE: Use the hex-holding feature to prevent the stud from turning while installing the nut.
Using a crowfoot wrench, install the new lower ball joint nut.
-
Tighten to 150 Nm (111 lb-ft).
7. Position the wheel speed sensor and install the bolt.
-
Tighten to 8 Nm (71 lb-in).
8. Attach the wheel speed sensor harness to the strut.
9. Install the new stabilizer bar link upper nut.
-
Tighten to 55 Nm (41 lb-ft).
10. Position the tie-rod end stud into the wheel knuckle and install a new tie-rod end nut.
-
Tighten to 115 Nm (85 lb-ft).
11. Install the brake disc.
12. NOTICE: Do not tighten the front wheel hub nut with the vehicle on the ground. The nut must be tightened to specification before the