
Taurus X AWD V6-3.5L (2009)
Installation
WARNING: Do not smoke, carry lighted tobacco or have an open flame of any type when working on or near any fuel-related component.
Highly flammable mixtures are always present and may be ignited. Failure to follow these instructions may result in serious personal injury.
NOTICE: During engine repair procedures, cleanliness is extremely important. Any foreign material, including any material created while
cleaning gasket surfaces that enters the oil passages, coolant passages or the oil pan, may cause engine failure.
All camshafts
1. NOTICE: The crankshaft must remain in the freewheeling position (crankshaft dowel pin at 9 o'clock) until after the camshafts are
installed and the valve clearance is checked/adjusted. Do not turn the crankshaft until instructed to do so. Failure to follow this process
will result in severe engine damage.
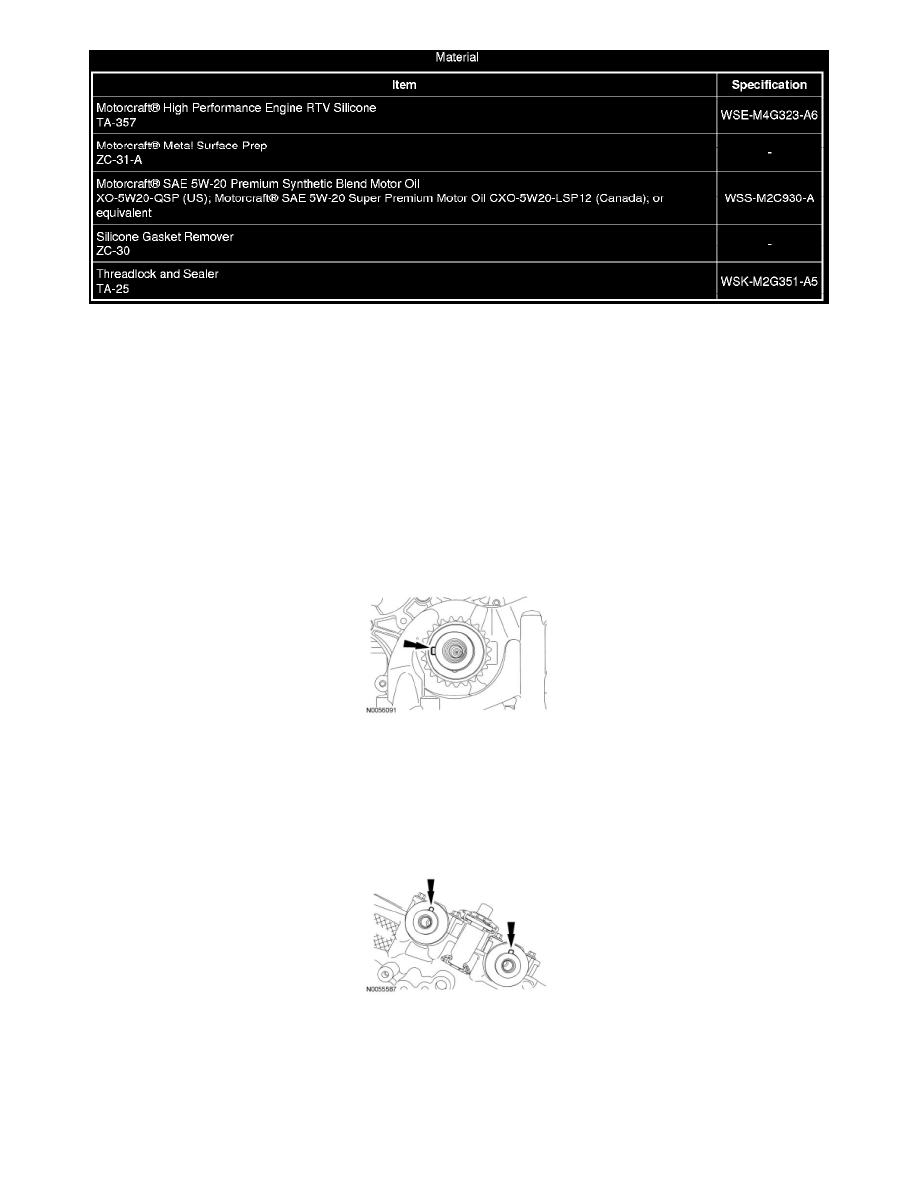
Rotate the crankshaft counterclockwise until the crankshaft dowel pin is in the 9 o'clock position.
LH camshafts
2. NOTICE: The camshafts must remain in the neutral position during removal or engine damage may occur.
NOTE: Coat the camshafts with clean engine oil prior to installation.
Position the camshafts onto the LH cylinder head in the neutral position as shown.
3. NOTE: Cylinder head camshaft bearing caps are numbered to verify that they are assembled in their original positions.
Install the 8 camshaft caps and the 16 bolts.
-
Tighten in the sequence shown to 10 Nm (89 lb-in).