
Tempo L4-140 2.3L HSC (1986)
Rocker Arm Cover Removal
1.
Open and secure hood.
2.
Position protective fender aprons.
3.
Disconnect PCV and hose and set aside.
4.
Remove the nine rocker arm cover bolts.
5.
Clean both cylinder head and rocker arm cover gasket mating surfaces. Installation
1.
Clean rocker cover rail on cylinder head and remove all traces of foreign material.
2.
If the "mold in place gasket" is damaged by a cut and/or nick of about 1/8 inch (maximum of two (2) places), fill in the damaged area with RTV
sealer E8AZ-19562-A and install the rocker arm cover assembly.
CAUTION:
Use adequate ventilation when applying sealer.
1988/1989
21-08-8A
Engine, 2.3L
21-08-8A
SERVICE PROCEDURES (Continued)
Rocker Arm Cover Removal (Continued)
3.
If the mold-in-place gasket is damaged by cuts longer than 1/8 inch, or by more than three nicks or cuts (any size), replace the entire rocker arm
cover assembly.
4.
If damaged, replace rubber isolator(s) Part No. (E83Z-6C518-A) or washer, bolt and rubber isolator assemby, Ppart No. (E93Z-6C519-A).
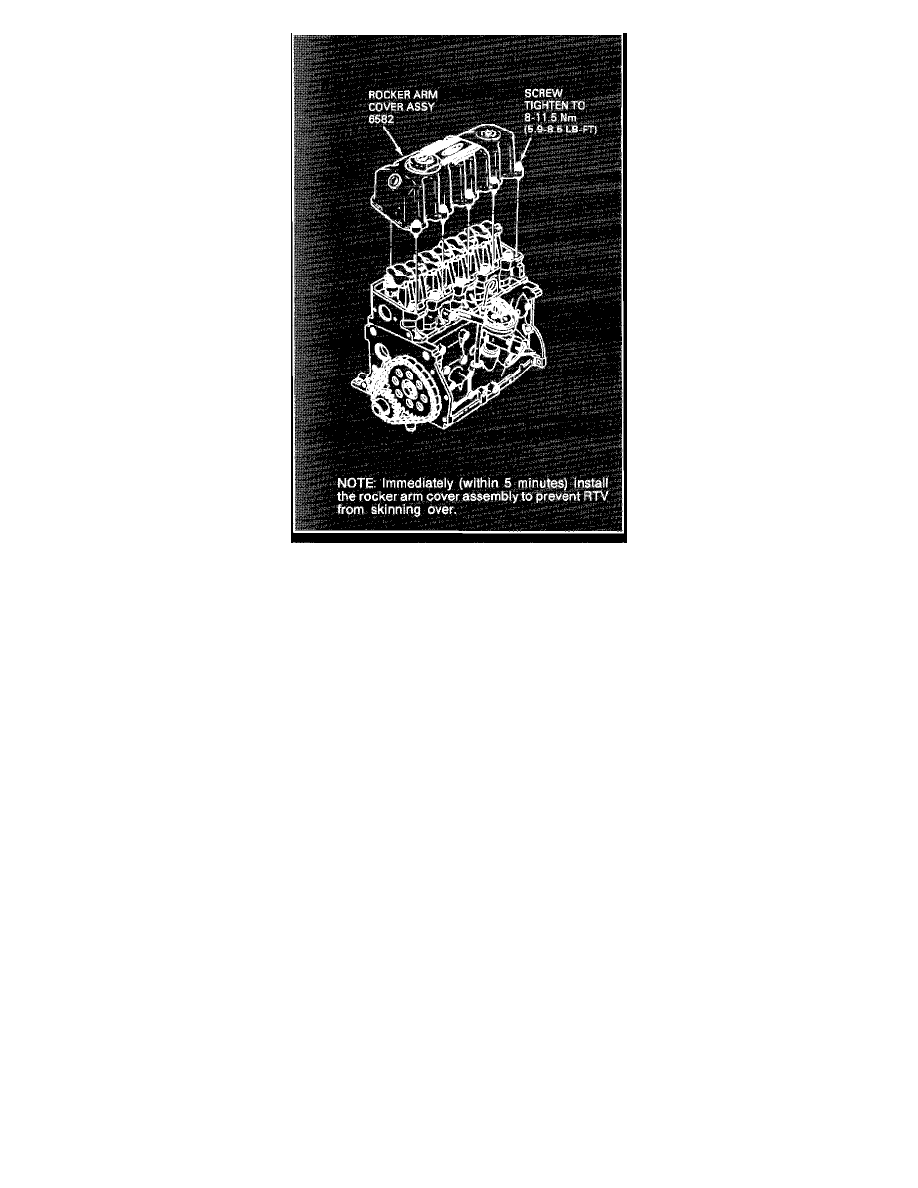
5.
Reinstall rocker cover assembly and tighten all bolts to 8-11.5 Nm (5.9-8.5 lb-ft).
NOTE:
Always put one (1) drop of adhesive thread lock(ESE-M2G260-AA) on bolts if they are reused. Only new bolts have pre-applied
adhesive. Failure to do so may result in an oil leak.
6.
Connect PCV hose into rocker arm cover.
7. Remove aprons.