
Thunderbird V6-232 3.8L (1982)
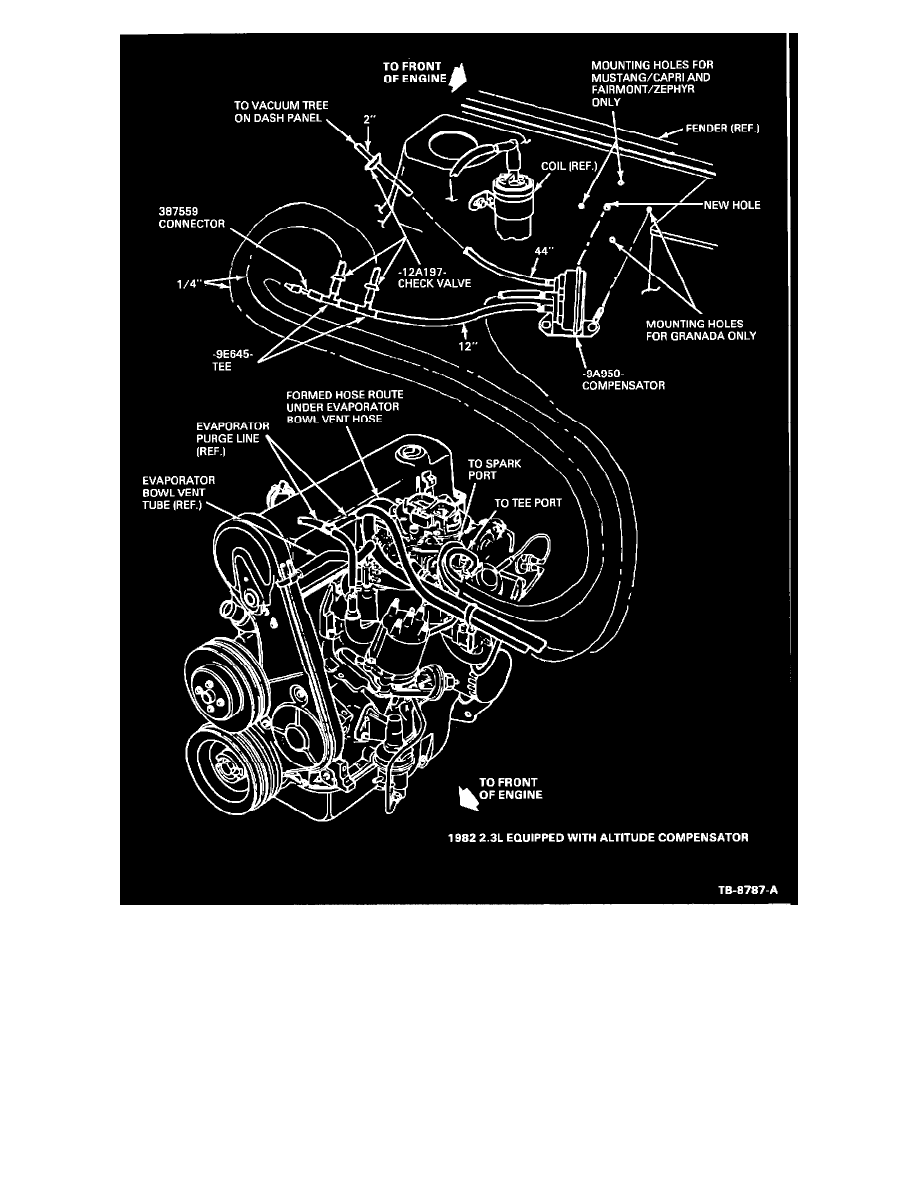
Figure 8
4.
Remove the 3/8 inch hose to the connector block and install it to the center part of the altitude compensator (see Figure 8).
5.
Cut 44 inches of 1/4 inch vacuum line (using stock line available) and attach one end to the 1/4 inch nipple on the altitude compensator and the
other to the colored end of one of the check valves.
6.
Cut a 2-inch long 1/4 inch vacuum line and install it on the black end of the check valve, then attach that to the vacuum tree.
7.
Cut a 12-inch long 3/8 inch vacuum hose and attach one end to the remaining 3/8 inch nipple on the altitude compensator. At the end of the tee
(3/8 inch nipple), cut and install a 1-1/2 inch length 3/8 inch vacuum hose, then install another tee so that both tees are in line and the 1/4 inch legs
of the tees are pointing toward the carburetor.
8.
Cut two 1-1/2 inch length of 1/4 inch vacuum hose and install them on the 1/4 inch outlets of the tees. Next, install one check valve (colored end)