
Thunderbird V8-281 4.6L SOHC (1994)
29.
Remove one (1) nut retaining the bracket below the evaporator case to the cowl panel.
30.
Carefully pull the right end of the instrument panel away from the cowl panel, pull the evaporator case away from the cowl and remove the
evaporator case from the vehicle. Place the evaporator case on a work bench.
31.
Transfer the following parts from the removed evaporator assembly to the new service evaporator assembly, based on the type of system in the
vehicle.
NOTE:
IF THE UNIT IS EQUIPPED WITH ATC AND WAS BUILT PRIOR TO 7/1/92, YOU WILL HAVE TO USE A NEW ASPIRATOR
(F4SZ-19E628-A) THAT IS DESIGNED FOR THE NEW SERVICE CASE AND ELIMINATE THE OLD ASPIRATOR. CHANGE OVER TO
THE NEW ASPIRATOR AS FOLLOWS:
^
TRANSFER THE GASKET FROM THE EXISTING ASPIRATOR ASSEMBLY PLATE TO THE BACK OF THE BLOWER SPEED
CONTROLLER SO YOU WILL SEAL THE MATING SURFACE OF THE CONTROLLER TO THE CASE. INSTALL THE BLOWER
SPEED CONTROLLER TO THE CASE WITHOUT THE OLD ASPIRATOR, MAKING CERTAIN THAT THE GASKET SEALS
PROPERLY.
^
DISCARD THE EXISTING ASPIRATOR ASSEMBLY AND INSTALL THE NEW ASPIRATOR (F4SZ-19E628-A) IN THE UPPER CASE
HALF, IN THE EXISTING HOLE NEXT TO THE MUFFLER ASSEMBLY, USING A SCREW (# 10-12X .75 HEX WASHER HEAD
SELF-TAPPING); OBTAIN LOCALLY.
^
USING THE OLD ASPIRATOR CONNECTING TUBE, CUT IT TO SIZE (SHORTEN) AND INSTALL IT BETWEEN THE NEW
ASPIRATOR AND THE MUFFLER.
32.
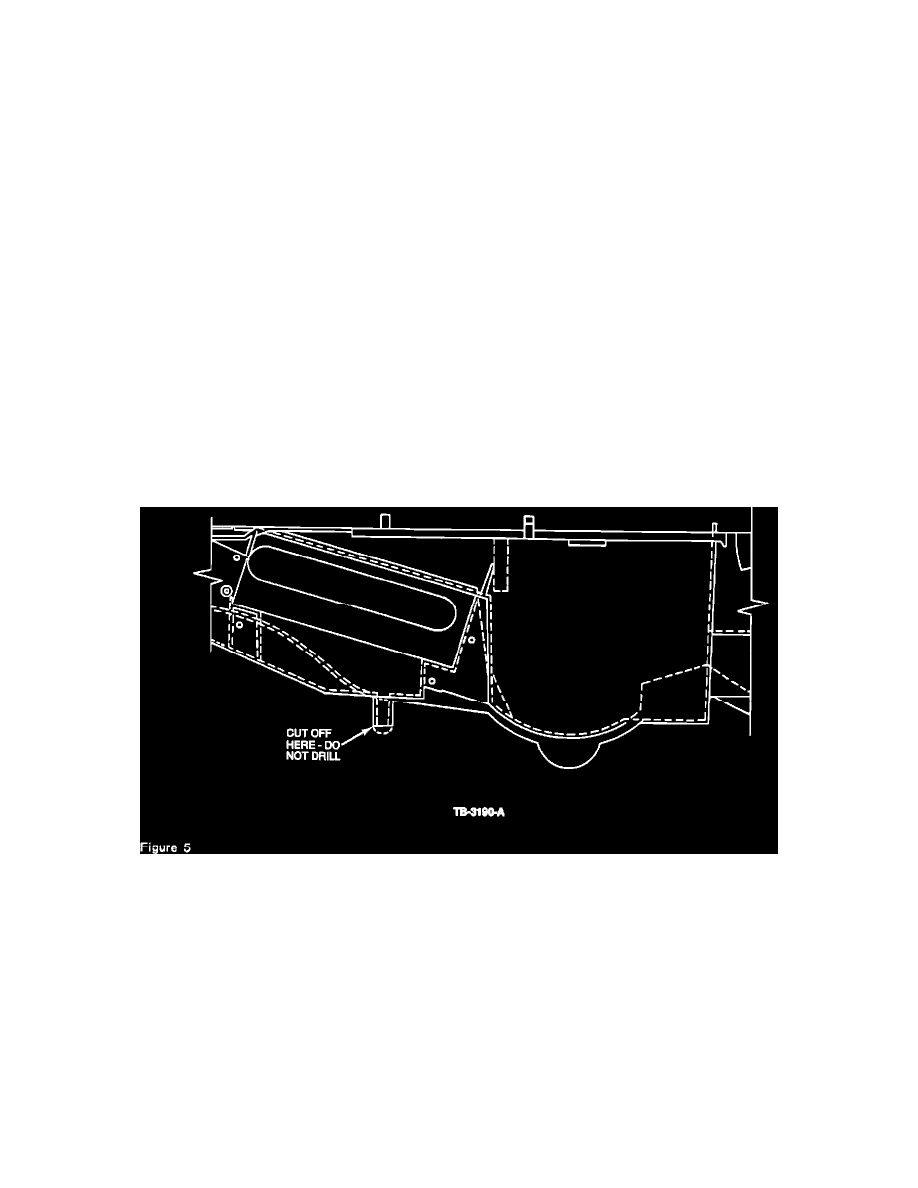
Cut off the end of the drain tube located on the bottom of the evaporator case under the heater core area.
Cut Off The End Of The Drain Tube, Do Not Drill.
CAUTION:
DO NOT DRILL OUT THE HOLE BECAUSE THE HEATER CORE COULD BE DAMAGED, FIGURE 5.