
Thunderbird V8-281 4.6L SOHC (1994)
CAUTION: Installation without proper tool may result in early flange yoke seal failure. If rear axle drive pinion seal becomes cocked during
installation, remove and replace with new rear axle drive pinion seal.
3. Apply a small amount of SAE 80W-90 Premium Rear Axle Lubricant XY-80W90-QL or -KL meeting Ford specification WSP-M2C 197-A or
equivalent to rear axle universal joint flange splines.
NOTE: Check rear axle universal joint flange for burrs. Remove burrs as necessary. Be sure surfaces of flange have not been damaged in
removing driveshaft or in removing flange from pinion. The end of rear axle universal joint flange that contacts bearing cone as well as nut
counterbore and seal surface must be smooth and free of nicks.
4. Align mark on rear axle universal joint flange with mark on pinion stem. Install rear axle universal joint flange.
CAUTION: The rear axle universal joint flange must never be hammered on or assembled with power tools.
Install new pinion nut on pinion stem. Apply a small amount of SAE 80W-90 Premium Rear Axle Lubricant XY-80W90-QL or -KL or equivalent
meeting Ford specification WSP-M2C197-A on washer side of nut.
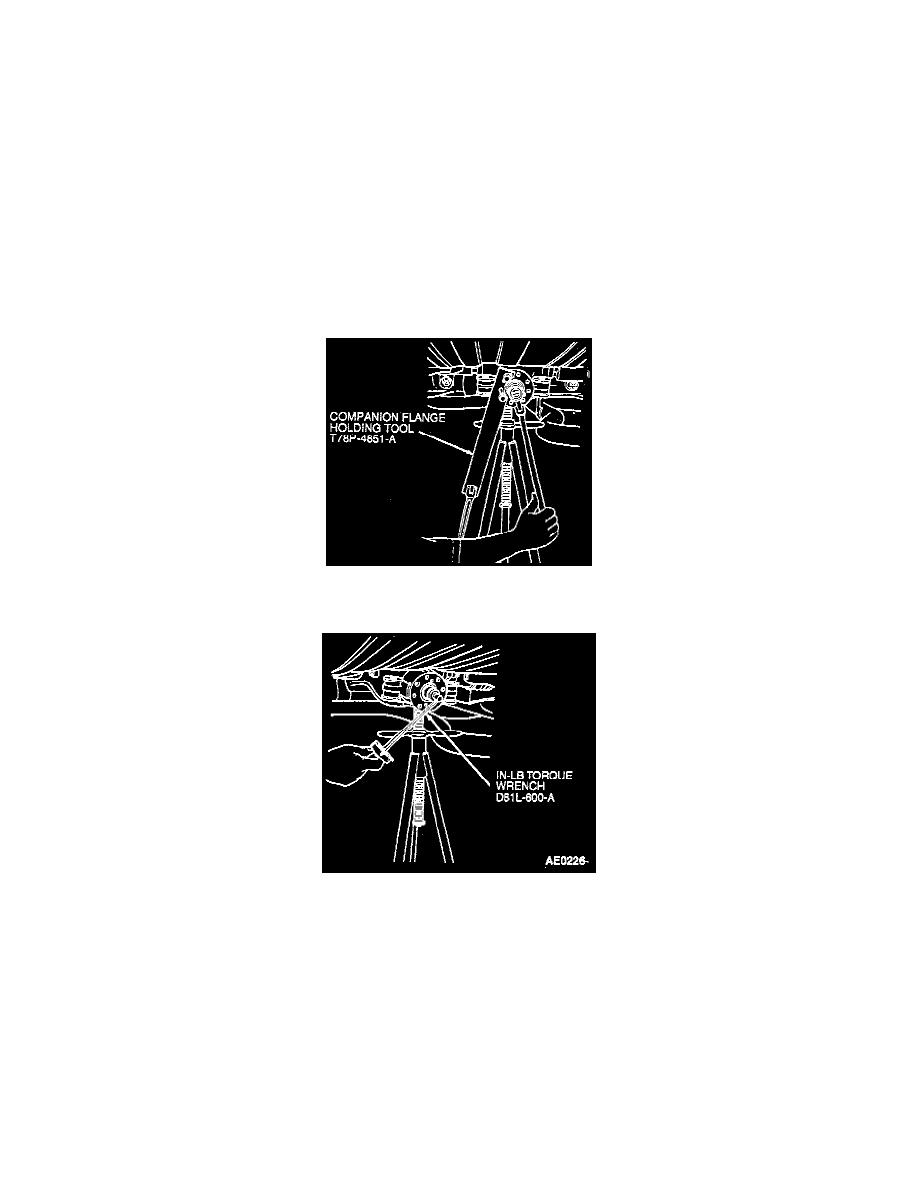
5. Hold rear axle universal joint flange with Companion Flange Holding Tool T78P-4851-A while tightening pinion nut. Rotate pinion occasionally
to make sure of proper differential pinion bearing seating.
6. Take frequent pinion bearing torque preload readings until original preload reading is obtained.
7. If original recorded preload is less than specification tighten used differential pinion bearing to 0.9-1.6 Nm (8-14 in. lbs.) and new differential
pinion bearing to 1.8-3.2 Nm (16-28 in. lbs.). If preload is higher than specification tighten to original reading as recorded.
8. Never back off pinion nut to reduce preload. If reduced preload is required, a new differential drive pinion collapsible spacer and pinion nut must
be installed.