
Thunderbird V8-3.9L VIN A (2002)
11.
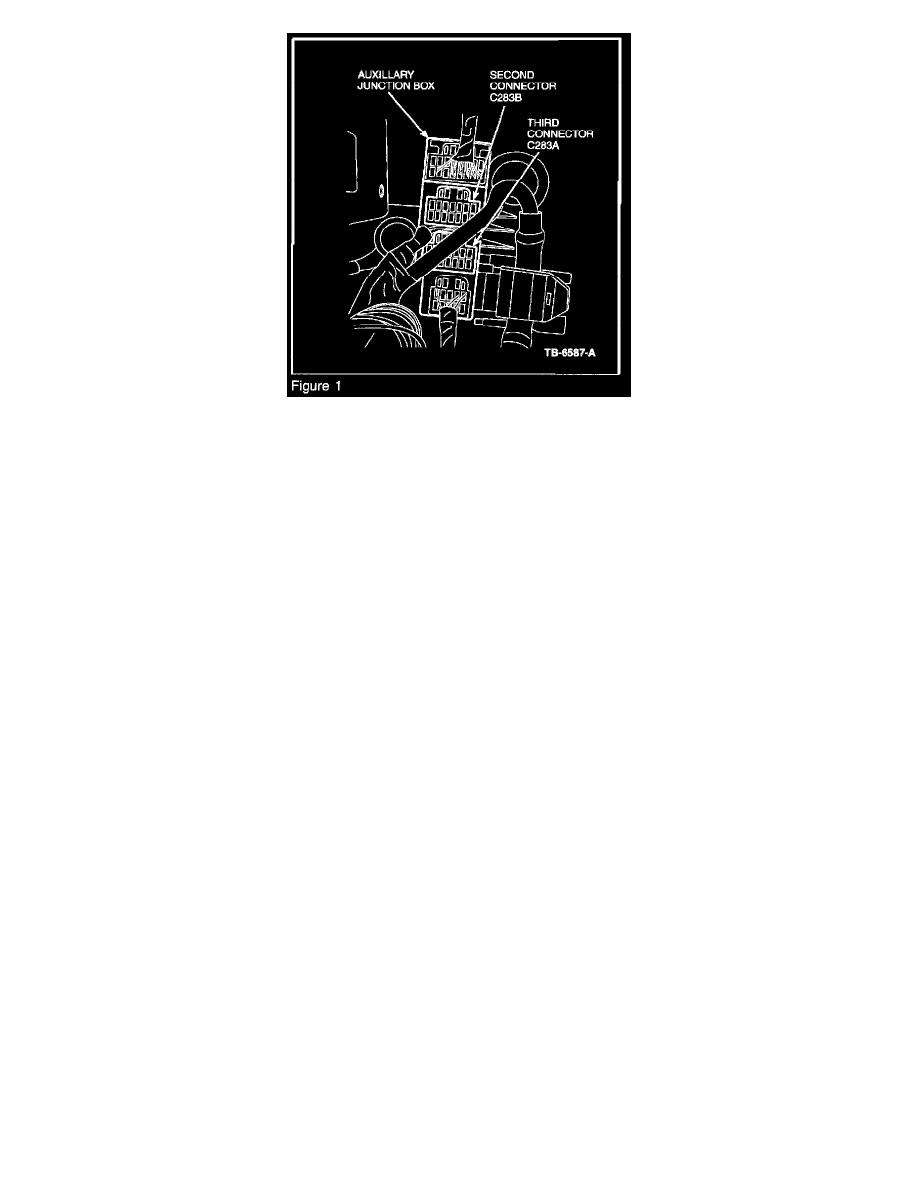
Locate and unplug the 2nd (C283b) and 3rd (C283a) connectors at the Auxiliary Junction Box. These connectors are located along the left lower
section of the interior bulkhead (Figure 1).
12.
Using a small-standard flat blade screwdriver, gently remove the secondary locks from 2 (two) connectors by first lifting the lock from the
center/top until it is evenly raised slightly off the connector. Finish by lifting up on the side of the lock and remove from the connector.
13.
To remove the wire and terminal, insert a flat blade mini-screwdriver into the face of the connector and gently lift the locking tab inside the desired
cavity. Pull out the wire and terminal from rear of the connector. For detailed connector views, refer to Wiring Diagrams Manual, Section 150.
The following are the correct connector/circuit locations. Immediately insert the matching wire from the service kit to avoid confusion:
a.
C283a (blue) - Ckt 4-EG13 GY/OR, Cavity 8 - replace with GY/OR in Service Kit
b.
C283a (blue) - Ckt 5-EG13 BU/BK, Cavity 4 - replace with BU/BK in Service Kit
c.
C283b (grey) - Ckt 4-EG12 GY/WH, Cavity 16 - replace with GY/WH in Service Kit
d.
C283b (grey) - Ckt 5-EG12 BU/OR, Cavity 12 - replace with BU/OR in Service Kit
14.
Reinstall the secondary locks in each connector and reconnect C283a and C283B to their correct locations at the Auxiliary Junction Box.
15.
Use electrical tape to completely cover each of the 4 (four) removed terminals.