
Thunderbird V8-302 5.0L HO (1992)
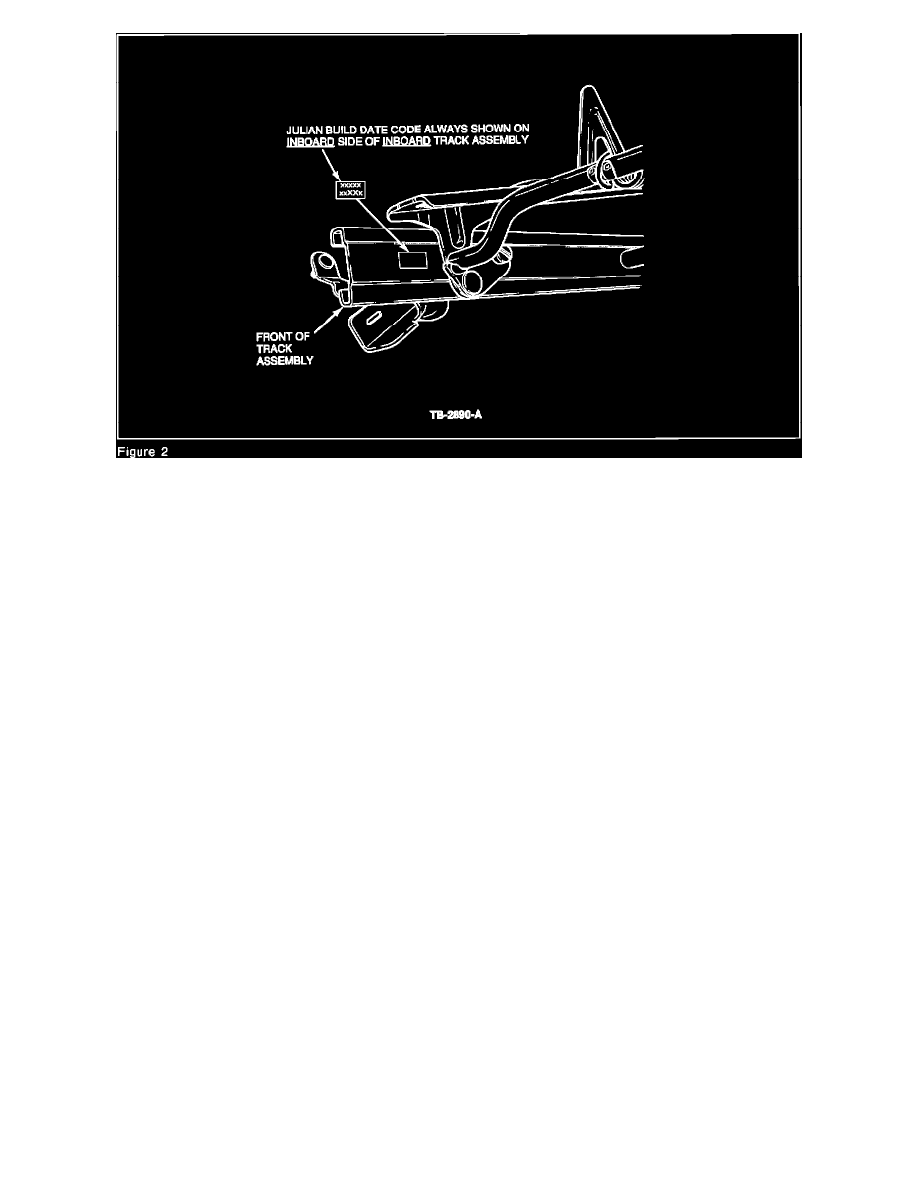
BE SURE TO RECORD THE TRACK'S JULIAN BUILD DATE CODE, WHICH IS ALWAYS SHOWN ON THE INBOARD SIDE OF THE
INBOARD TRACK ASSEMBLY (SEE FIGURE 2), ON THE 1863 WARRANTY FORM.
6.
Install the seat track covers previously removed.
7.
Prior to installing the complete seat and track assembly into the vehicle, ensure the recliner attachments are torqued as follows:
^
Recliner-to-seat cushion: 44-60 N-m (32-44 lb.ft.)
^
Recliner-to-seat back: 22-32 N-m (16-24 lb.ft.)
8.
Torque the seat track-to-floor attachments as required in Step 3.
TYPE "B" - FORE/AFT (BACK-AND-FORTH) SEAT MOVEMENT
1.
Test drive the vehicle with the front seat adjusted to the full rear and full bottom stops. Also, adjust the recliner to the full up position.
a.
If the seat movement is still felt, ensure that the seat track-to-floor attachments are torqued as follows:
^
Front retaining screws: 18-24 N-m (13-18 lb.ft.)
^
Rear outboard retaining nut: 12-24 N-m (9-18 lb.ft.)
^
Rear inboard retaining nut: 60-90 N-m (44-66 lb.ft.)
Also, ensure the recliner attachments are torqued as follows:
^
Recliner-to-seat cushion: 44-60 N-m (32-44 lb.ft.)
^
Recliner-to-seat back: 22-32 N-m (16-24 lb.ft.)
b.
If the seat movement was corrected, raise the seat off the bottom stop and adjust to a midpoint position, but leave the seat track positioned at
the full rearward stop. Then, resume the test drive and verify the seat movement concern has been corrected.
c.
If the seat movement was not corrected, remove and save the four (4) seat-to-floor track covers. Proceed to Step 2.
2.
Remove the complete seat and track assembly. Refer to Section 01-10 or 41-08 of the appropriate service manual for the removal procedure.
3.
Obtain two (2) seat track clips (F3LY-63618B26-A).