
Thunderbird V8-4.6L VIN W (1997)
Compressor Fitting HVAC: Service and Repair
Removal
1. Recover the refrigerant from the system.
2. Raise vehicle.
3. Remove 6 push pins retaining engine splash shield. Remove engine splash shield from vehicle.
4. Remove serpentine belt.
5. Disconnect ends of suction and discharge lines from A/C manifold and tube.
6. Disconnect electrical connectors at A/C compressor clutch and crank sensor.
7. Disconnect wire harness from A/C compressor bracket and A/C manifold and tube. Position harness aside.
8. Remove three bolts retaining A/C compressor. Position compressor forward to access bolt retaining A/C manifold and tube.
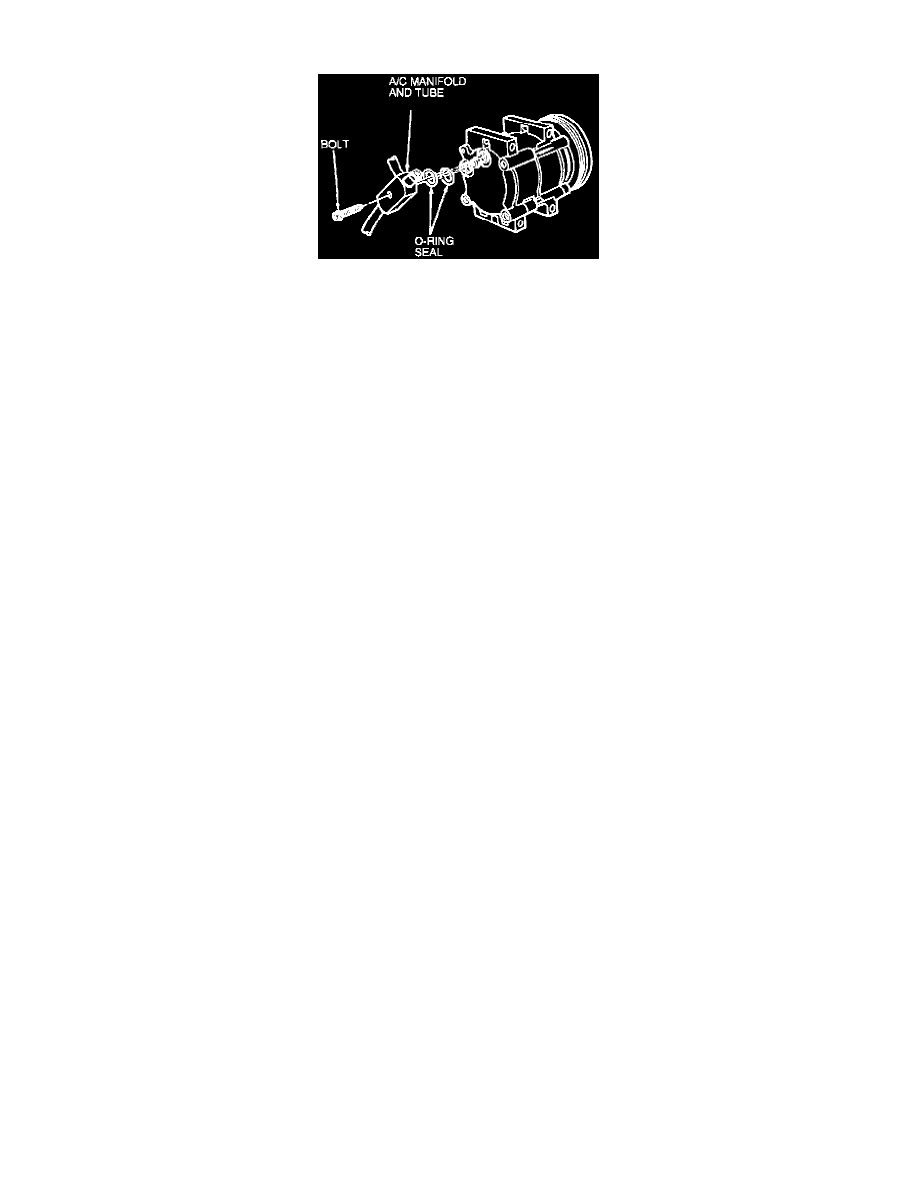
9. Remove bolt retaining A/C manifold and tube assembly to the rear head of the A/C compressor.
10. Remove A/C manifold tube and assembly.
Installation
1. Lubricate new O-ring seals with clean refrigerant oil and position them in the O-ring seal grooves of the A/C compressor rear head.
2. Position A/C manifold and tube assembly to rear head of A/C compressor making sure manifold pilots are positioned in compressor port openings.
Install manifold and tube retaining bolt and tighten bolt to 17-23 N.m (13-16 lb-ft).
3. Install three bolts retaining A/C compressor. Tighten to 41-61 N.m (31-44 lb-ft).
4. Connect other ends of suction and discharge lines using new lubricated O-ring seals. Install bracket attachments disconnected during removal.
5. Connect electrical connectors at A/C compressor bracket.
6. Connect electrical connectors at A/C compressor clutch and crankshaft sensor.
7. Install serpentine belt.
8. Install splash shield and six pushpins.
9. Leak test, evacuate and charge the system. Observe all safety precautions.