
Transit Connect L4-2.0L (2010)
c. Apply one sealer patch to each former attachment hole, five (5) places. (Figure 4-A)
(1)
The patch should be centered directly over the each hole but remain hidden under the new rubber cargo mat. (Figure 5-A)
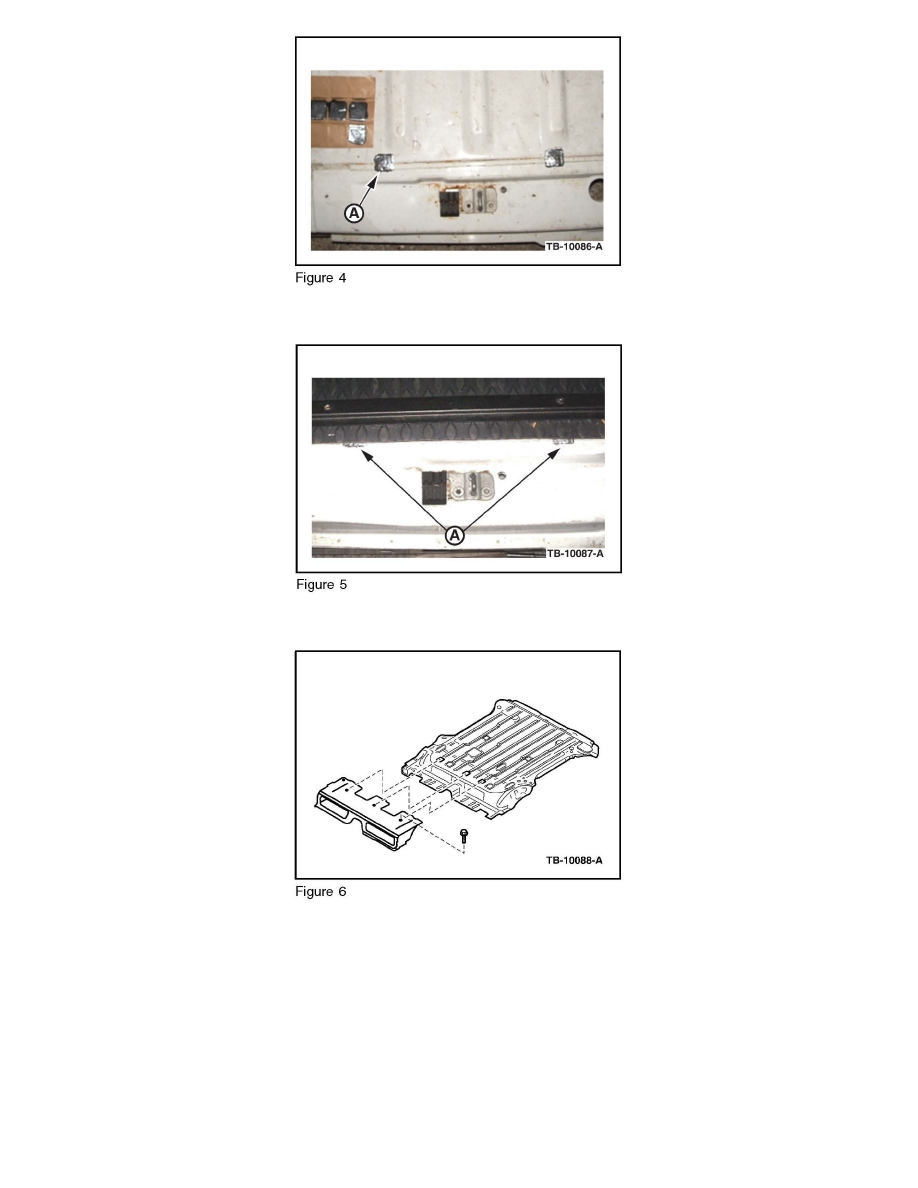
3. Cargo floor extension reinstall the rib less cargo floor extension with saved six (6) bolts. Apply Motorcraft® Threadlock and Sealer to each bolt prior
to installing. Torque to 107 N.m (24 ft-lb). (Figure 6)
4. Position cargo floor mat in vehicle, ensuring that the mat is centered fore-and-aft as well as side-to-side.
a. Align the mat at both sliding door scuff panel rear push pin holes, insert a rod/pin to hold mat in position to assist with overall proper alignment.
Ensure mat is flat and pulled tight across open floor span.
b. Carefully position mat under each sliding door scuff trim panel. Do not install scuff panel hardware at this time.