Windstar V6-232 3.8L (1995)

6.
Remove any debris from the rag, and then remove rag from the cavity.
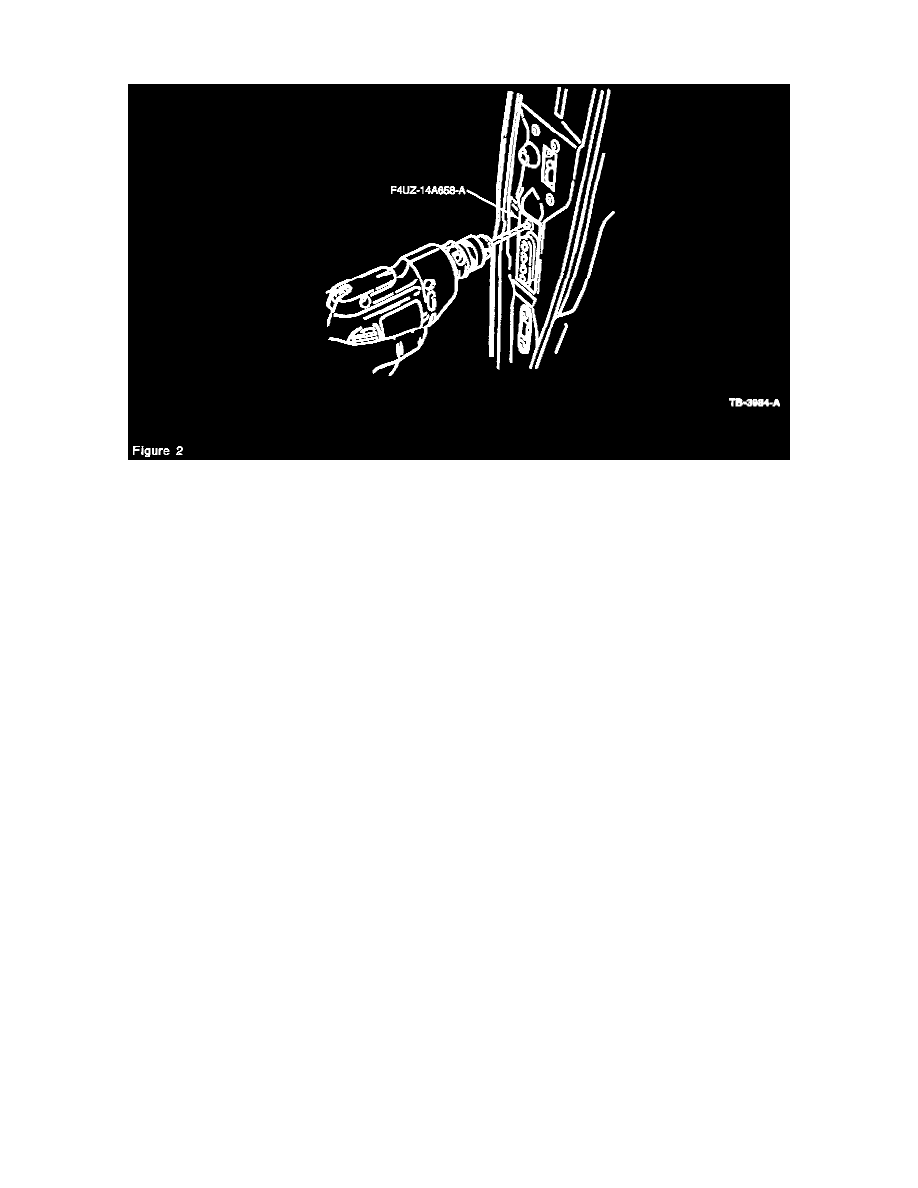
REMOVAL PROCEDURE FOR BODY SIDE DOOR, FIGURE 2
NOTE:
PLEASE REFER TO THE WINDSTAR SERVICE MANUAL, SECTION 01, FOR THE FOLLOWING PROCEDURES.
1.
Remove body side rear door window garnish moulding (-25560-) as described in Section 01-05.
2.
Remove lock plunger from body side door.
3.
Remove body side door trim panel as described in Section 01-05.
4.
Remove body side door liner.
5.
Remove body side rear door latch as described in Section 01-14A.
6.
Insert rag into body side door cavity and arrange it to catch any failing debris.
7.
Using a suitable punch, hammer out center of rivets securing the door ajar/sliding door switch plate.
8.
Using a suitable drill, drill out the rivets. Disconnect and remove/discard the door ajar/sliding door switch plate.
9.
Remove any debris from the rag, and then remove rag from cavity.
INSTALLATION PROCEDURE FOR CONTACT TERMINAL ASSEMBLY
NOTE:
PLEASE REFER TO THE WINDSTAR SERVICE MANUAL, SECTION 01, FOR THE FOLLOWING PROCEDURES.
1.
Using Hand Riveter (D79P-53700-A or equivalent), rivet the door ajar/sliding door contact plate (F58Z-14A658-D) in place on the B-pillar and
reconnect to wiring harness. Use proper rivets (W525170-S417).
2.
Reconnect wiring harness and rivet the door ajar/sliding door switch plate (F4UZ-14A658-A) in place on the body side door.
3.
Install body side rear door latch as described in Section 01-14A.
4.
Install body side door liner.
5.
Install body side trim panel. Refer to Section 01-05.
