
Sprinter 3500 L5-2.7L DSL Turbo (2004)
Fuel Pressure Control Solenoid: Service and Repair
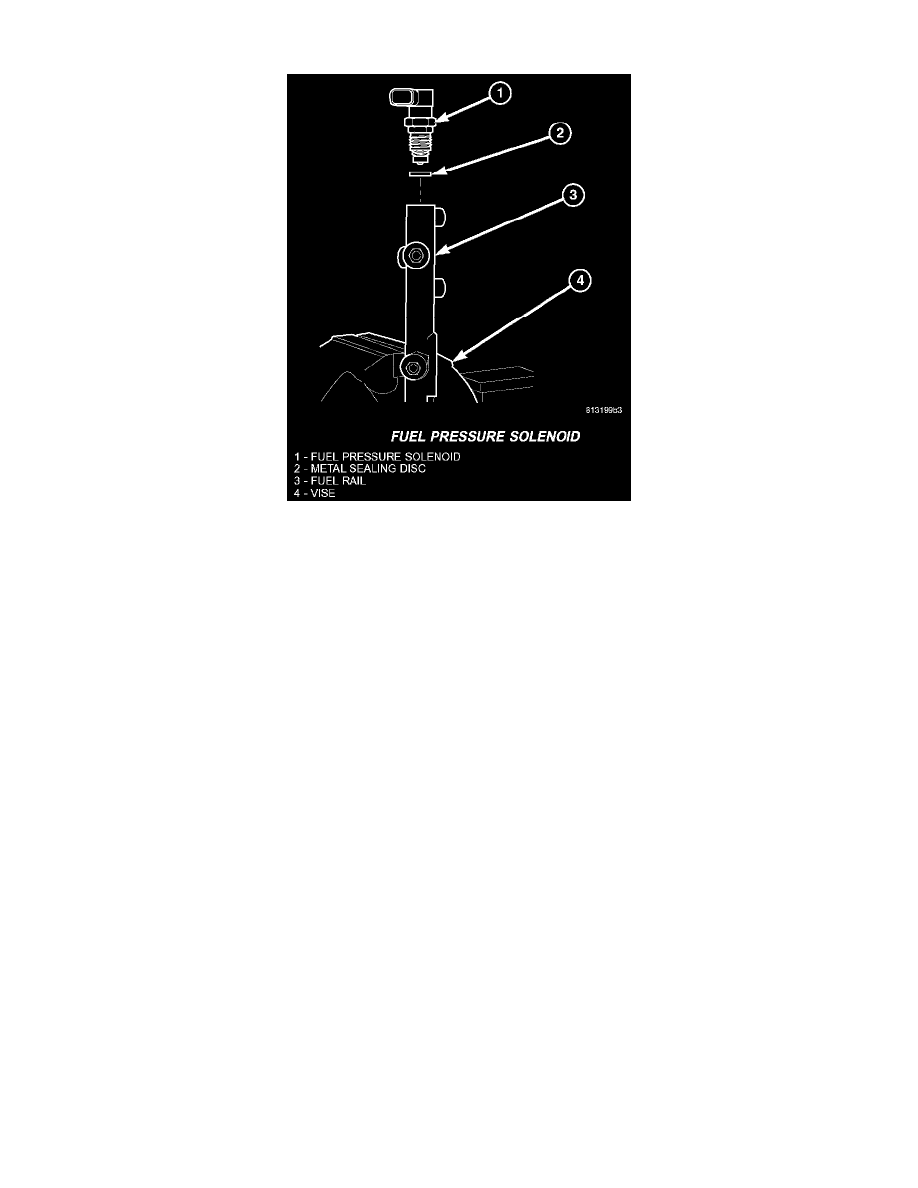
Fuel Pressure Solenoid
REMOVAL
Review the high pressure fuel system warning before beginning repair (Refer to FUEL SYSTEM - WARNING)
WARNING: NO SPARKS, OPEN FLAMES OR SMOKING. RISK OF POISONING FROM INHALING AND SWALLOWING FUEL. RISK
OF INJURY TO EYES AND SKIN FROM CONTACT WITH FUEL. POUR FUELS ONLY INTO SUITABLE AND APPROPRIATELY
MARKED CONTAINERS. WEAR PROTECTIVE CLOTHING.
1. Disconnect negative battery cable.
2. Remove fuel rail (Refer to FUEL SYSTEM/ FUEL INJECTION/FUEL INJECTOR - REMOVAL).
3. Clamp fuel rail securely in vise with protective jaws.
NOTE: Once removed, the solenoid must always be replaced.
4. Counterhold and unscrew the fuel pressure solenoid and discard the sealing ring.
INSTALLATION
Review the high pressure fuel system warning before beginning repair (Refer to FUEL SYSTEM - WARNING)
WARNING: NO SPARKS, OPEN FLAMES OR SMOKING. RISK OF POISONING FROM INHALING AND SWALLOWING FUEL. RISK
OF INJURY TO EYES AND SKIN FROM CONTACT WITH FUEL. POUR FUELS ONLY INTO SUITABLE AND APPROPRIATELY
MARKED CONTAINERS. WEAR PROTECTIVE CLOTHING.
CAUTION: There is a special tightening procedure for the fuel rail solenoid that must be followed along with the proper use of a torque wrench.
Therefore the fuel rail must be removed before installing the fuel pressure solenoid.
1. Screw the fuel pressure solenoid with new sealing disc to the fuel rail until hand tight.
2. Tighten the fuel rail solenoid as follows :
-
Tighten the nut to 60 Nm (44 ft.lbs.)
-
Loosen the nut 90 degrees.
-
Retighten the nut to 80 Nm (59 ft.lbs.).
3. Install fuel rail (Refer to FUEL SYSTEM/ FUEL INJECTION/FUEL INJECTOR - INSTALLATION).
4. Connect negative battery cable.