
Metro L4-079 1.3L VIN 9 TBI (1995)
canister purge valve and exit from the intake manifold hose.
5. Connect 12 volts DC to the EVAP canister purge valve terminals.
6. Blow into the EVAP canister purge valve vacuum hose that was disconnected from the vacuum pipe. Air should pass through the EVAP canister
purge valve and exit from the intake manifold hose.
7. If the EVAP canister purge valve failed this inspection, replace it. Refer to EVAP Canister Purge Valve / Service and Repair. If the EVAP
canister purge valve passed this inspection, reconnect the vacuum hoses and electrical connector.
Without Tank Pressure Control Solenoid Vacuum (Tpc SV) Valve
Description
EVAPORATIVE EMISSION CANISTER PURGE CHECK
1. Start engine, run until normal operating temperature of 60°C (140°F) is obtained.
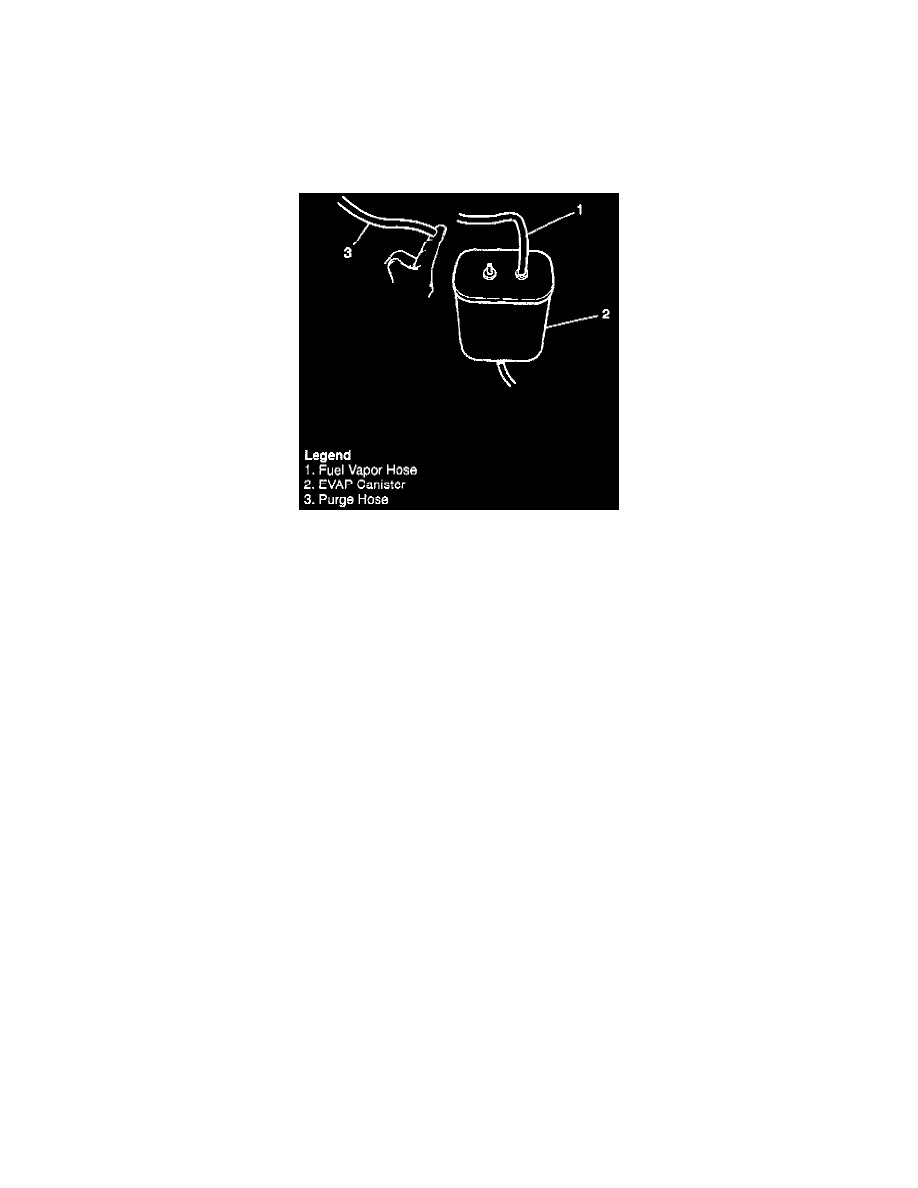
2. Disconnect purge hose from Evaporative Emission (EVAP) canister.
3. Place finger against the end of the purge hose as shown in accompanying image; vacuum should not be present with engine running at idle speed.
4. Increase engine speed to 2,000 RPM.
5. Place finger against the end of the purge hose; vacuum should be present with engine running at 2,000 RPM.
DIAGNOSTIC PROCEDURE
If the EVAP canister purge fails the above test, refer to Computers and Control Systems / System Diagnosis / Procedures / Diagnostic Charts
/ C Charts / Chart C-3A EVAP Solenoid Purge Valve Check. See: Computers and Control Systems/Testing and Inspection/Diagnostic Trouble
Code Tests and Associated Procedures/Related Tests and Information/A - E Charts & Related Test Procedures/C Charts/Chart C-3A EVAP
Solenoid Purge Valve Check