
Metro L4-079 1.3L VIN 9 TBI (1995)
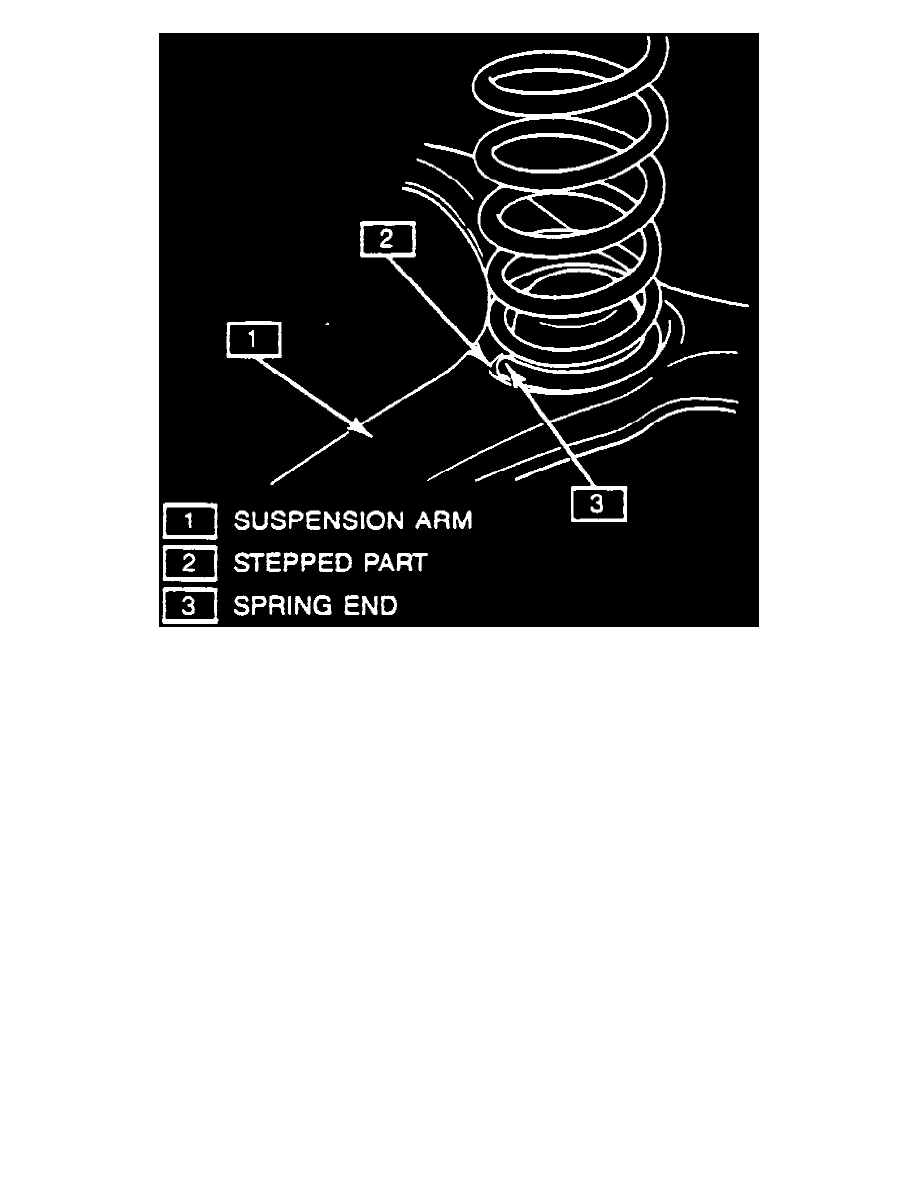
Fig. 7 Coil Spring Installation
1. Raise and support rear of vehicle, then remove wheel and tire assembly.
2. Place alignment marks on control rod and control rod washer (A), Fig. 5 , for setting toe during installation.
3. Remove control rod to body attaching bolt, then separate control rod from bracket.
4. From wheel side of control rod, remove nut from rear suspension knuckle stud, then disconnect control rod.
5. Loosen, but do not remove suspension arm rear attaching nut.
6. Loosen rear suspension knuckle lower mounting nut. Position a suitable jack under suspension arm, then remove knuckle lower mounting nut.
7. Raise lower arm slightly to allow removal of rear suspension knuckle lower mounting bolt.
8. Disengage rear suspension knuckle from suspension arm, then carefully lower suspension arm and remove coil spring, Fig. 6 .
9. Remove remaining suspension arm attaching bolts and nuts and remove suspension arm, if necessary.
10. Reverse procedure to install. When installing spring, position spring end to stepped portion of suspension arm, Fig. 7 . When installing control rod
to body bracket, align marks made on washer and control rod during removal. Do not tighten control rod or suspension arm attaching nuts
and bolts until after vehicle has been lowered.