Metro L4-079 1.3L VIN 9 TBI (1995)

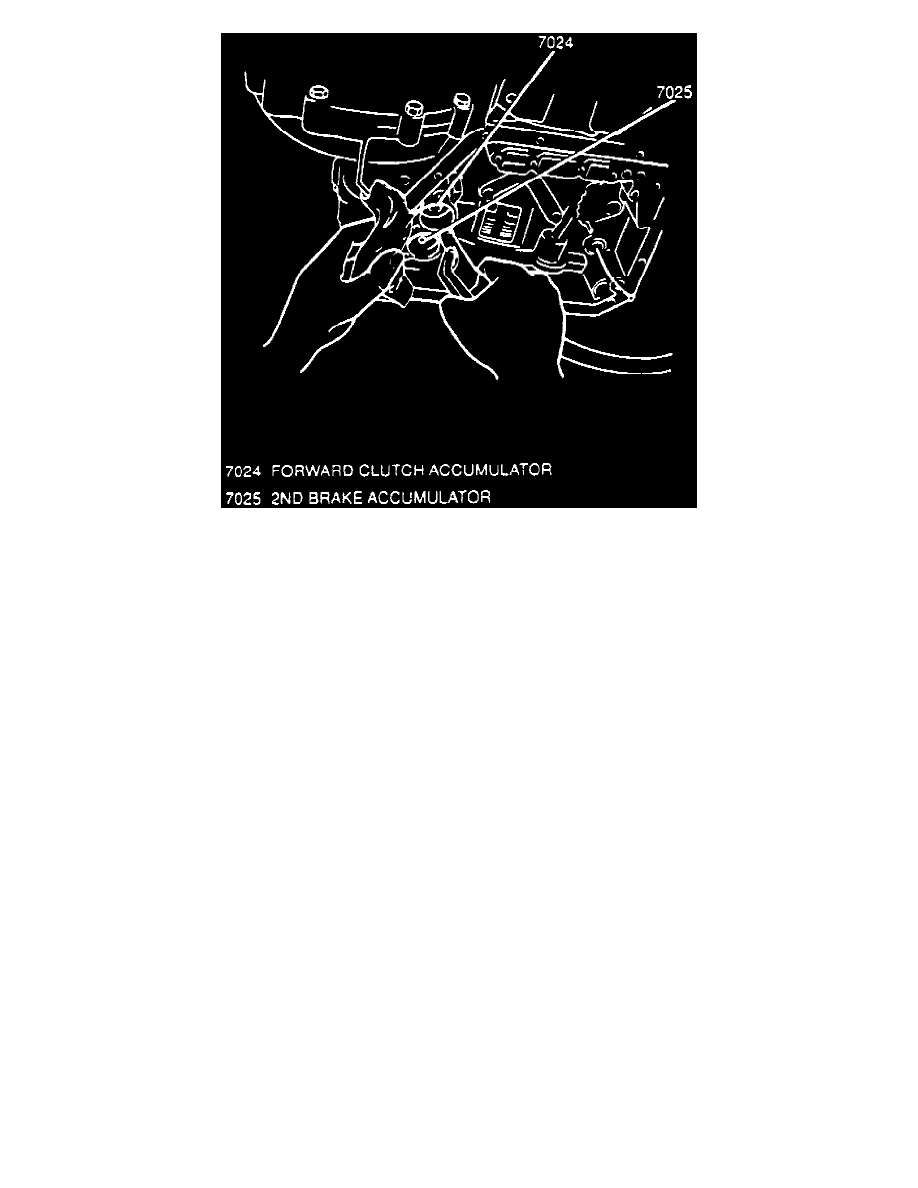
Fig. 20 Accumulator Removal.
REMOVAL
1. Disconnect battery ground cable.
2. Raise and support vehicle.
3. Drain transaxle fluid, then remove oil pan and gasket.
4. Disconnect direct clutch and 2nd brake solenoid electrical connectors.
5. Using a screwdriver, pry forward clutch accumulator and 2nd brake fluid pipes from lower valve body.
6. Disconnect TV cable from throttle valve cam.
7. Remove six fluid filter screen to lower valve body attaching bolts.
8. Remove valve body attaching bolts, Fig. 19.
9. Remove forward clutch and 2nd brake accumulators from transaxle case by covering accumulator bores with a cloth and slowly applying low
pressure compressed air into fluid pressure passage, Fig. 20.
CAUTION: Torque sequence and specification is very important to valve body operation. If bolts are tightened at random, valve bores
may become distorted and inhibit valve operation. Make sure all parts are clean and free of damage prior to their installation. When
installing valve body to case, make sure accumulators and springs are in their correct positions and all valve body bolts are installed
according to length and position. Do not use air powered tools when installing valve body.
INSTALLATION
1. Apply Transjel transmission assembly lubricant tool No. J-36850 or equivalent to forward clutch and 2nd brake accumulator seals.
2. Install forward clutch and 2nd brake accumulators in their case bores.
3. Install valve body into transaxle case aligning manual valve with shift lever pin, install and hand tighten valve body bolts in their correct position,
Fig. 19.
4. Torque valve body reamer (positioning) bolts to 8 ft. lbs.
5. Torque remaining valve body bolts to 8 ft. lbs. in a diagonal pattern to specification.
6. Install fluid filter screen onto lower valve body and tighten bolts to specification.
7. Attach TV cable to throttle valve cam.
8. Install forward clutch accumulator and 2nd brake fluid pipes to lower valve body.
9. Connect direct clutch and 2nd brake solenoid connectors.
10. Install oil pan with new fluid pan gasket, tighten pan bolts to specification.
11. Coat transaxle oil pan drain plug with Loctite pipe sealant part No. 1052080 or equivalent, tighten drain plug to specification.
12. Refill transaxle with fluid and check level.
