
Prizm L4-1.8L DOHC (1994)
Brake Switch (Cruise Control): Service and Repair
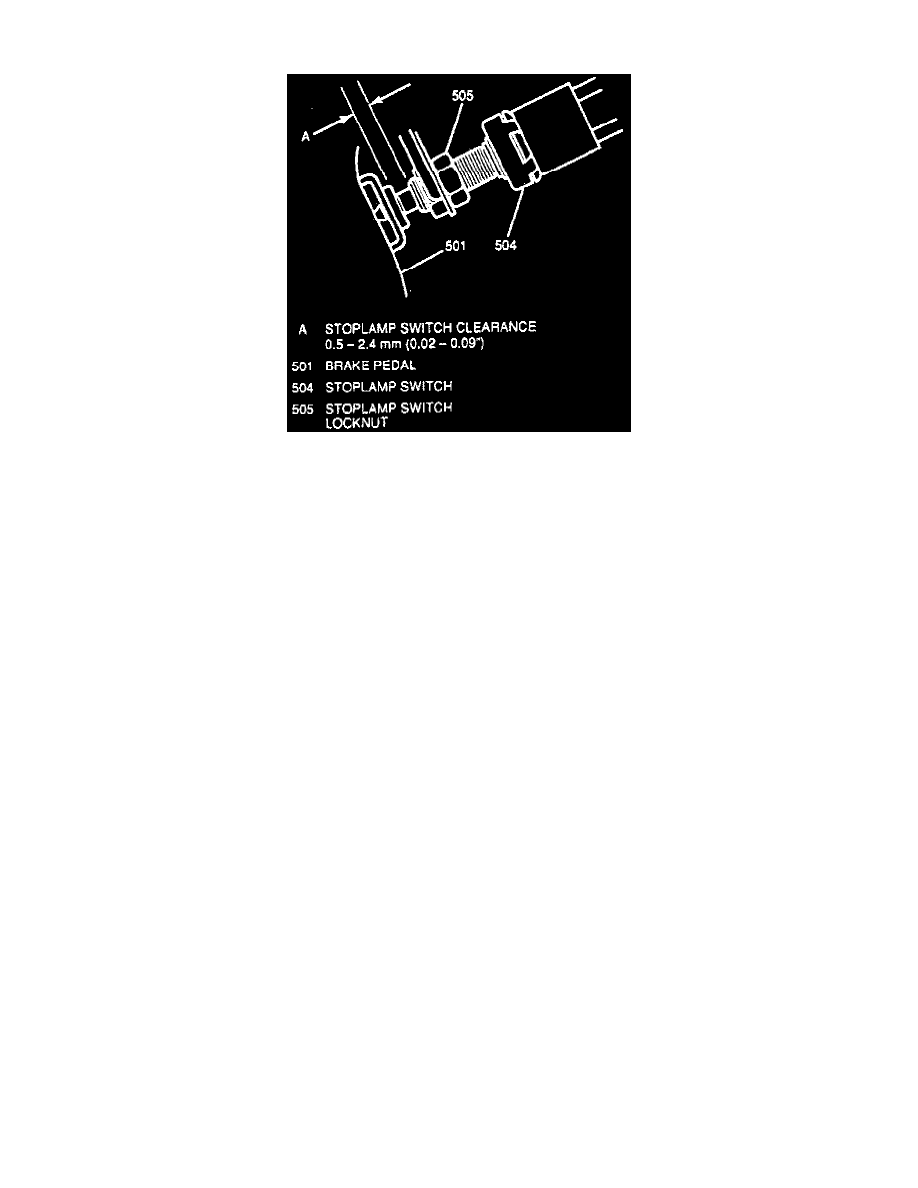
Fig. 31 Stop Lamp Switch Clearance Inspection.
1. Disconnect battery ground cable, then slide hood latch release cable sideways to release from holder.
2. Disconnect hood release cable from hood latch release lever.
3. Remove two screws and hood latch release lever from knee bolster.
4. Remove two cover plates, two screws, four bolts and knee bolster from instrument panel.
5. Remove left side ventilation duct from left side duct outlet.
6. Disconnect stop lamp electrical connector from stop lamp switch, then loosen stop lamp switch locknut, Fig. 31 .
7. Remove stop lamp switch locknut, then stop lamp switch.
8. Reverse procedure to install noting the following:
a. Adjust stop lamp switch. Turn switch until distance between end of switch plunger and end of threaded portion of switch is within 0.02-0.09
inch.
b. Torque stop lamp switch locknut to 7-8 ft. lbs.
c. Torque knee bolster bolts to 10 ft. lbs.
d. Torque battery ground cable to 11 ft. lbs.