
Prizm L4-1600cc 1.6L DOHC VIN 5 (1989)
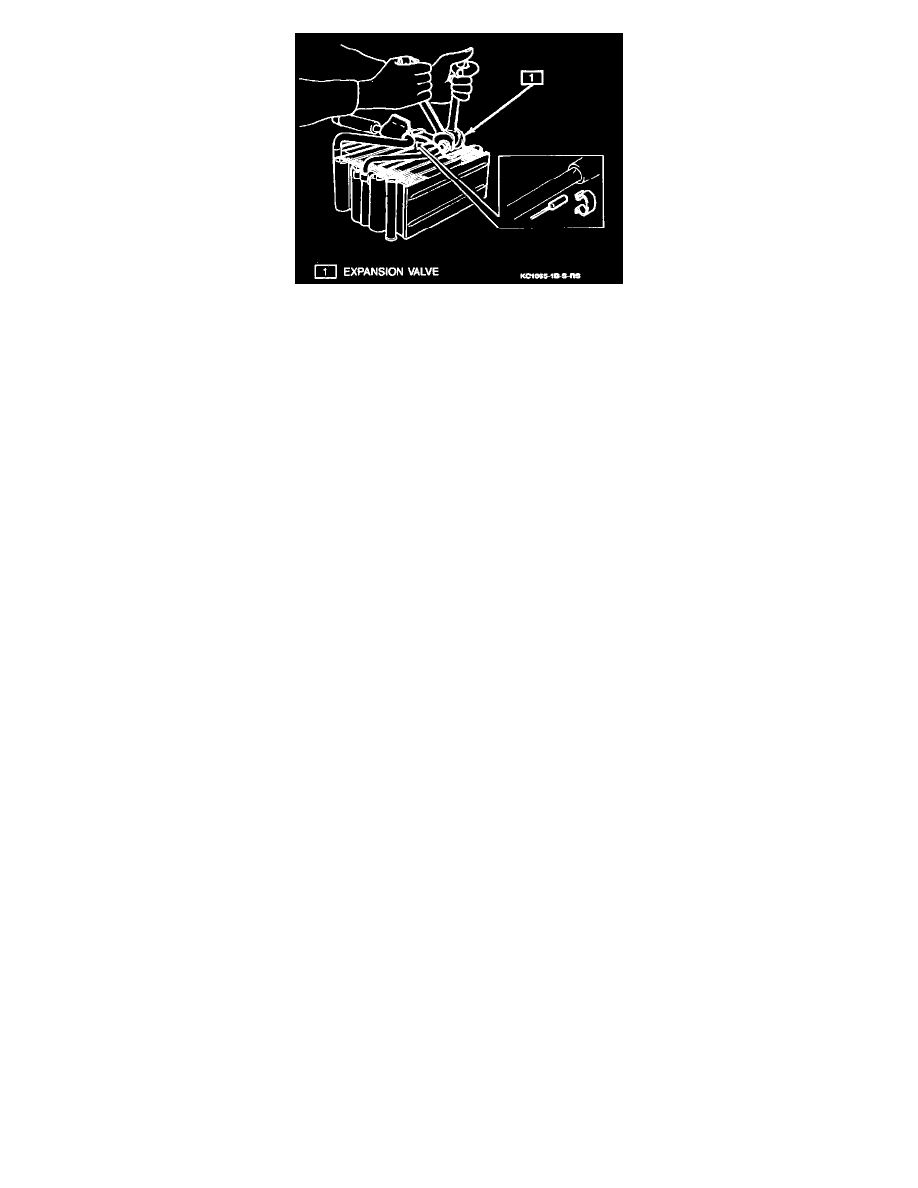
Expansion Valve/Temperature Bulb Removal
B. Remove packing and heat sensing tube from the suction tube of the evaporator.
C. Remove valve.
NOTICE: Cap fittings immediately to keep moisture out of system.
Inspect Evaporator
^
Evaporator fins for blockage. If the fins are clogged, clean them with compressed air.
^
Fittings for scratches and cracks. Repair as necessary.
NOTICE: Never use water to clean the evaporator.
Assemble
1. Expansion valve to inlet fitting of evaporator.
Tighten
^
Nut to 23 N.m (17 lb.ft.).
NOTICE: Be sure to install new O-rings on lines.
^
Install holder to the suction tube with heat sensitizing tube.
^
Connect the liquid tube to inlet fitting of expansion valve.
Tighten
^
Nut to 14 N.m (10 lb.ft.).
2. Lower unit case to evaporator.
3. Thermistor to evaporator.
4. Upper unit case to evaporator case.
^
Install four screws, four clips.
^
Connect wiring harness.
5. Evaporator case connectors.
Install or Connect
1. Evaporator case with four screws, four nuts.
2. Evaporator case connectors.
3. Glove box compartment.
4. Grommets on inlet and outlet fittings.
5. Liquid tube to case inlet fitting.
Tighten
^
Nut to 14 N.m (10 lb.ft.).
6. Suction tube to case outlet fitting.
Tighten
^
Nut to 32 N.m (24 lb.ft.).