
Spectrum L4-91.5 1.5L (1989)
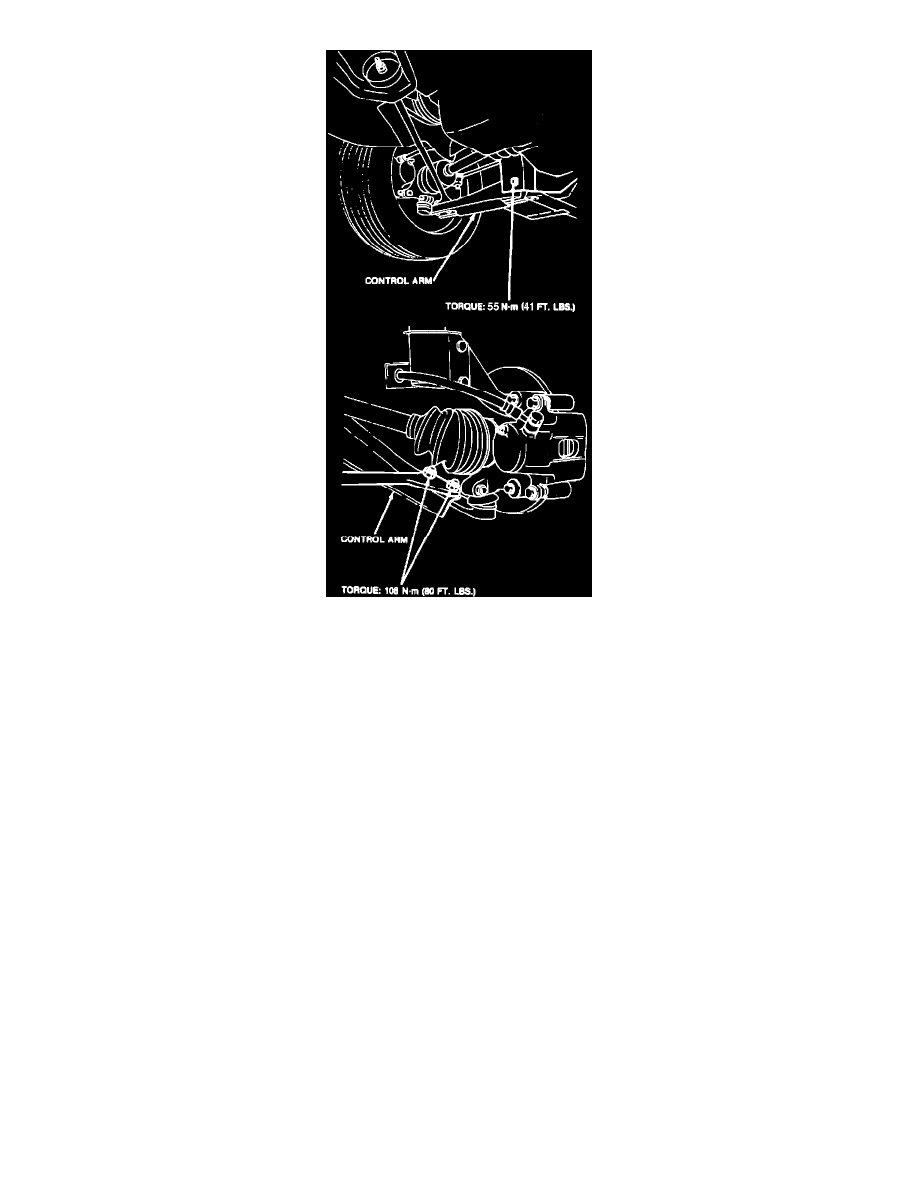
Fig. 6 Control Arm Installation
1.
Raise and support front of vehicle.
2.
Remove lower control arm to tension rod attaching nuts and bolts.
3.
Remove control arm to body attaching bolt and nut.
4.
Remove control arm, Fig. 1.
5.
Reverse procedure to install, noting the following:
a. Replace self-locking nuts when installing arm.
b. When attaching control arm to body, first jack up lower part of arm to 15.18 inches, Fig. 5, then torque attaching bolts to specifications, Fig. 6.