
Storm L4-1600cc 1.6L DOHC (1991)
6.
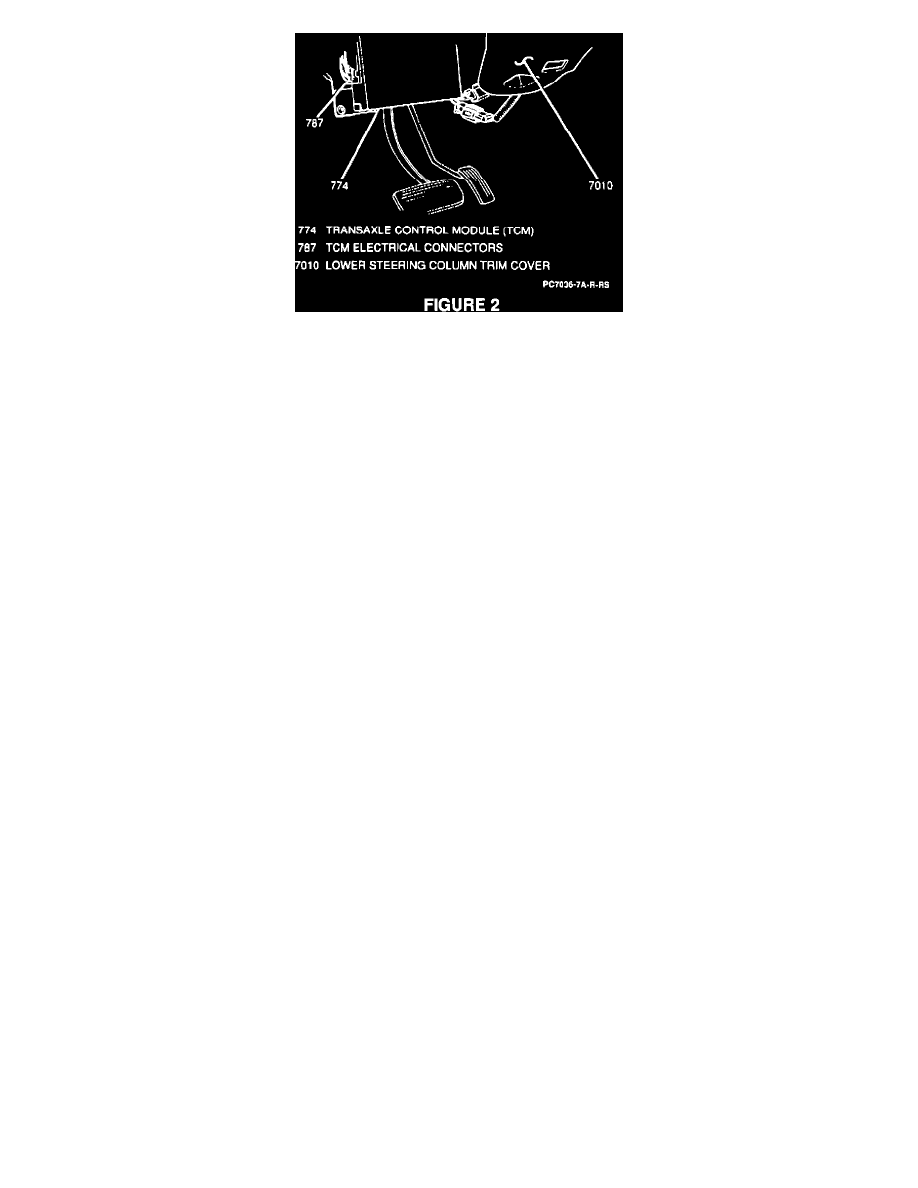
Two electrical connectors from TCM (Figure 2)
7.
Two bolts and TCM from underneath left side of steering column.
Install or Connect
1.
TCM to left side of steering column; secure with two bolts.
Tighten
*
TCM bolts to 15 N-m (11 lb.ft.).
2.
Two electrical connectors to TCM (Figure 2).
3.
Knee bolster to instrument panel; secure with one bolt, one nut and five screws.
Tighten
*
Knee bolster bolt and nut to 10 N-m (89 lb.in.).
4.
Hood latch release handle to hood latch release cable and knee bolster; secure with two screws.
5.
Cigar lighter electrical connector to cigar lighter and cigar lighter bezel into instrument panel.
6.
Switch bezel electrical connectors to switches and switch bezel into instrument panel.
7.
Negative (-) battery cable.
Tighten
*
Negative (-) battery cable-to-negative (-) battery terminal retainer to 15 N-m (11 lb.ft.).