
Tracker 4x4 L4-1590cc 1.6L (1993)
Vacuum Brake Booster: Service and Repair
Removal/Installation
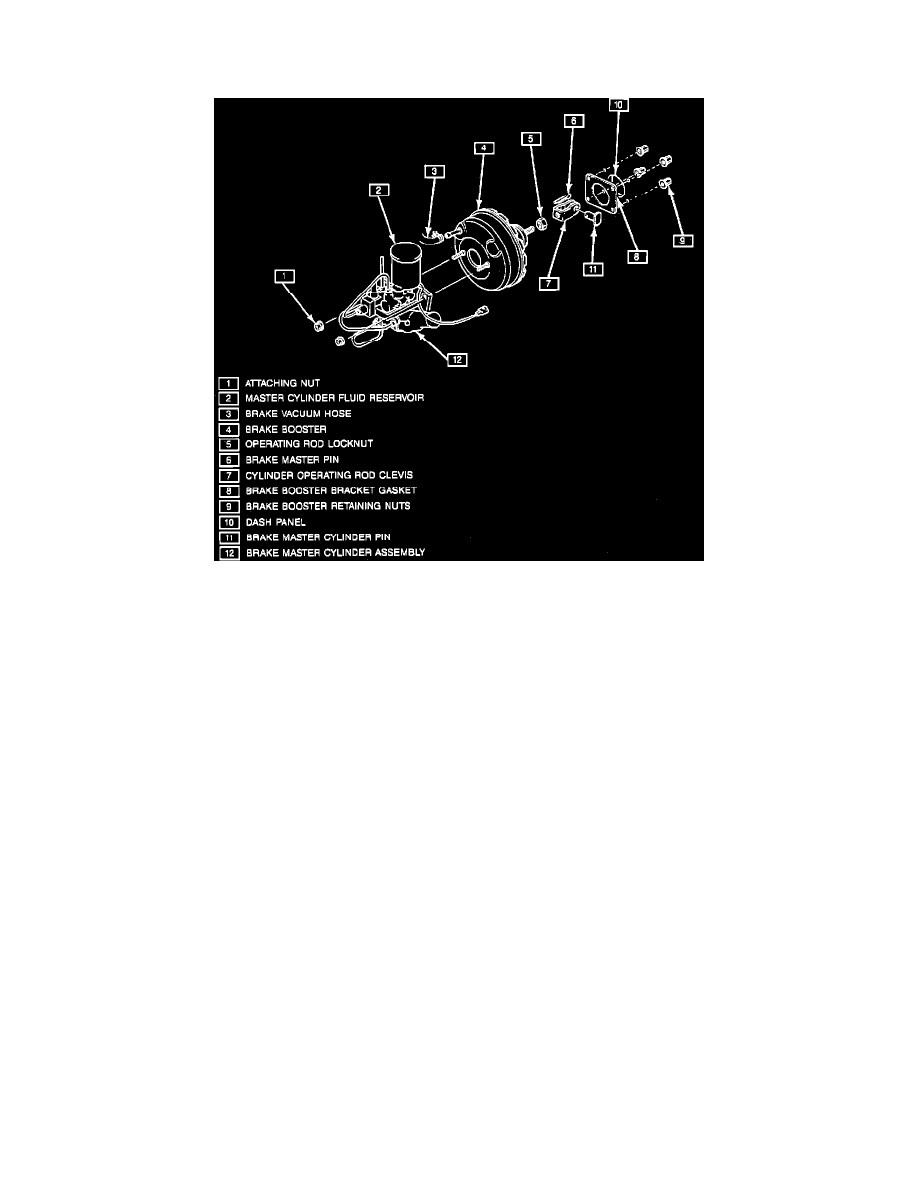
Fig. 2 Removing Power Brake Unit
Refer to Fig. 2, when replacing power brake unit.
1.
Disconnect battery ground cable.
2.
Remove master cylinder as follows:
a.
Remove air cleaner assembly, then the reservoir lead wire and pressure limit valve wire at electrical connectors.
b.
Remove fluid from reservoir using a syringe.
c.
Disconnect and plug three brake fluid lines from from master cylinder assembly.
d.
Remove heat protector bolt from master cylinder bracket.
e.
Remove two master cylinder attaching nuts and washers, then the master cylinder.
3.
Disconnect vacuum hose from brake booster.
4.
Remove cotter and clevis pins.
5.
Remove power unit retaining nuts from bulkhead, then the power unit.
6.
Reverse procedure to install noting the following:
a.
Torque brake power unit to 115 inch lbs.
b.
Torque heat protector bolt and master cylinder attaching nut to 115 inch lbs.
c.
Torque brake fluid lines to 12 ft. lbs.
d.
Fill master cylinder reservoir and bleed brake system.