
Acadia FWD V6-3.6L (2007)
16.2 Raise the cargo storage bin center door.
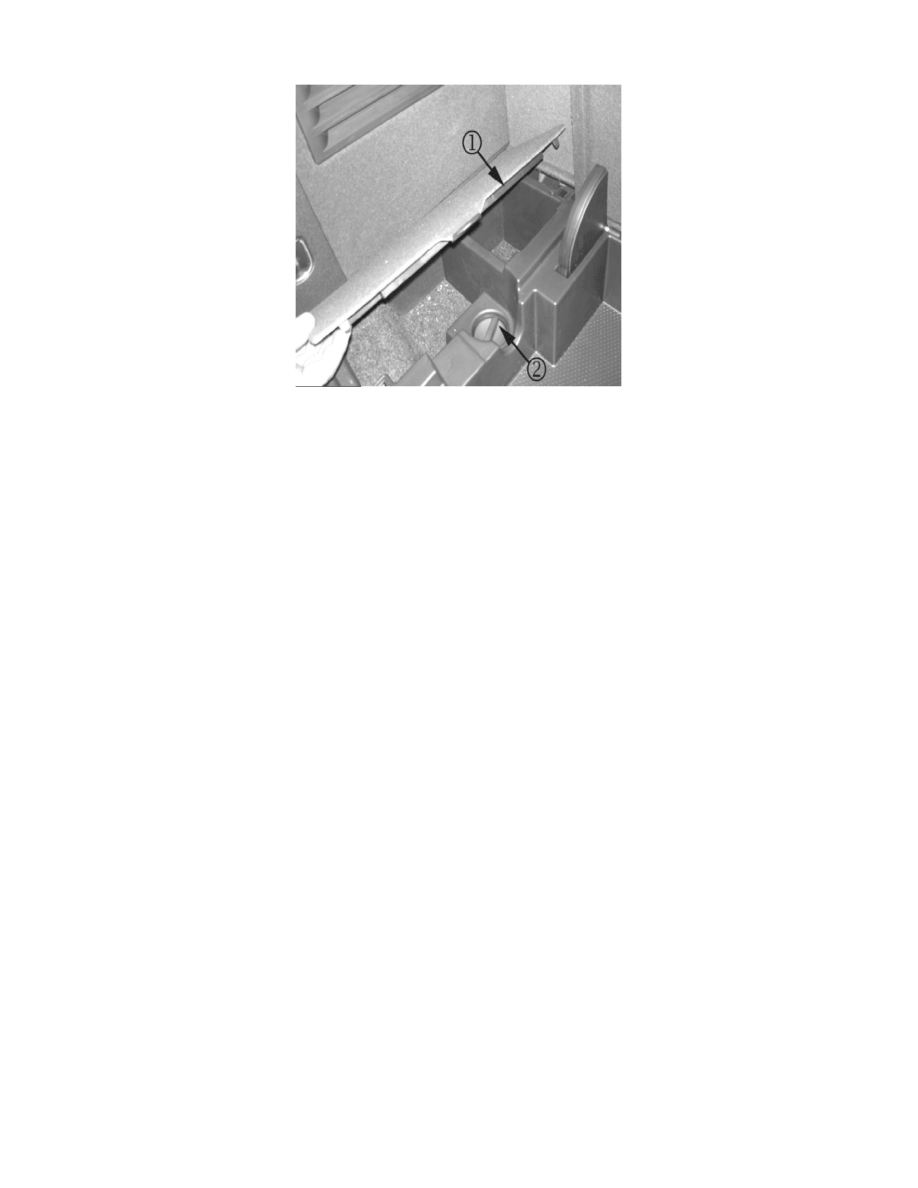
16.3 Tighten the cargo storage unit fasteners (2).
16.4 Install the cargo storage unit side panels (1).
16.5 Close the cargo storage unit bin door.
Engine/Transmission Mount Drain Hole Procedure
ENGINE/TRANSMISSION MOUNT DRAIN HOLE PROCEDURE
Required Tools and Materials
^
Drill
^
6 mm (1/4 in) drill bit
^
6 mm (1/4 in) diameter rubber hose
^
25 mm (1 in) width tape
^
Center Punch
1.
Turn the steering wheel to the full left turn position to provide access to the engine and transmission mounts. Raise and support the vehicle.
2.
Raise and support the vehicle. Refer to Lifting and Jacking the Vehicle in SI.
3.
Locate the left transmission mount, right front engine mount, and right rear engine mount.
Notice:
The aluminum body of the mount has a 5 mm (13/64 in) thick wall. Drilling more than 8 mm (5/16 in) into the body of the aluminum mount
will damage the internal rubber parts of the mount. Damaged mounts must be replaced. Refer to SI for engine and transmission mount
replacement procedures if a mount is damaged. To avoid damaging the engine or transmission mount, follow the instructions below.
4.
Mount Preparation Instructions
^
Do NOT remove the engine or transmission mounts from the vehicle.
^
Clean loose dirt from the mount before drilling the drain hole.