Acadia FWD V6-3.6L (2007)

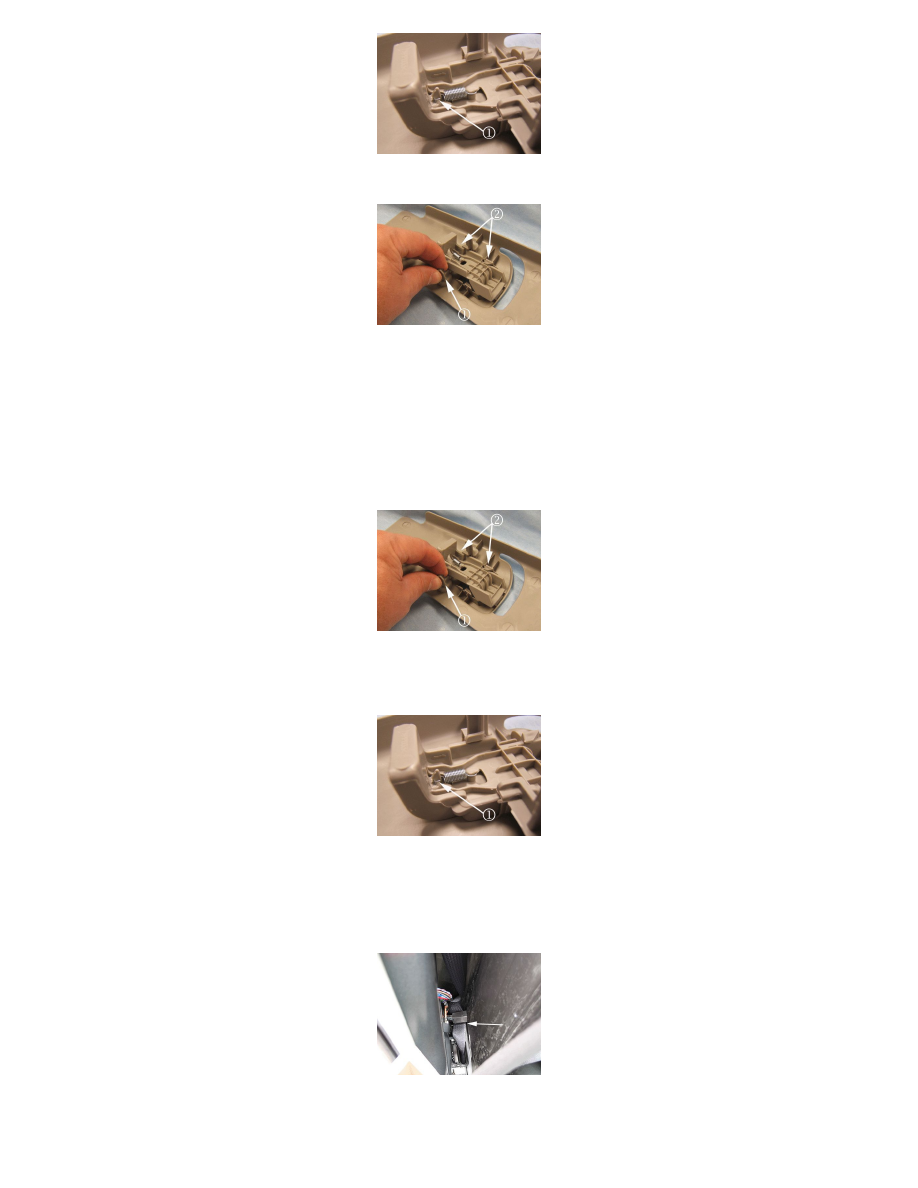
1. Using a small screwdriver, or suitable tool, pull forward and upward on the spring to release it from the standing boss (1).
2. While pulling upward on the push-button assembly, gently flex the standing retainer outward to release one side of the assembly.
3. Continue to roll the loose side upward to disengage the push-button assembly from the retainers (2) on the opposite side.
Note
Vehicles built prior to March 23, 2007 may have a first design push-button or adjuster, which may limit interchangeability with the second design
shoulder belt cover. If unable to transfer parts, see the Parts Catalog for reference to second design push-button and/or adjuster needed to complete
the repair.
4. Install the push-button assembly to the new shoulder belt guide cover.
1. Position the push-button assembly to the guide cover, ensuring that the assembly is seated underneath the side retainers (2).
2. While gently flexing the standing retainer (1) outward, push down and forward to seat the push-button assembly underneath the retainers on the
opposite side.
3. Slide the push-button forward enough to install the spring over the standing boss (1). Push the spring downward until fully seated underneath
the flange of the boss.
5. Position the new guide cover into the upper garnish molding and install the cover retainer by engaging the three side tabs of the retainer first, then
snap the two opposite side and two rear retainers into place.
Note
When reinstalling the center pillar lower garnish molding, ensure that the trim clips do not catch on the webbing of the seat belt and cause poor
extraction/retraction. An example of this interference is shown above.
