
C 1500 Truck 2WD V6-262 4.3L VIN Z (1992)
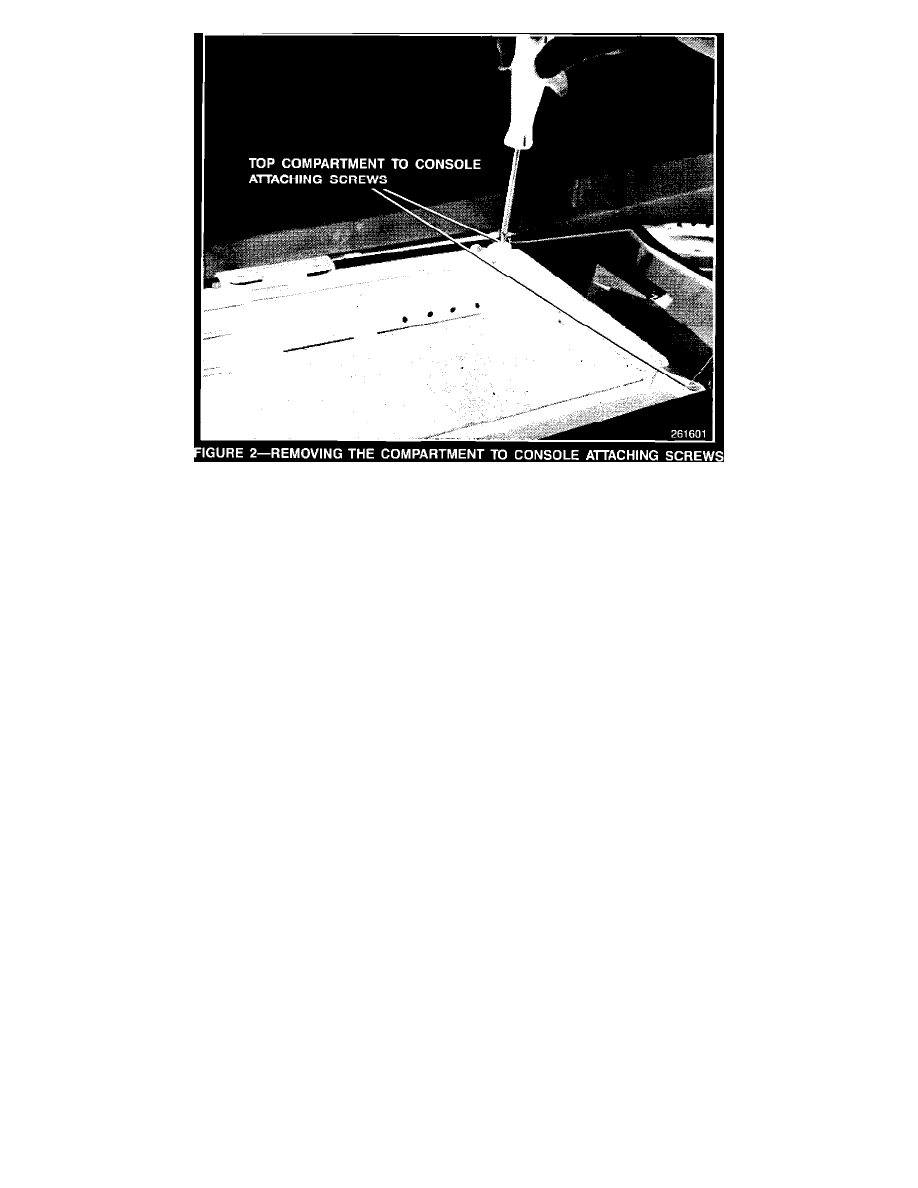
3.
Remove the two top compartment-to-console attaching screws (figure 2).
4.
Raise the console door and remove the four Phillips head screws from the console door hinge.
5.
Remove the four Phillips head screws from the opposite side of the console. These screws are directly across from the hinge attaching screws.
6.
The inner compartment may now be removed from the console and taken to a work bench or other suitable work area.
7.
Remove the ice bucket and sliding tray. If the liner is loose, remove it. If the liner is only partially loose, carefully detach the rest of the liner with a
putty knife, gasket scraper, or similar tool.
8.
On either outboard side of the compartment you will see four rivets that attach the sliding tray track to the compartment. Locate the two of these
rivets that are at the forward end of the compartment. These rivets are normally under the lining material.
9.
Measure and mark a point 4-5/8 inches (113.0 mm) from the forward edge of the compartment. This point should be centered between the two
forward rivets.
10.
At the center point between the two rivets, measure 3/8 inches (9.0 mm) down from the bottom edge of the sliding tray track (figure 8).
11.
At the intersection of the two marks, drill a 9/64-inch (3.0 mm) hole (figure 9) through the tray track and the compartment wall.
12.
Repeat steps 9 - 11 on the opposite side of the compartment.
13.
Remove the two forward-most rivets on both sides of the compartment by cuffing the mushroomed ends with wire-cuffing pliers or drilling off the
rivet heads using a 11/64-inch (4.0 mm) drill bit and right angle drill (figures 10 and 11).
14.
Reinstall the liner making sure that it is pushed solidly against the bodom of the compartment (figure 6). It the liner was damaged, replace it with a
new liner (P/N 12540324).
15.
With an awl or similar tool, punch a hole through the lining material at each of the two new holes and also the four holes left by removing the
rivets (figure 12).
16.
Dress the liner around the punched holes as needed. Rivet the liner, compartment, and track together with six 1/8-inch pop rivets. The rivets should
be acquired locally. They should be aluminum rivets with a grip length of 0.375-0.50 inches (9.0-12.0 mm) and a black finish.
Important
When installed, the rivet heads should face the inside of the compartment. Place the backing washers back in their original locations.