
C 1500 Truck 2WD V6-262 4.3L VIN Z (1992)
Tools Required:
J 4245 Internal Snap Ring Pliers
J 6435 External Snap Ring Pliers
J 29640 Shaft Protector
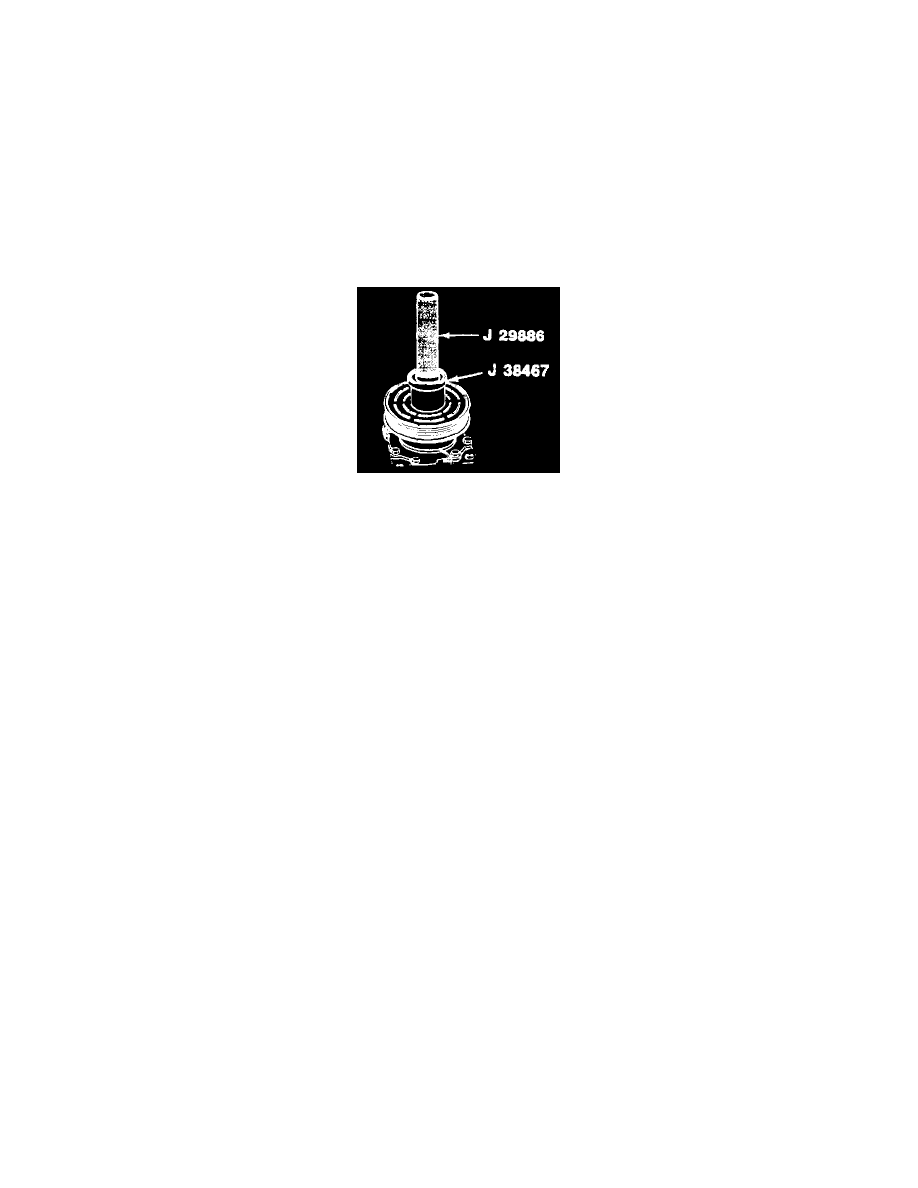
J 29886 Driver Handle
J 37872 Spanner Wrench
J 38467 Bearing Remover and Installer
1. Field coil and snap ring retainer
-
The coil flange protrusions must match the hole in the front housing to prevent coil movement and to correctly place the lead wire.
2. Rotor pulley (5) to the front housing hub and align.
-
Place J 38467 into the bearing cavity with the outer edge on the rotor bearing outer race.
Installing The Rotor Pulley
-
Place J 29886 into the ring.
-
Use a hammer to tap the end 29886 to guide the rotor until it bottoms out against the compressor front housing hub. Listen for a distinct
change of sound during the tapping process.
3. Internal bearing snap ring with J 4245.
4. External front housing snap ring with 6435.
5. Shaft key (27).
6. Front plate assembly.
-
Align the front plate keyway to the compressor shaft key.
7. J 29640 to the compressor shaft.
-
Tap the front plate to the shaft until the late bottoms to the clutch shims.
8. Shaft hex nut.
-
Hold the plate with J 37872.
Tighten
-
Nut to 36 N.m (27 ft.lbs.).
-
Check the air gap with a feeler gauge. It should be 0.49 to 0.79 mm (0.016 to 0.031 inch). If the gap is not consistent all around, pry up
slightly at points of minimum variation. Lightly tap down at points of maximum variation. The gap 5 determined by the shims. If necessary,
add to or remove, shims from the shim stack.