
C 1500 Truck 2WD V8-5.3L VIN T (1999)
Front Steering Knuckle: Service and Repair
REMOVAL PROCEDURE
1. Raise and support the vehicle.
2. Remove the tire and wheel assembly.
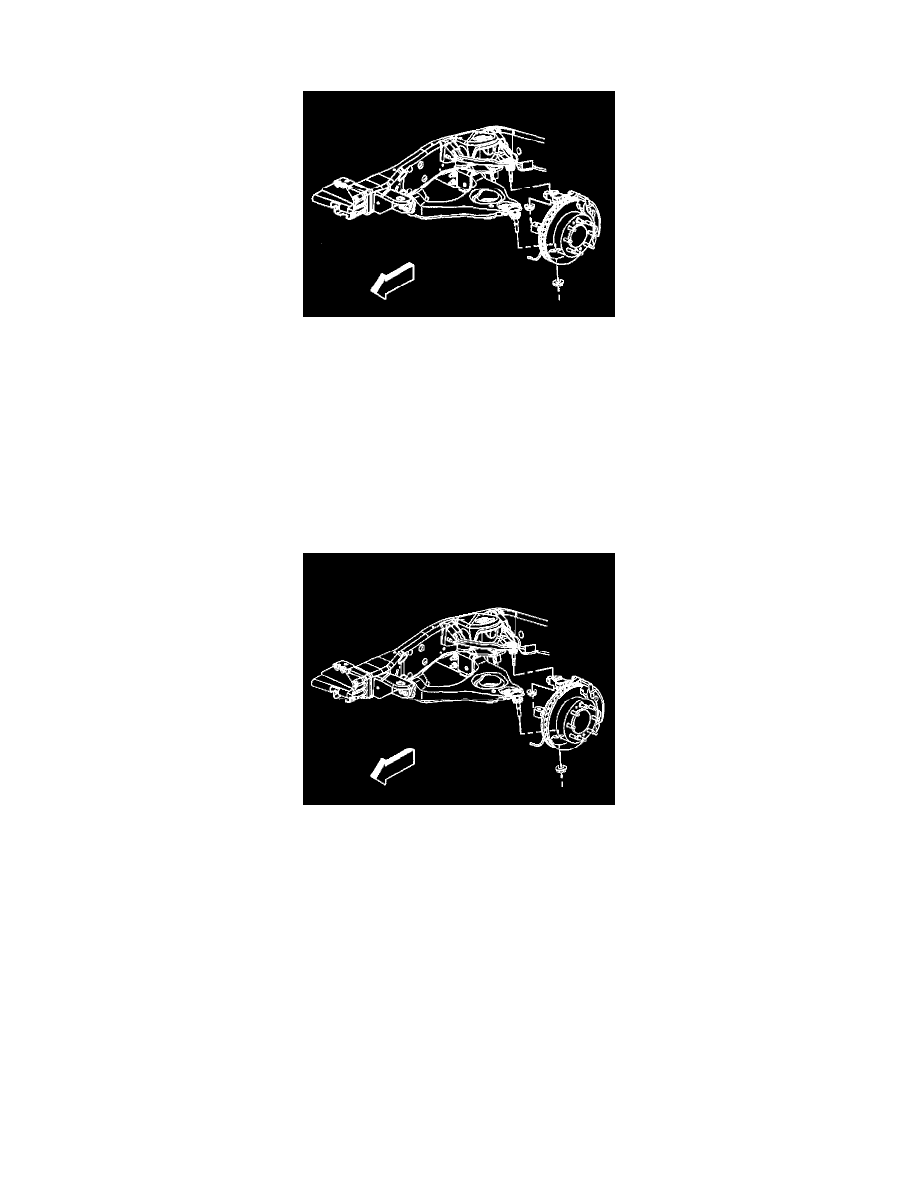
3. Remove the rotor.
4. Remove the hub and bearing assembly.
5. Support the lower control arm with a suitable jack.
6. Disconnect the outer tie rod from the knuckle.
7. Remove the brake hose bracket retaining bolt from the knuckle.
8. Separate the upper ball joint from the steering knuckle.
9. Separate the lower ball joint from the steering knuckle.
10. Remove the steering knuckle.
INSTALLATION PROCEDURE
1. Clean all grease and contaminants from the tapered section and the threads of the upper ball joint, the lower ball joint, and the tie rod end.
2. Clean and inspect the taper holes and the mounting surfaces of the steering knuckle. If any of the tapered holes are elongated, out of round, or
damaged, the replace the steering knuckle.
3. Install the steering knuckle.
4. Connect the lower ball joint to the steering knuckle.
5. Connect the upper ball joint to the steering knuckle.
6. Install the brake hose bracket retaining bolt to the knuckle
NOTICE: Refer to Fastener Notice in Service Precautions.
-
Tighten the bolt to 9 Nm (80 inch lbs.).
7. Connect the outer tie rod to the knuckle.
8. Install the hub and bearing assembly.
9. Install the rotor.
10. Install the tire and wheel assembly.
11. Remove the suitable jack from the lower control arm.
12. Lower the vehicle.