C 1500 Truck 2WD V8-6.0L VIN U (2002)

Front Door Limiter: Service and Repair
Door Check Link Replacement
Removal Procedure
1. Fully open the door.
2. Remove the door trim panel. Refer to Front Side Door Trim Panel Replacement See: Front Door Panel/Service and Repair
3. Remove the water deflector. Refer to Front Side Door Water Deflector Replacement See: Front Door Panel/Service and Repair
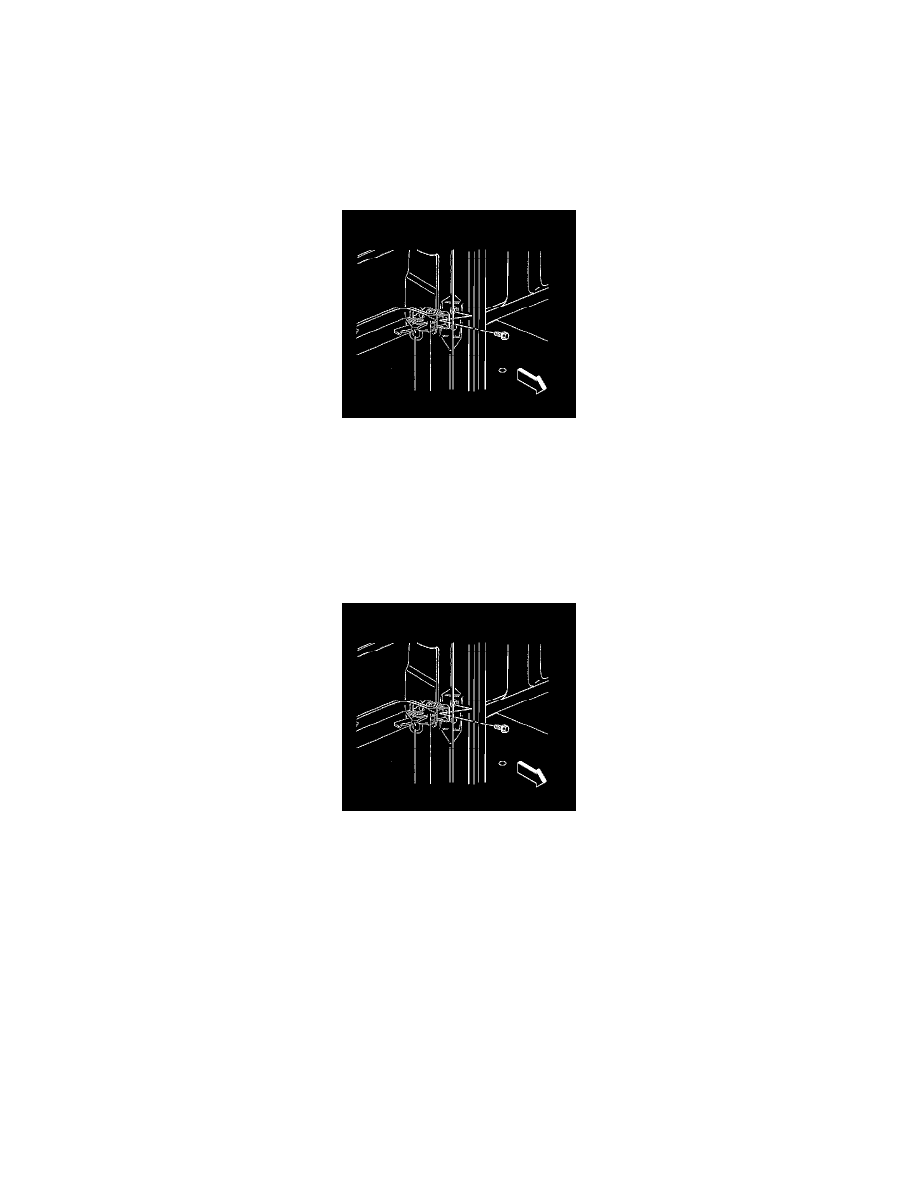
4. Remove the body-side check link pillar bolt.
5. Remove the check strap plug.
6. Remove the door-side check strap nuts.
7. Pull the check strap from the inside of the door.
Installation Procedure
1. Install the check strap in the door.
2. Install the check strap in the body.
Notice: Refer to Fastener Notice (See: Service Precautions/Vehicle Damage Warnings/Fastener Notice) in Cautions and Notices.
3. Install the check strap nuts.
Tighten the nuts to 9 Nm (80 lb in).
4. Clean the threads of the check link bolt and reapply LOCTITE(R) 242, GM P/N 12345382 (Canadian P/N 10953489).
5. Install the check link bolt.
Tighten the bolt to 25 Nm (18 lb in).
6. Install the water deflector. Refer to Front Side Door Water Deflector Replacement See: Front Door Panel/Service and Repair
7. Install the door trim panel. Refer to Front Side Door Trim Panel Replacement See: Front Door Panel/Service and Repair
