
C 1500 Truck 2WD V8-6.5L DSL Turbo VIN S (1997)
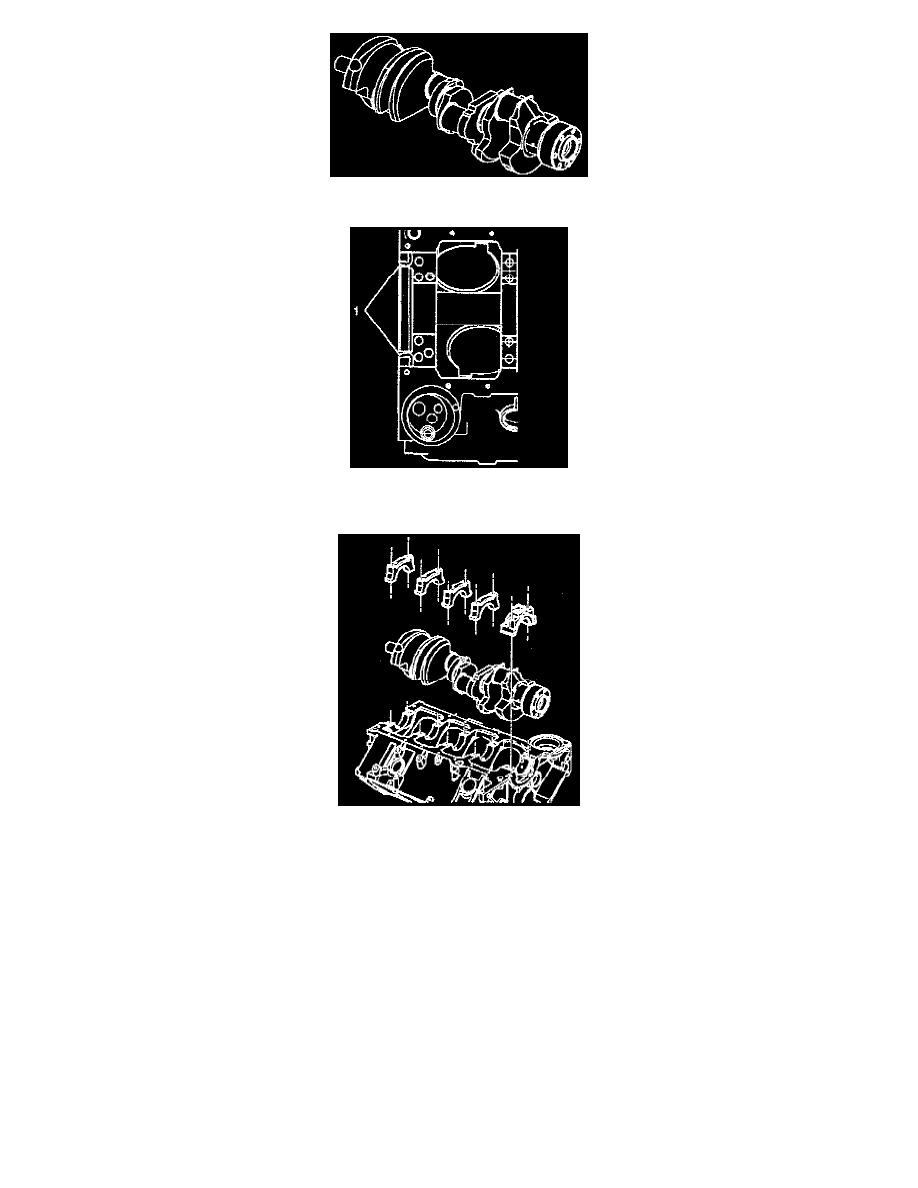
4. Install the crankshaft.
5. Apply a 1/8 inch bead of gasket maker, GM P/N 1052942 or equivalent, on the block, on each side of the rear crankshaft bearing cap area.
6. Apply engine-oil to the crankshaft bearing cap bolt threads.
7. Tap the Rear crankshaft bearing cap into place with a brass or leather mallet. Then Install the bolts. Tighten the bolts in the following sequence:
(1) Tighten the inner bolts to 150 Nm (110 ft. lbs.).
(2) Tighten the outer bolts to 135 Nm (100 ft. lbs.).
8. Install the main bearing cap And bearing for numbers 1, 2 and 4.
9. Apply engine oil to the crankshaft bearing cap bolt threads.
10. Tap the crankshaft bearing cap into place with a brass or leather mallet. Then Install the bolts. Tighten the bolts in the following sequence:
(1) Tighten the inner bolts to 150 Nm (110 ft. lbs.).
(2) Tighten the outer bolts to 135 Nm (100 ft. lbs.).
(3) Retighten all the bolts in the same sequence and the above torque.
11. Retighten all the bolts in the same sequence and the above torque.
12. Install the main bearing cap and the bearing for number three, the thrust bearing.
13. Apply engine oil to the crankshaft bearing cap bolt threads.
14. Tap the crankshaft bearing cap into place with a brass or leather mallet. Then Install the bolts.
15. Tighten the bolts temporarily to 14 Nm (10 ft. lbs.).
16. Measure the crankshaft end play in the following ways:
-
Tap the end of the crankshaft first rearward then forward with a lead hammer. This will line up the crankshaft bearing and the crankshaft thrust
surfaces.
-
Tighten the center crankshaft bearing cap bolts to the same torque specifications and sequence as the other bearing crankshaft caps.
-
With the crankshaft forced forward, measure at the front end of the number three crankshaft bearing with a feeler gauge. The proper clearance