
C 2500 Suburban 2WD V8-350 5.7L (1994)
3.
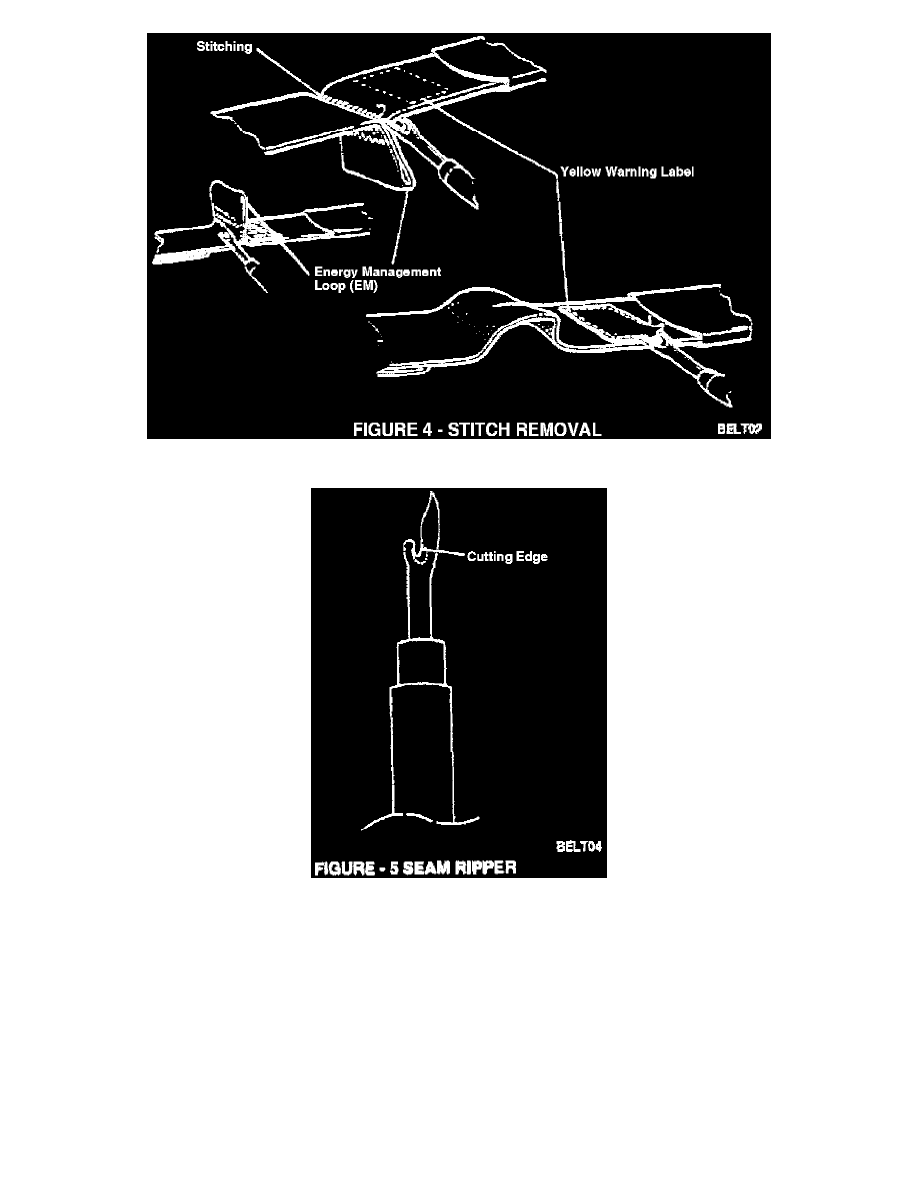
Slide the plastic cover back (Figure 3) to reveal the EM loop and Yellow Warning Label (Figure 4).
4.
Using the seam ripping tool provided with this campaign (Figure 5), cut each stitch (Figure 4), and remove the thread from the three rows of
stitching that make up the EM loop. DO NOT cut, tear, or snag the seat belt webbing material. If the webbing material has been cut or damaged,
the retractor assembly should be replaced.
IMPORTANT:
The seam ripper is designed for the purpose of removing stitching. The ripping tool has a point at the tip that allows the tool to stretch/lift the stitch
and apply force to allow the cutting edge of the tool to cut the stitch and not the webbing. The cutting edge of the tool is located in the center portion
of the tool in the curved area. This allows the tool to cut the stitch properly. DO NOT pull up on tool while cutting, possible damage to the tool or
possible injury may result. The tool should be pushed toward the stitch for proper cutting.
5.
Remove the stitching from the yellow Warning Label and discard label. No replacement label is required.