
C 2500 Truck 2WD V8-6.6L DSL Turbo VIN 1 (2001)
Intake Manifold: Service and Repair
Intake Manifold Replacement - Left
Intake Manifold Replacement - Left
Removal Procedure
1. Remove the turbocharger assembly.
2. Remove the fuel junction block.
3. Remove the left fuel rail assembly.
4. Remove the intake manifold tube.
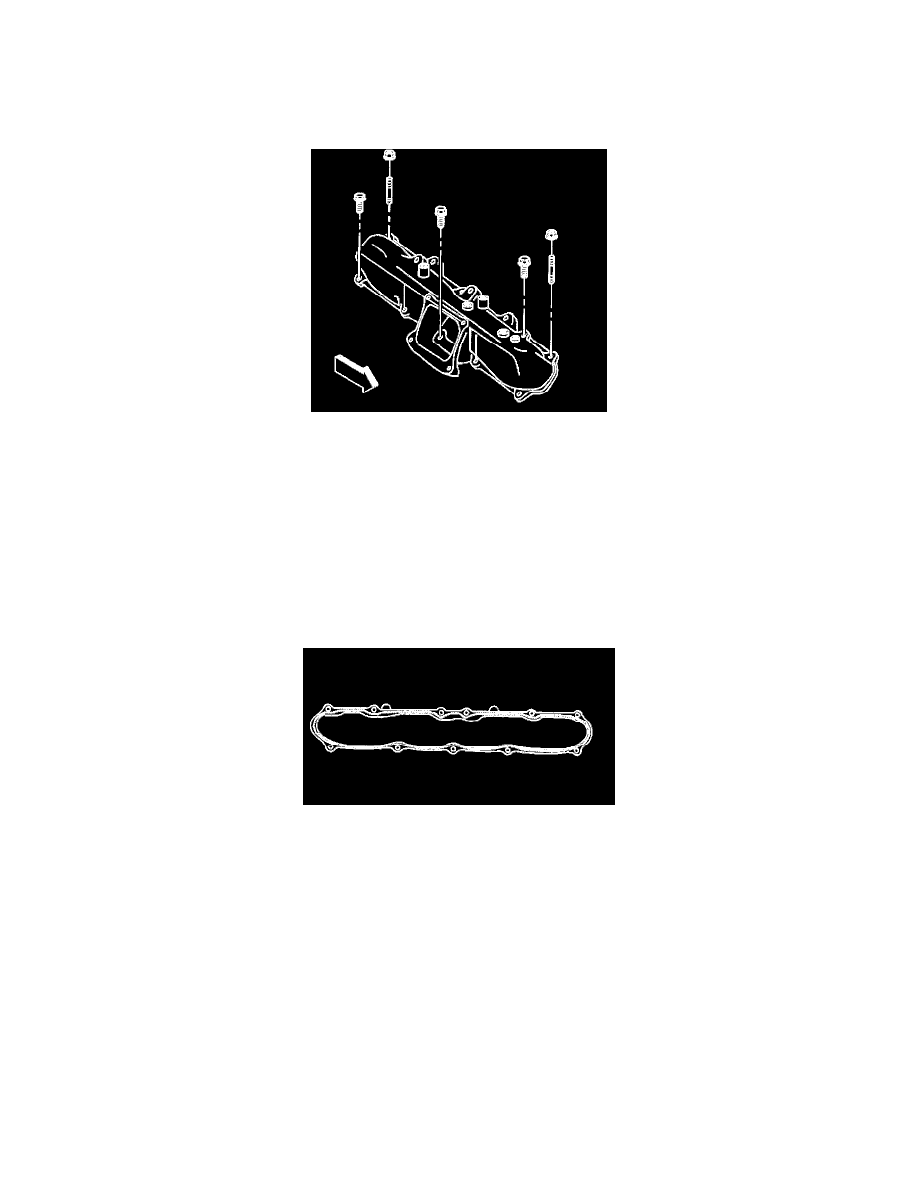
5. Remove the 9 bolts and the 2 nuts from the intake manifold. A bolt is located in the intake manifold opening.
Important: The intake manifold uses sealer. Pry at the area by the common rail bolt holes. Avoid damage to the sealing surfaces.
6. Remove the intake manifold from the cylinder head.
7. To prevent entry of debris in the cylinder head, tape the openings.
Inspection and Repair
1. Clean the sealant from the intake manifold and the cylinder head sealing surface.
2. Clean the intake manifold in cleaning solvent and air dry.
3. Inspect the intake manifold for cracking, distortion, and any damage.
4. Replace the intake manifold if any of the above conditions exist.
Installation Procedure
1. Apply a 2 - 3 mm (1/8 inch) wide to 0.5 - 1.5 mm (1 /16 inch) high bead of sealer GM P/N 12378521 or equivalent to the sealing surface of the
intake manifold.