
C 2500 Truck 2WD V8-6.6L DSL Turbo VIN 1 (2001)
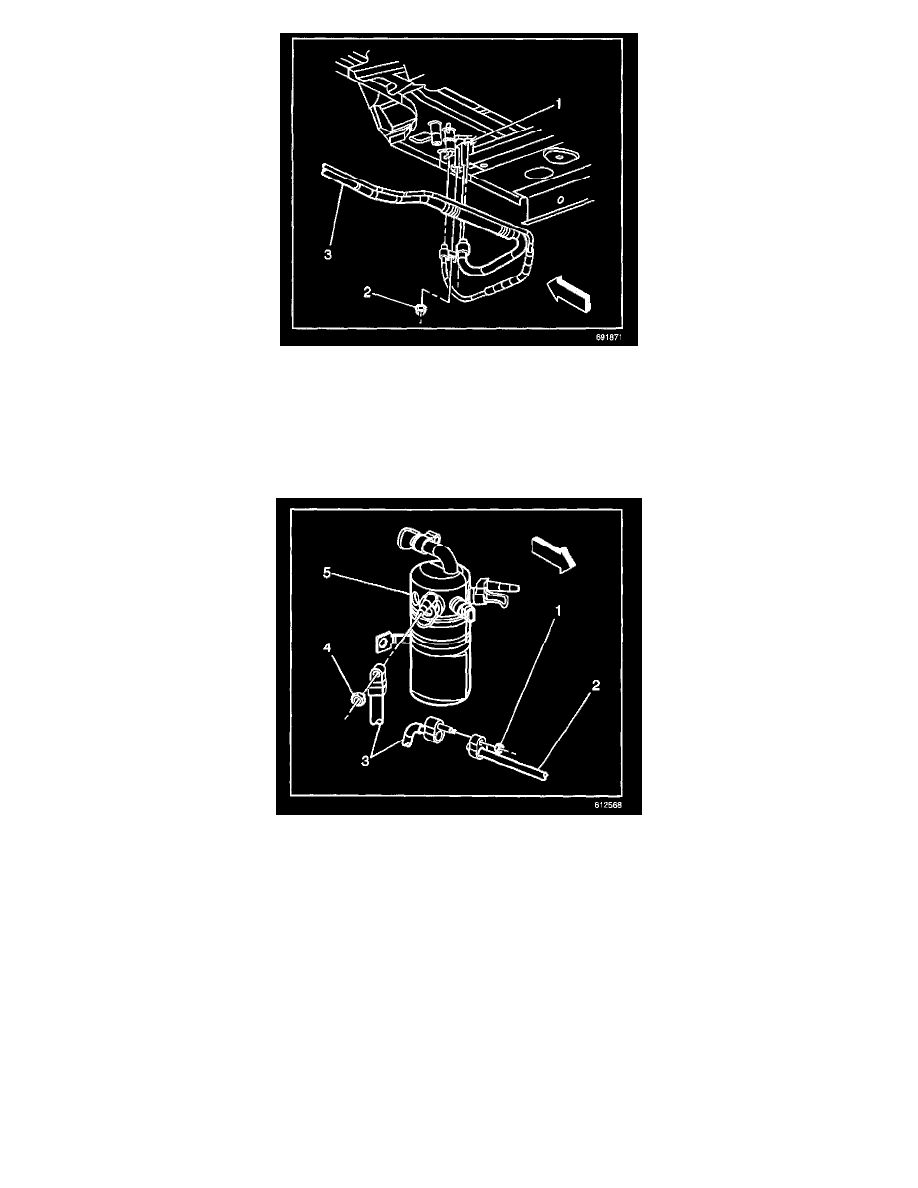
4. Install the auxiliary A/C evaporator tubes (2, 3) and the retaining nut to the auxiliary HVAC module.
Tighten
Tighten the nut to 16 N.m (12 lb ft).
5. Lower the vehicle. Refer to Lifting and Jacking the Vehicle.
6. Install the right front wheelhouse. Refer to Wheelhouse Panel Replacement in Body Front End.
7. Install the auxiliary A/C evaporator tubes (3) to the condenser tube (2) and the accumulator (5).
Tighten
Tighten the nuts to 16 N.m (12 lb ft).
8. Recharge the refrigerant to the system. Refer to Refrigerant Recovery and Recharging.
9. Leak test the fittings of the component using the J 39400-A.
Heater and A/C Pipe Repair - Auxiliary
Do not service the rear heater lines as a complete unit. Service the rear heater lines as a sectional repair.
You can obtain the different sections of line through GMSPO.
TOOLS REQUIRED
J 41425 A/C Line Repair Kit
Use the J 41425 when any of the following actions damage the A/C or heater lines:
-
Rub-through