C 2500 Truck 2WD V8-8.1L VIN G (2002)

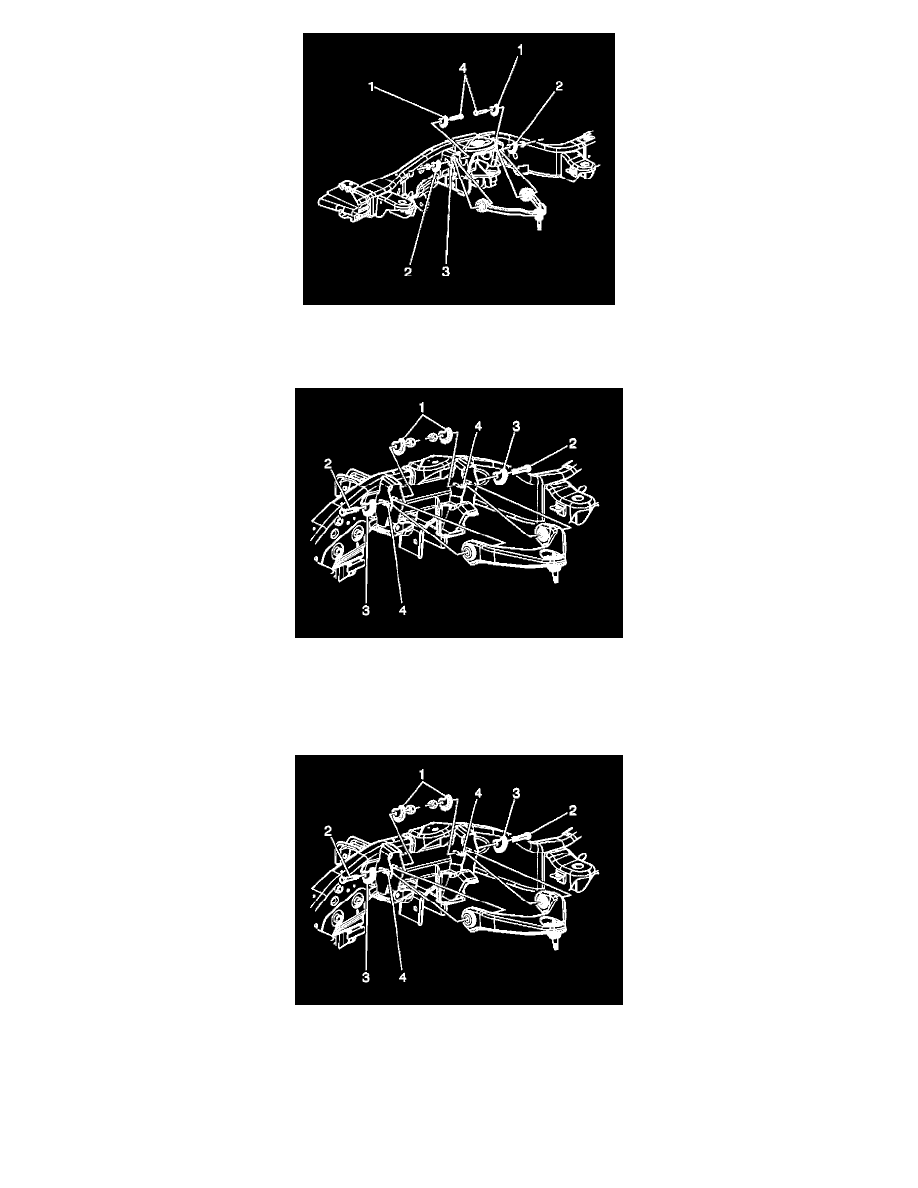
7. Remove the upper control arm nuts and the adjustment cams (2). Use the 15-series 2WD, the 15-series 4WD, and the 25/35-series 2WD where
applicable.
8. Remove the upper control arm bolts (4) Use the 15-series 2WD, the 15-series 4WD, and the 25/35-series 2WD where applicable.
9. Remove the upper control arm nuts and the adjustment cams (2), the 25/35 series for the 4WD.
10. Remove the upper control arm bolts (4), the 25/35 series for the 4WD.
11. Remove the upper control arm.
Installation Procedure
1. Install the upper control arm.
2. Install the upper control arm bolts (4), the 25/35 series for the 4WD.
Notice: Refer to Fastener Notice in Service Precautions.
3. Install the upper control arm nuts and the adjustment cams (2), the 25/35 series for the 4WD.
^
Tighten the nuts to 190 Nm (140 ft. lbs.).
