
C 2500 Yukon XL 2WD V8-8.1L VIN G (2002)
3. Install the lower ball joint stud nut.
Tighten the lower ball joint stud nut to 100 Nm (74 ft. lbs.).
4. Install the lower control arm bolts for the 15 Series.
5. Install the lower control arm nuts and the washers for the 15 Series.
Tighten the lower control arm nuts to 150 Nm (110 ft. lbs.).
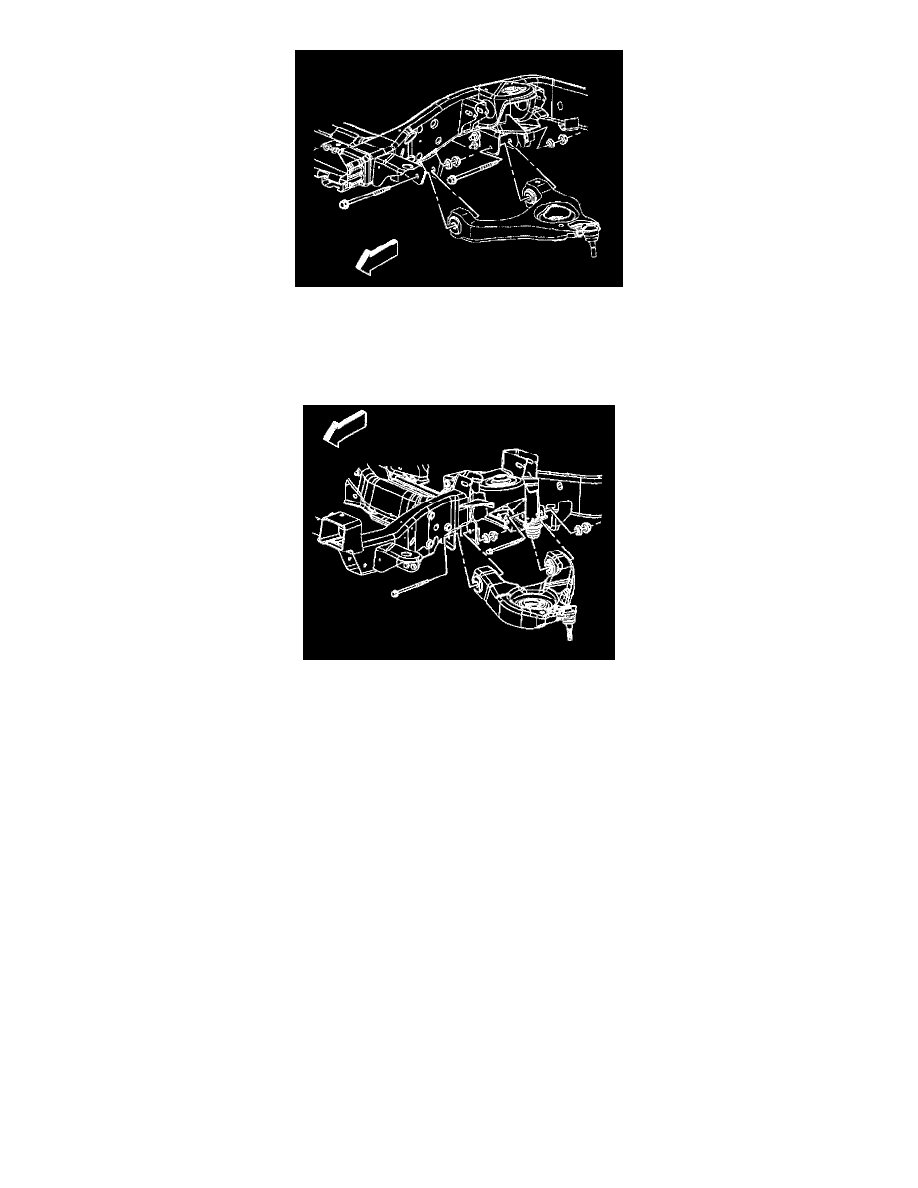
6. Install the lower control arm bolts for the 25/35 Series.
7. Install the lower control arm nuts and the washers for the 25/35 Series.
Tighten the lower control arm nuts to 150 Nm (110 ft. lbs.).
8. Install the torsion bar.
9. Install the front stabilizer shaft link.
10. Install the shock absorber.
11. Install the tire and wheel.
12. Remove the safety stands.
13. Lower the vehicle.
14. Verify the wheel alignment.