
C 3500 HD Truck 2WD V8-6.5L DSL Turbo VIN F (2001)
Brake Master Cylinder: Service and Repair
Master Cylinder Reservoir Replacement
Master Cylinder Reservoir Replacement
Removal Procedure
Important: Do not overtighten the vise.
1. Remove the master cylinder.
2. Remove the cover.
3. Remove the diaphragm.
4. Drain the brake fluid from the reservoir.
5. Clamp the flange of the master cylinder body in a vise. Do not clamp the master cylinder body.
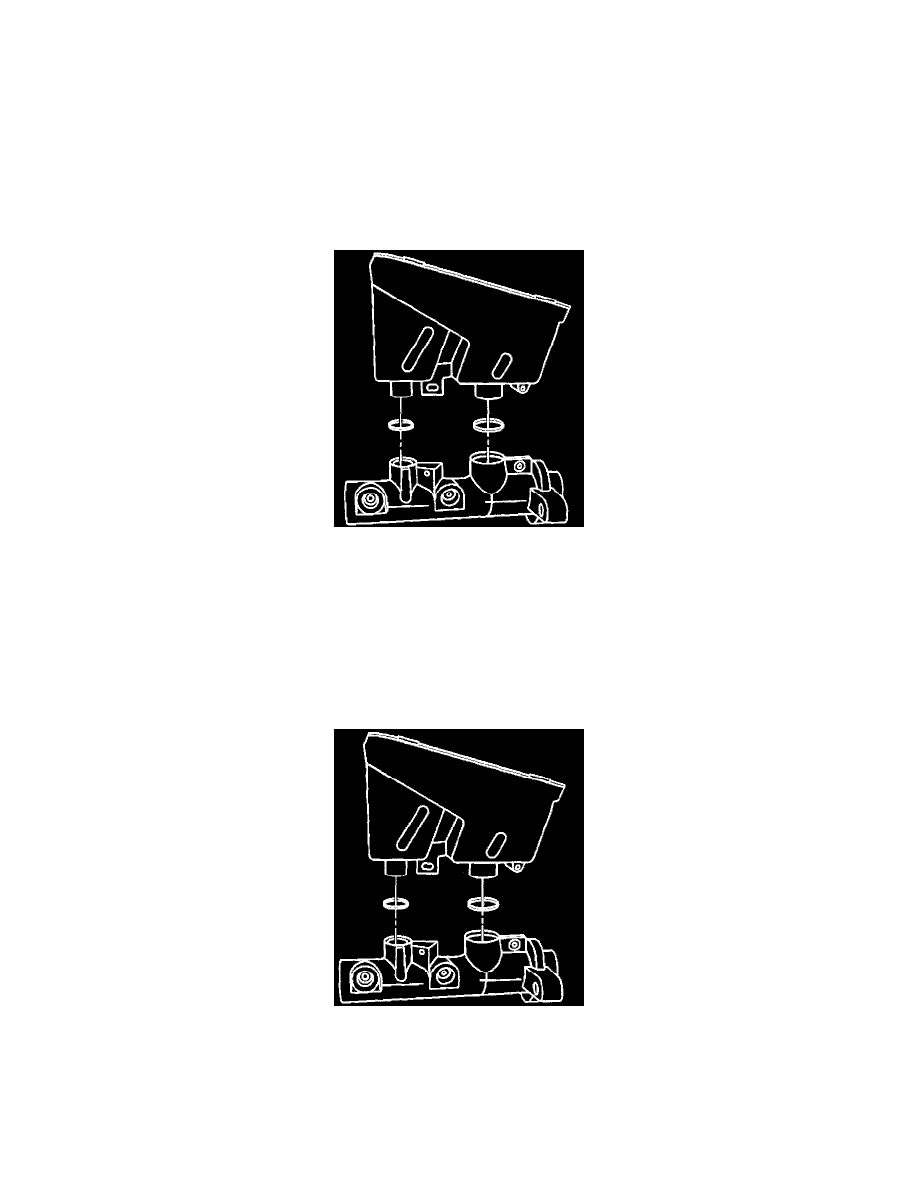
6. Remove the reservoir body by pulling the body straight up and away from the cylinder body.
7. Remove the O-rings from the grooves in the reservoir.
8. Inspect the reservoir for cracks or deformation. Replace the reservoir if necessary.
9. Clean the reservoir with clean denatured alcohol.
10. Dry the reservoir with non-lubricated compressed air.
Installation Procedure
1. Lubricate the new O-rings and the reservoir-to-housing fittings with clean brake fluid.
2. Insert the O-rings into the grooves in the reservoir. Make sure that the O-rings are properly seated.
3. Install the reservoir to the master cylinder body. Use your hand in order to press the reservoir straight down into the body.
4. Install the diaphragm
5. Install the cover.
6. Install the master cylinder.