
C 3500 Truck 2WD V8-454 7.4L VIN J SFI (1999)
Condenser HVAC: Service and Repair
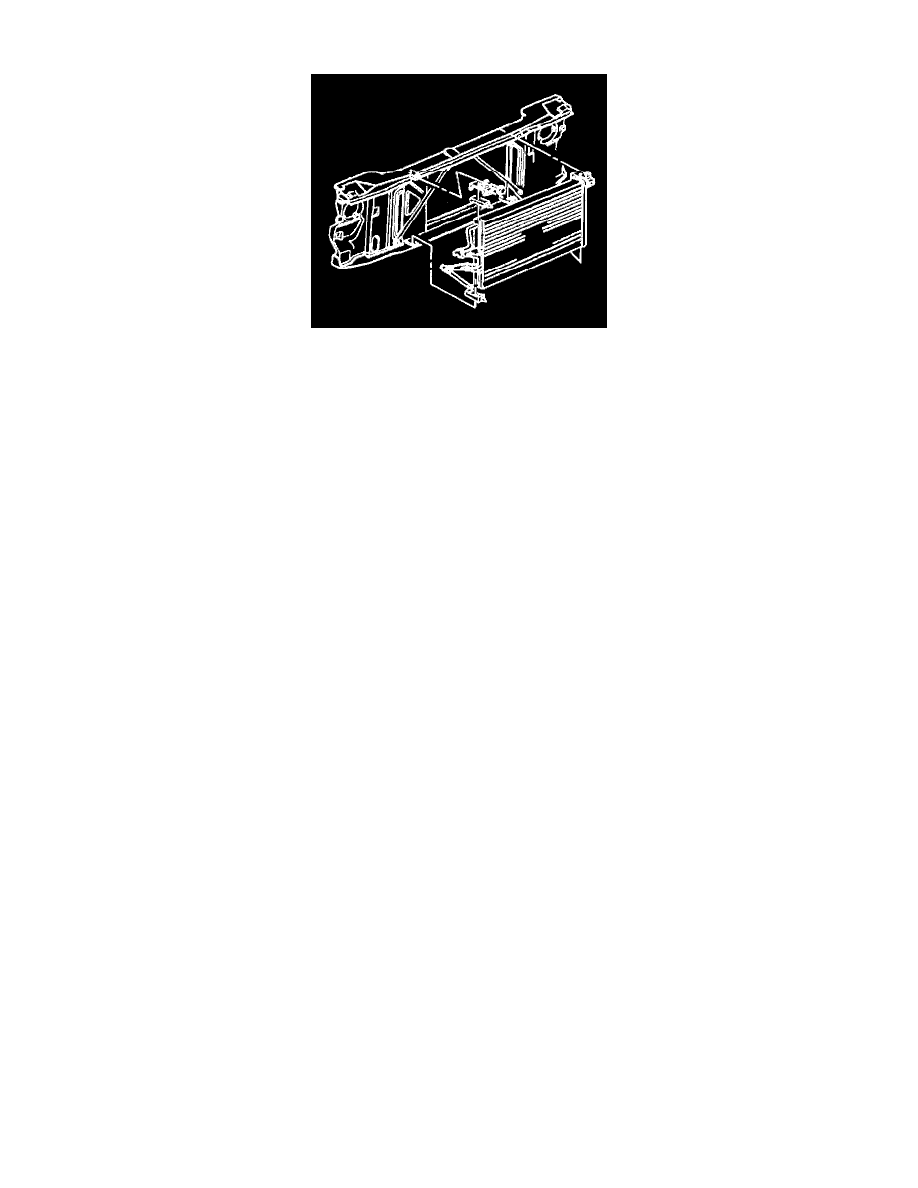
REMOVAL PROCEDURE
1. Recover the refrigerant. Refer to Refrigerant Recovery and Recharging See: Refrigerant/Service and Repair
2. Remove the grille.
3. Remove the hood primary latch support.
4. Remove the auxiliary cooling fan, if equipped.
5. Disconnect the refrigerant hose from the condenser.
6. Disconnect the evaporator tube from the condenser.
7. Cap or plug all the open connections.
8. Remove the bolts.
9. Remove the brackets.
10. Remove the upper insulators.
11. Bend outboard the left grille support in order to gain clearance for the condenser removal. Remove the condenser.
12. Remove the lower insulators.
INSTALLATION PROCEDURE
1. Install the lower insulators.
2. Install the condenser.
If the condenser is being replaced, add oil. Refer to Refrigerant Recovery and Recharging See: Refrigerant/Service and Repair
3. Install the upper insulators.
4. Install the brackets.
NOTE: Refer to Fastener Notice in Cautions and Notices.
5. Install the bolts.
Tighten
Tighten the bolts to 4.5 N.m (40 lb in).
6. Connect the evaporator tube to the condenser.
7. Connect the refrigerant hose to the condenser.
8. Install the auxiliary cooling fan, if equipped.
9. Install the hood primary latch support.
10. Install the grille.
11. Charge the system. Refer to Refrigerant Recovery and Recharging See: Refrigerant/Service and Repair
12. Inspect the system for leaks. Refer to Leak Testing. See: Testing and Inspection