
C 3500 Truck 2WD V8-454 7.4L VIN J SFI (1999)
Control Arm: Service and Repair
Front Lower
REMOVAL PROCEDURE
-
Tools Required
-
J 23742 Ball Joint Separator
1. Raise the vehicle.
2. Support the vehicle with safety stands.
3. Remove the tire and wheel assembly.
4. Remove the hub and the rotor.
5. Remove the cotter pin and the nut.
6. Separate the ball joint using the J 23742.
7. Disconnect the control arm from the knuckle.
8. Remove the coil spring.
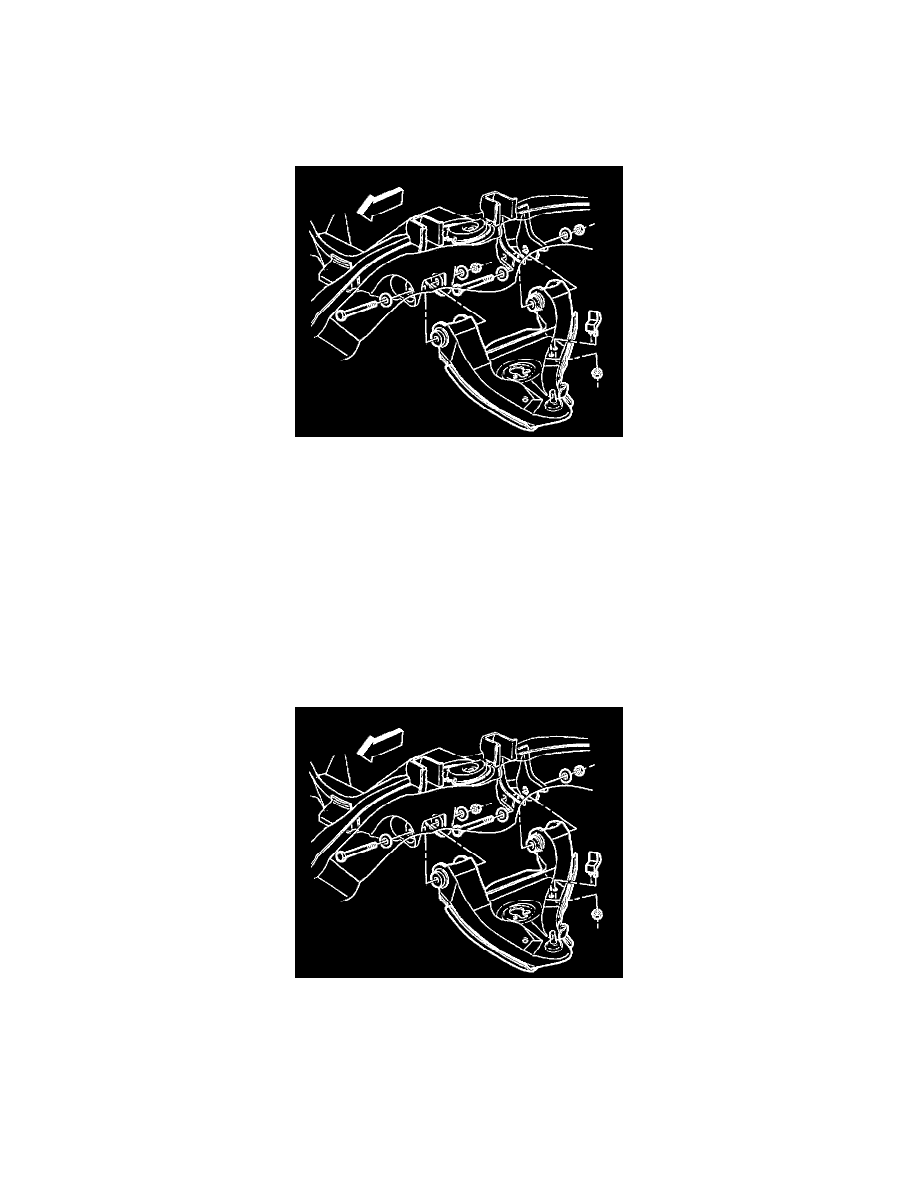
9. Remove the nuts from the pivot bolts.
10. Remove the pivot bolts from the lower control arm.
11. Remove the lower control arm.
12. Remove the bushings.
INSTALLATION PROCEDURE
1. Install the control arm bushings.
2. Install the control arm to the frame.
3. Install the pivot bolts and the nuts.
Important: The pivot bolts must be installed in the proper direction.
4. Install the coil spring.
5. Install the control arm to the steering knuckle.