
C 3500 Truck 2WD V8-6.0L VIN U (2001)
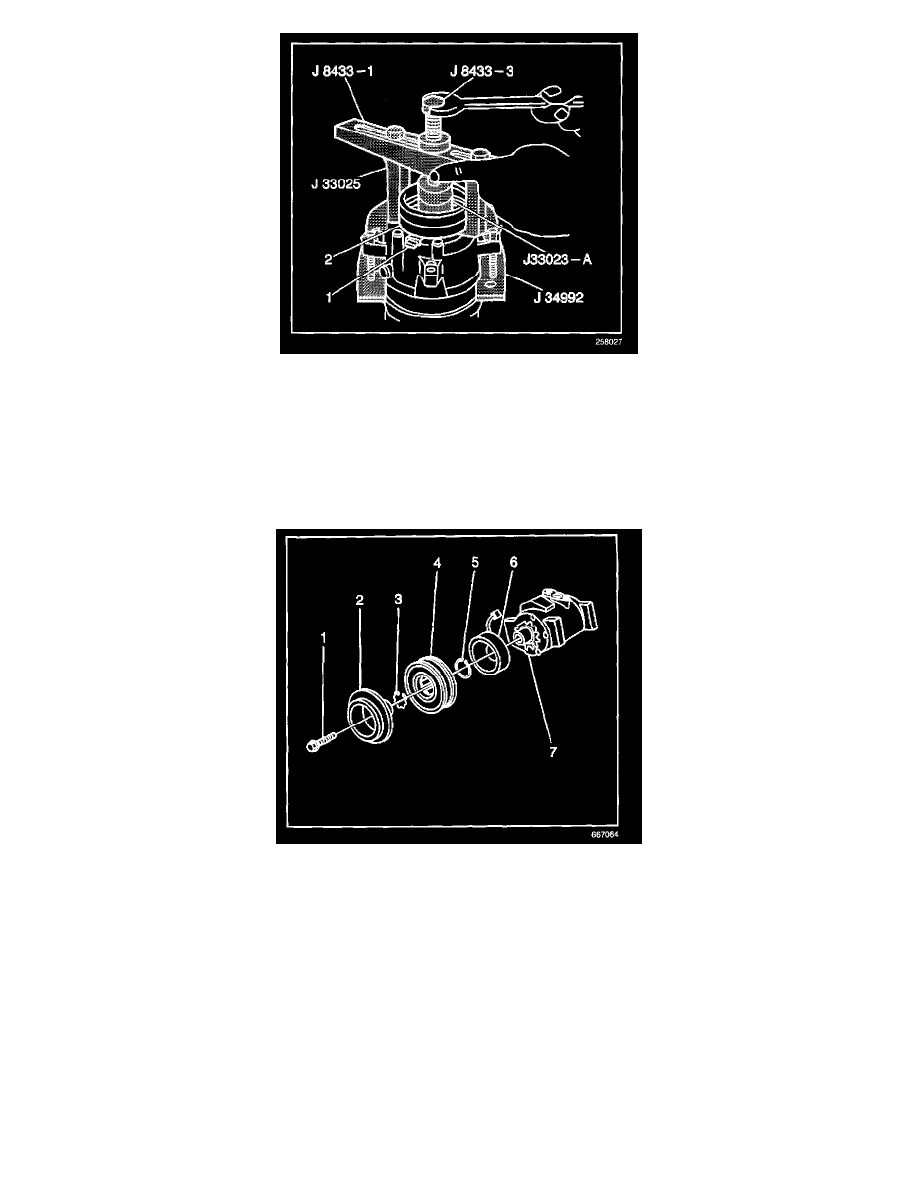
7. Mark the clutch coil terminal location (1) on the compressor front head. Refer to Clutch Rotor and/or Bearing Removal (HT6/HD6/HU6).
8. Install the J 33023-A on the front head of the compressor.
9. Install the J8433-1 and the J33025.
10. Tighten the J 8433-3 against the puller pilot in order to remove the clutch coil (2).
"For a description of the RPO Code(s) shown in this article or any of the images therein, refer to the RPO Code List found at Vehicle/Application ID".
See: Application and ID/RPO Codes
Compressor Clutch Coil Install (Denso)
1. Install the coil assembly to the compressor.
2. Install the coil snap ring.
NOTE: Refer to Fastener Notice in Service Precautions.
3. Install the coil connector retaining bracket screw.
Tighten
Tighten the screw to 9 N.m (80 lb in).
4. Install the clutch hub/bearing assembly.
5. Install the clutch hub/bearing snap ring.
6. Install the clutch plate assembly.
7. Install the clutch plate retaining bolt (1).
Tighten
Tighten the bolt to 18 N.m (13 lb ft).