
C 3500 Truck 2WD V8-6.0L VIN U (2001)
Fuel Pressure Regulator: Service and Repair
REMOVAL PROCEDURE
1. Remove the engine sight shield.
2. Relieve the fuel system pressure. Refer to Fuel Pressure Relief Procedure.
3. Disconnect the fuel pressure regulator vacuum line.
4. Clean any dirt from the fuel pressure regulator retainer and the surrounding area.
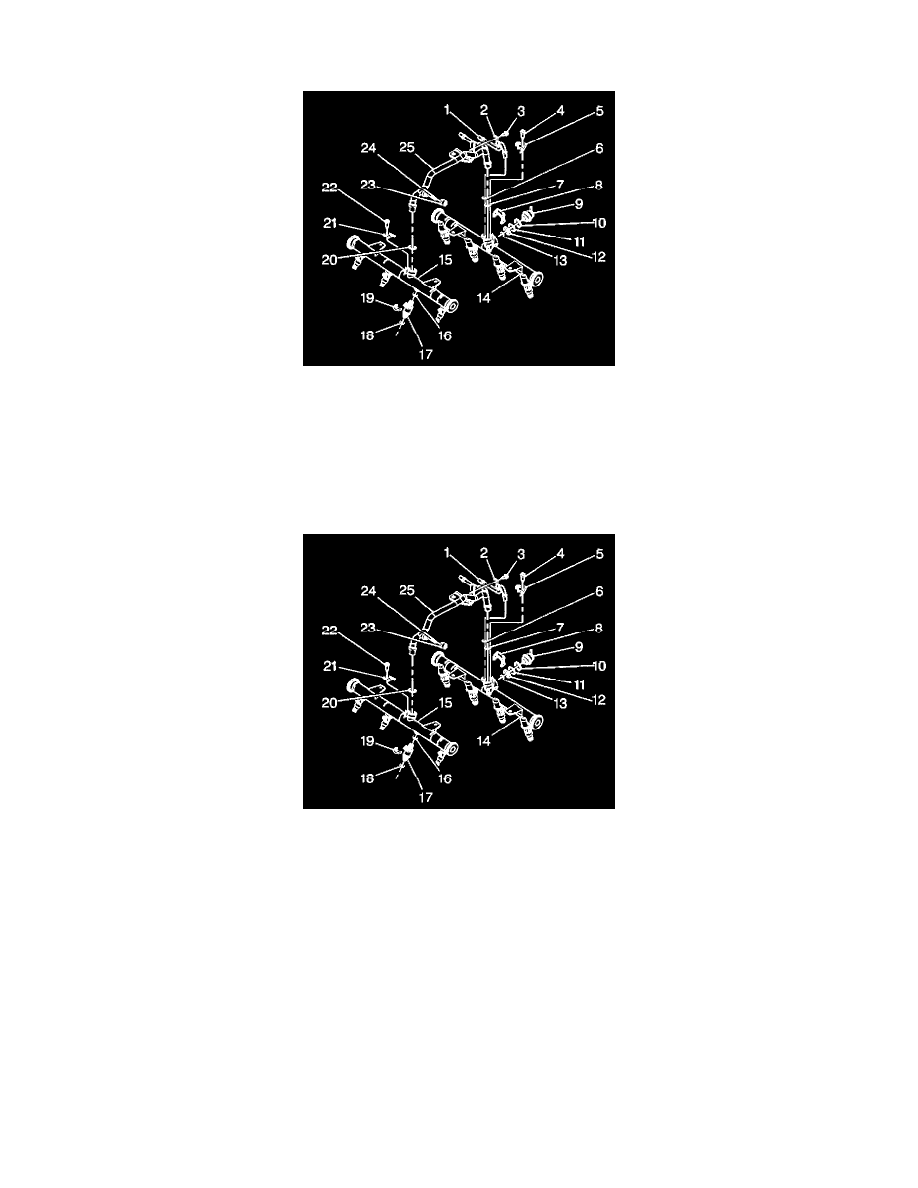
5. Remove the fuel pressure regulator retainer (8).
6. Remove the fuel pressure regulator (9) from the fuel pressure regulator housing.
INSTALLATION PROCEDURE
1. Install the backup ring (10) on the fuel pressure regulator (9).
2. Install the new large O-ring (11) on the fuel pressure regulator.
3. Install the regulator filter (12) on the fuel pressure regulator.
4. Install the new small O-ring (13) on the fuel pressure regulator.
5. Lubricate the fuel pressure regulator large O-ring and the small O-ring with clean engine oil.
6. Push the fuel pressure regulator into the regulator housing on the fuel rail.
7. Install a new fuel pressure regulator retainer (8).
8. Connect the fuel pressure regulator vacuum line.
9. Connect the negative battery cable.
10. Tighten the fuel filler cap.
11. Inspect for leaks.
11.1. Turn ON the ignition for 2 seconds.
11.2. Turn OFF the ignition for 10 seconds.
11.3. Turn ON the ignition.
11.4. Inspect for fuel leaks.
12. Install the engine sight shield.