
C 3500 Truck 2WD V8-6.6L DSL Turbo VIN 1 (2002)
Notice: Refer to Fastener Notice (See: Service Precautions/Vehicle Damage Warnings/Fastener Notice) in Cautions and Notices.
2. Install the screws that retain the trim panel armrest.
Tighten the trim panel armrest screws to 2 Nm (18 lb in).
3. Install the door handle bezel. Refer to Door Inside Handle Bezel Replacement (See: Front Door/Front Door Panel/Service and Repair/Door
Inside Handle Bezel Replacement).
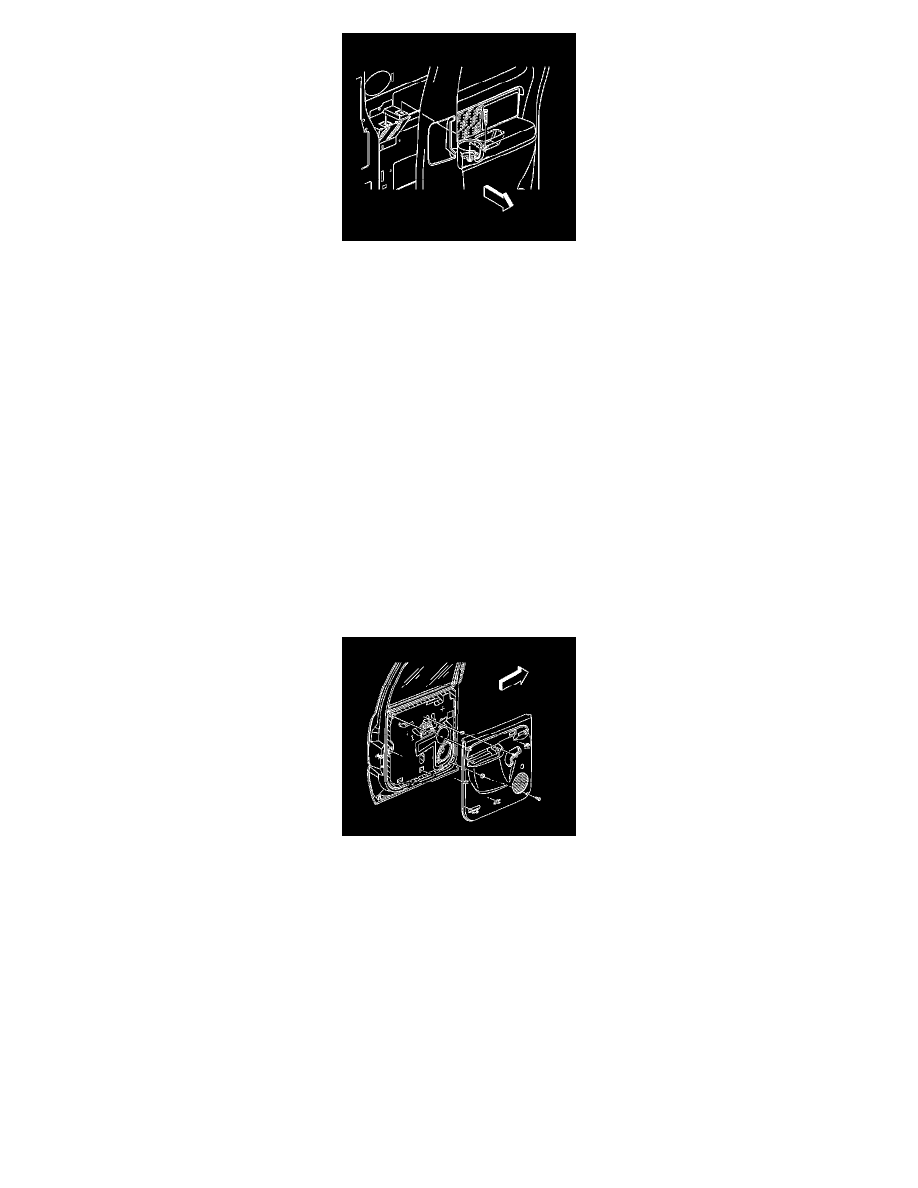
Rear Side Door Trim Panel Replacement (Crew Cab)
Rear Side Door Trim Panel Replacement (Crew Cab)
Removal Procedure
1. Remove the door handle bezel. Refer to Door Inside Handle Bezel Replacement (See: Front Door/Front Door Panel/Service and Repair/Door
Inside Handle Bezel Replacement).
2. Remove the window-regulator handle, if equipped. Refer to Door Window Regulator Handle Replacement (See: Windows and
Glass/Windows/Window Handle/Service and Repair).
3. Using a flat-bladed tool, remove the reflector lamp from the trim panel, and disconnect the electrical connector, if required.
4. Remove the manual lock lever from the trim panel using a flat-bladed tool.
5. Remove the two trim panel screws.
6. Remove the trim panel from the door by carefully sliding the panel upward then outward.
7. Disconnect the electrical connectors.
Installation Procedure