C 3500 Truck 2WD V8-6.6L DSL Turbo VIN 1 (2002)

Utility Storage Compartment: Service and Repair
Tool Stowage Compartment Bracket Replacement (PRO)
Tool Stowage Compartment Bracket Replacement (PRO)
Removal Procedure
1. Remove the tool storage compartment. Refer to Tool Stowage Compartment Replacement (PRO) (See: Tool Stowage Compartment Replacement
(PRO)).
2. Remove the rear seat hinge filler panel cover and plastic push pins, in order to gain access to seat riser retaining nuts.
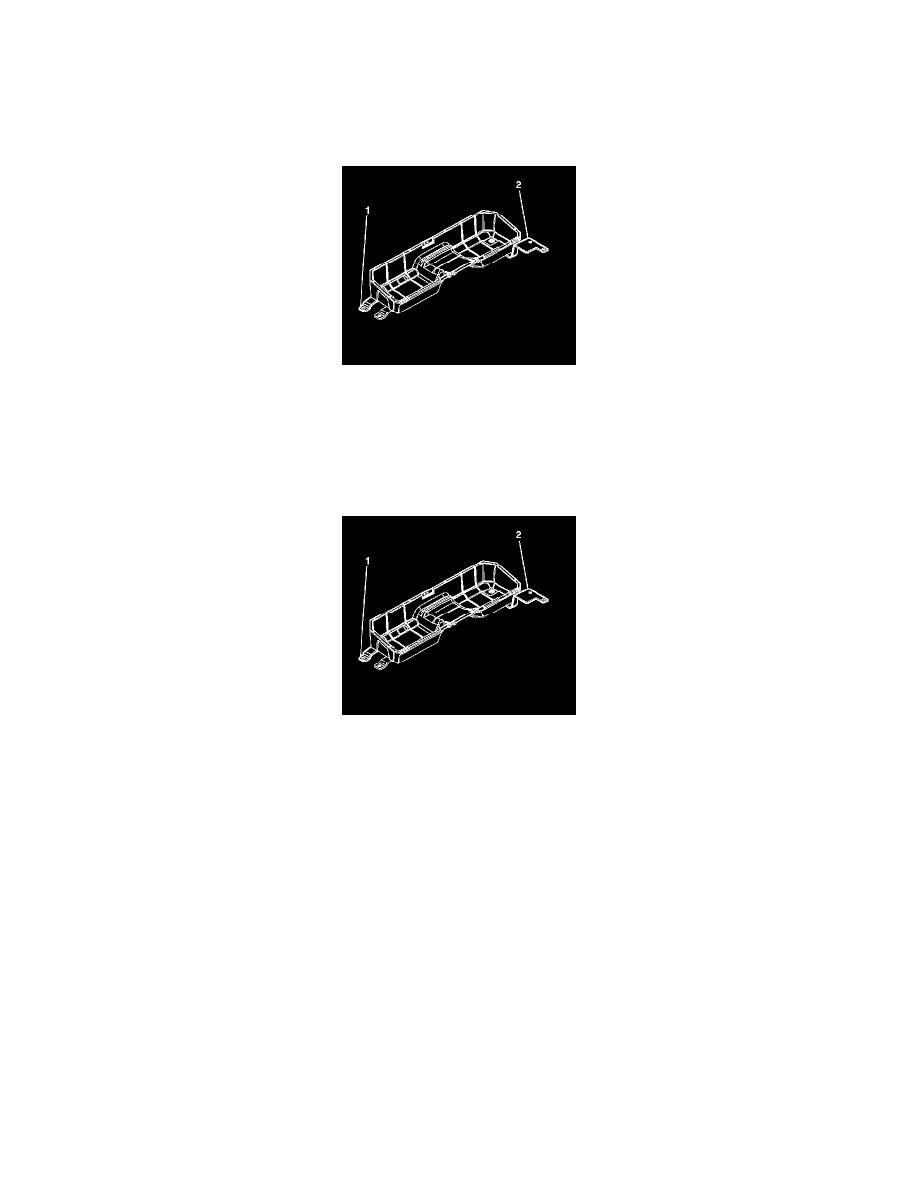
3. Remove the nuts that retain the tool storage compartment brackets (1, 2) to the seat riser studs.
4. Remove the brackets from the vehicle.
Installation Procedure
1. Install the brackets to the vehicle and hand tighten the nuts.
2. Install the tool storage compartment. Refer to Tool Stowage Compartment Replacement (PRO) (See: Tool Stowage Compartment Replacement
(PRO)).
Notice: Refer to Fastener Notice (See: Service Precautions/Vehicle Damage Warnings/Fastener Notice).
3. Tighten the nuts that retain the tool storage compartment brackets (1, 2) to the seat riser studs.
Tighten the nuts to 50 Nm (36 lb ft).
4. Install the rear seat hinge filler panel cover and plastic push pins.
