
C 3500 Truck 2WD V8-6.6L DSL Turbo VIN 1 (2002)
-
Tag each part as it is removed.
-
Use J 33163 Valve Tray Set to organize parts and to simplify correct valve body reassembly.
^
Protect control valve assembly parts from damage observing the following precautions
-
Handle all valves carefully.
-
Protect control valve assembly parts during removal, cleaning, inspection, and reassembly.
-
Keep parts in a clean container until the parts are installed.
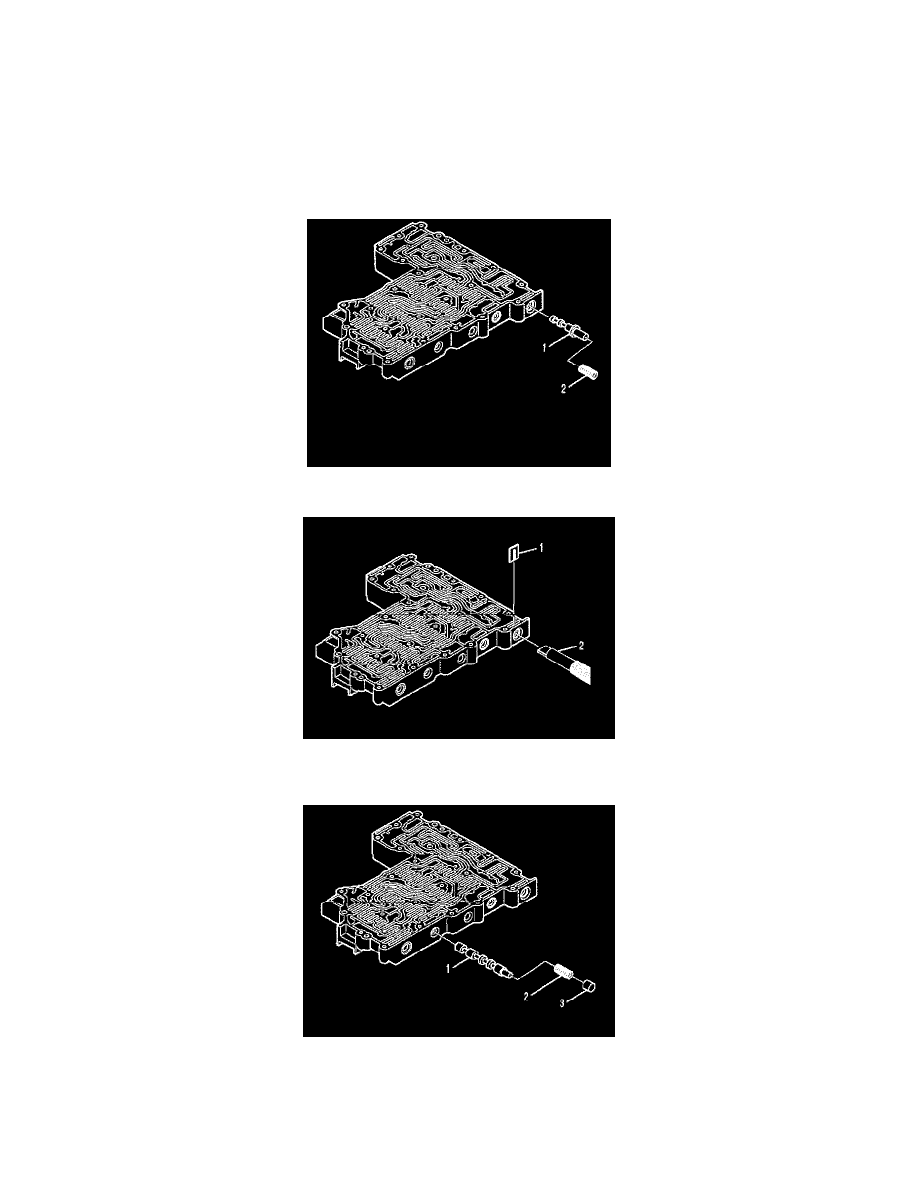
1. Install solenoid screen (1).
2. Ensure solenoid screen (1) is installed to a depth of 0.50 - 1.00 mm (0.20 - 0.039 inch) (Dimension A) below the shift valve body surface, as
shown.
3. Install control main valve (1) and spring (2).
4. Compress the spring with tool J 33163 (2).
5. Install retaining clip (1). Ensure retaining clip (1) is below the valve body surface.
6. Install D shift valve (1), spring (2), and plug (3).