
C 3500 Truck 2WD V8-6.6L DSL Turbo VIN 1 (2002)
Notice: Refer to Fastener Notice in Service Precautions.
6. Hold the control lever and tighten the shift lever assembly nut against the control lever.
^
Tighten the shift lever assembly nut to 37 Nm (27 ft. lbs.).
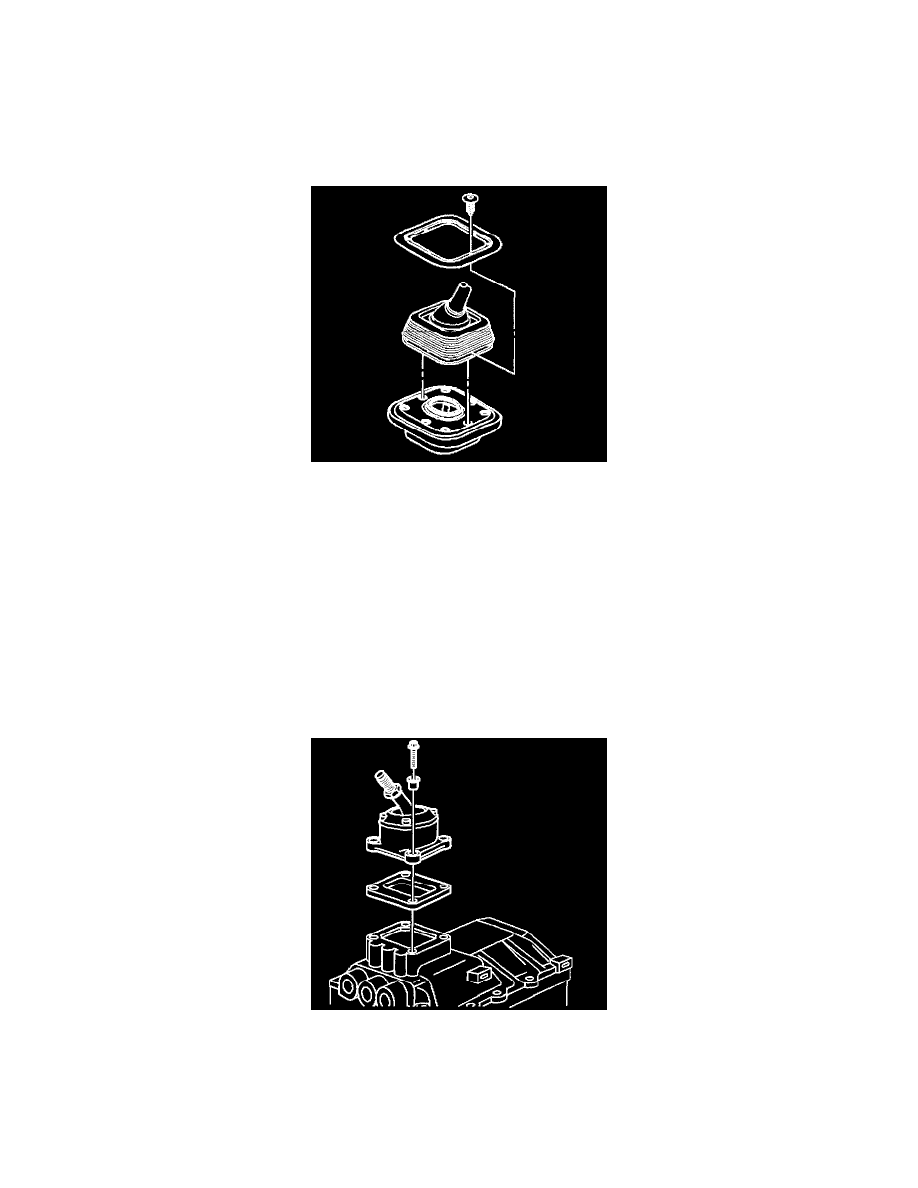
7. Seat the control lever boot to the floor.
8. Install the control lever boot screws, if removed.
^
Tighten the control boot screws to 1.6 Nm (14 inch lbs.).
9. Install the control lever boot retainer, if removed.
10. Install the control lever boot retainer, if removed.
Shift Lever Assembly Replacement
Shift Lever Assembly Replacement
Removal Procedure
Important:
^
Ensure that the control lever is positioned into the mechanical third or fourth gear prior to removal of the shift lever from the transmission. The
transmission must remain in this state when the shift lever is removed.
^
Do not disassemble the transmission shift lever. Internal parts for this shift lever are not available. Opening the shift housing lever voids the
warranty.
^
When removing the shift lever from the transmission, use the exposed bolts on the base of the lever.
1. Remove the control lever and boot.
2. Remove the boot.
3. Remove the shift lever bolts.
4. Remove the shift lever and seal.
5. Remove the shift lever insulator.
Installation Procedure