
C Yukon 2WD V8-5.7L VIN R (1999)
Oil Pan: Service and Repair
Oil Pan Replacement
REMOVAL PROCEDURE
1. Remove the oil level indicator tube. Refer to Oil Level Indicator and Tube Replacement.
2. Raise the vehicle.
3. Remove the engine oil and the engine oil filter. Refer to Engine Oil and Oil Filter Replacement.
4. Remove the oil filter adapter. Refer to Oil Filter Adapter and Valve Assembly Replacement.
5. Remove the starter. Refer to Starter Motor Replacement.
6. Remove the flywheel inspection cover.
7. Remove the engine mount through bolts. Refer to Engine Mount Replacement (2WD).
8. Raise and support the engine.
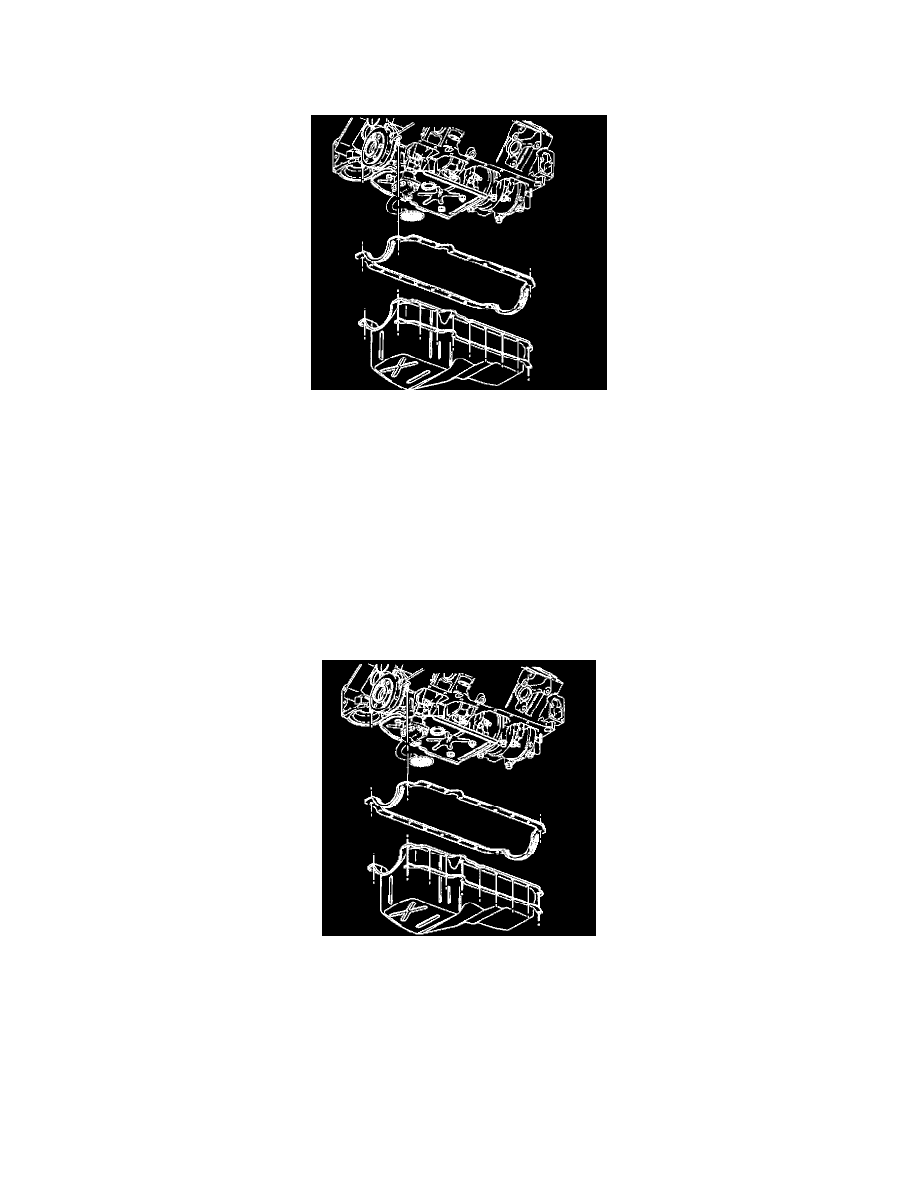
9. Remove the oil pan.
10. Note the location of any studs to assist reassembly.
11. Clean all the sealing surfaces. Refer to Oil Pan Clean and Inspect.
12. Remove the engine oil pan and the gasket.
INSTALLATION PROCEDURE
1. Install the engine oil pan and a NEW oil pan gasket. Refer to Oil Pan Installation.
2. Lower the engine onto the engine mounts.
3. Install the engine mount through-bolts. Refer to Engine Mount Replacement (2WD).
4. Install the starter. Refer to Starter Motor Replacement.
5. Install the flywheel inspection cover.
6. Install the oil filter adapter. Refer to Oil Filter Adapter and Valve Assembly Replacement.
7. Install the engine oil filter and the engine oil. Refer to Engine Oil and Oil Filter Replacement
8. Lower the vehicle.
9. Install the oil level indicator tube. Refer to Oil Level Indicator and Tube Replacement.