
C Yukon 2WD V8-5.7L VIN R (1999)
Hose/Line HVAC: Service and Repair
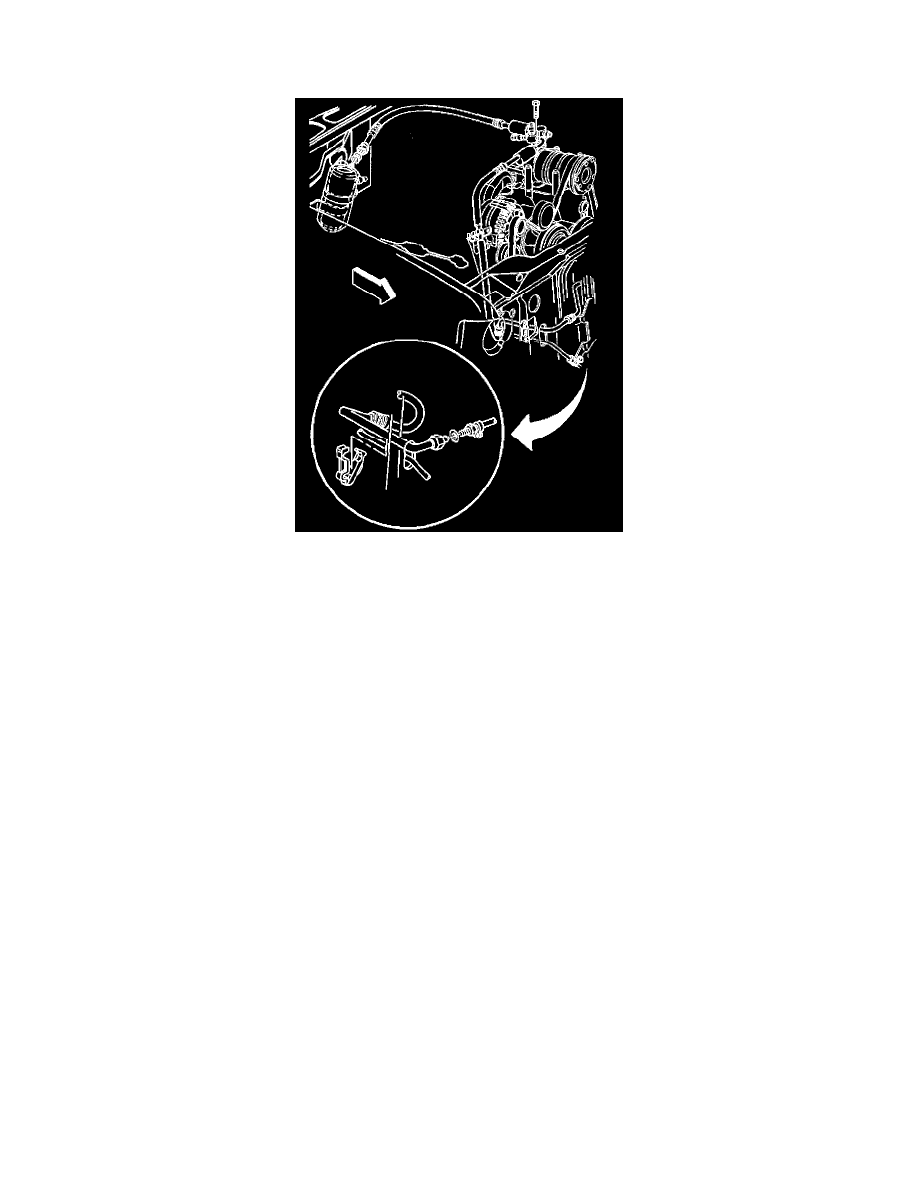
Compressor Hose Assembly Replacement
REMOVAL PROCEDURE
TOOLS REQUIRED
J 38042 Dual O-Ring Separator
CAUTION: Refer to Battery Disconnect Caution in Cautions and Notices.
1. Disconnect the negative battery cable.
2. Recover the refrigerant. Refer to Refrigerant Recovery and Recharging See: Refrigerant/Service and Repair
3. Remove the grille.
4. Remove the bolt.
5. Disconnect the hose assembly from the top of the compressor.
6. Remove the sealing washers.
7. Disconnect the hose assembly from the accumulator using the J 38042.
8. Remove the O-Ring seals from the accumulator hose.
9. Disconnect the hose assembly from the condenser.
10. Remove the O-ring seal from the condenser hose.
11. Cap or plug all of the open connections.
INSTALLATION PROCEDURE
1. Coat the new O-ring seal with 525 viscosity refrigerant oil.
2. Install the new O-ring seal to the condenser hose.
NOTE: Refer to Fastener Notice in Cautions and Notices.
3. Connect the hose assembly to the condenser.
Tighten
Tighten the hose assembly to 45 N.m (33 lb ft).
4. Coat the new dual O-ring seals with 525 viscosity refrigerant oil.
5. Install the new dual O-ring seals to the accumulator hose.
6. Connect the hose assembly to the accumulator.