
C Yukon 2WD V8-5.7L VIN R (1999)
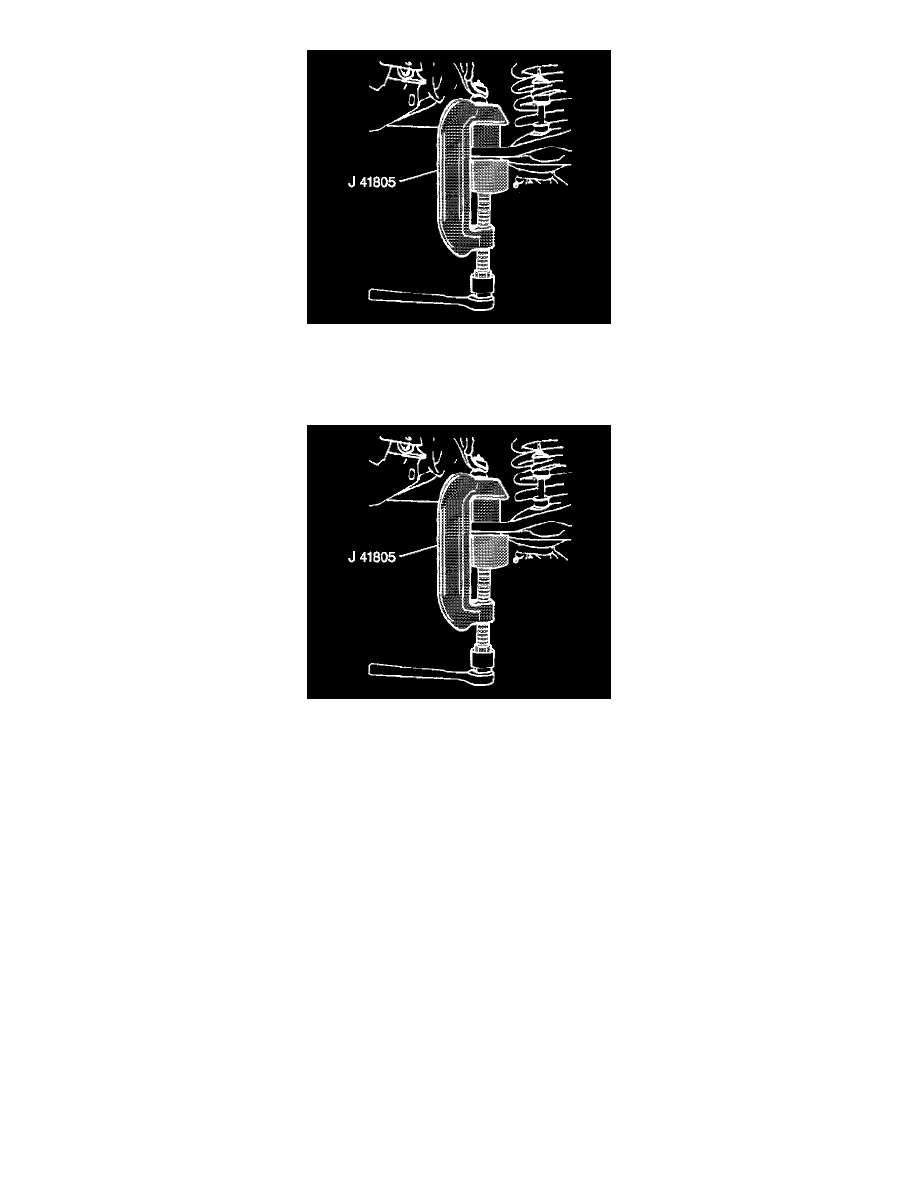
8. Remove the lower ball joint from the lower control arm using the tools as shown.
9. Inspect the tapered hole in the steering knuckle. Remove any dirt. If the tapered hole is out of round, deformed or damaged, replace the knuckle.
INSTALLATION PROCEDURE
1. Install a new ball joint into the lower control arm.
1.1. Press in the ball joint using the tools as shown.
1.2. The ball joint will bottom on the control arm.
2. Install the ball joint stud into the steering knuckle.
3. Install the stud nut onto the stud.
-
Tighten the nut to 128 Nm (94 ft. lbs.). Tighten in order to align the slot in the stud nut with the hole in the stud.
Notice: Refer to Fastener Notice in Service Precautions.
4. Install a new cotter pin to the stud.
5. Install the brake caliper.
6. Install the tire and wheel assembly
7. Lower the vehicle.
8. Check the front wheel alignment.