
C Yukon 2WD V8-5.7L VIN R (1999)
Shifter A/T: Service and Repair
Steering Wheel and Column - Standard
Shift Lever Replacement - On Vehicle
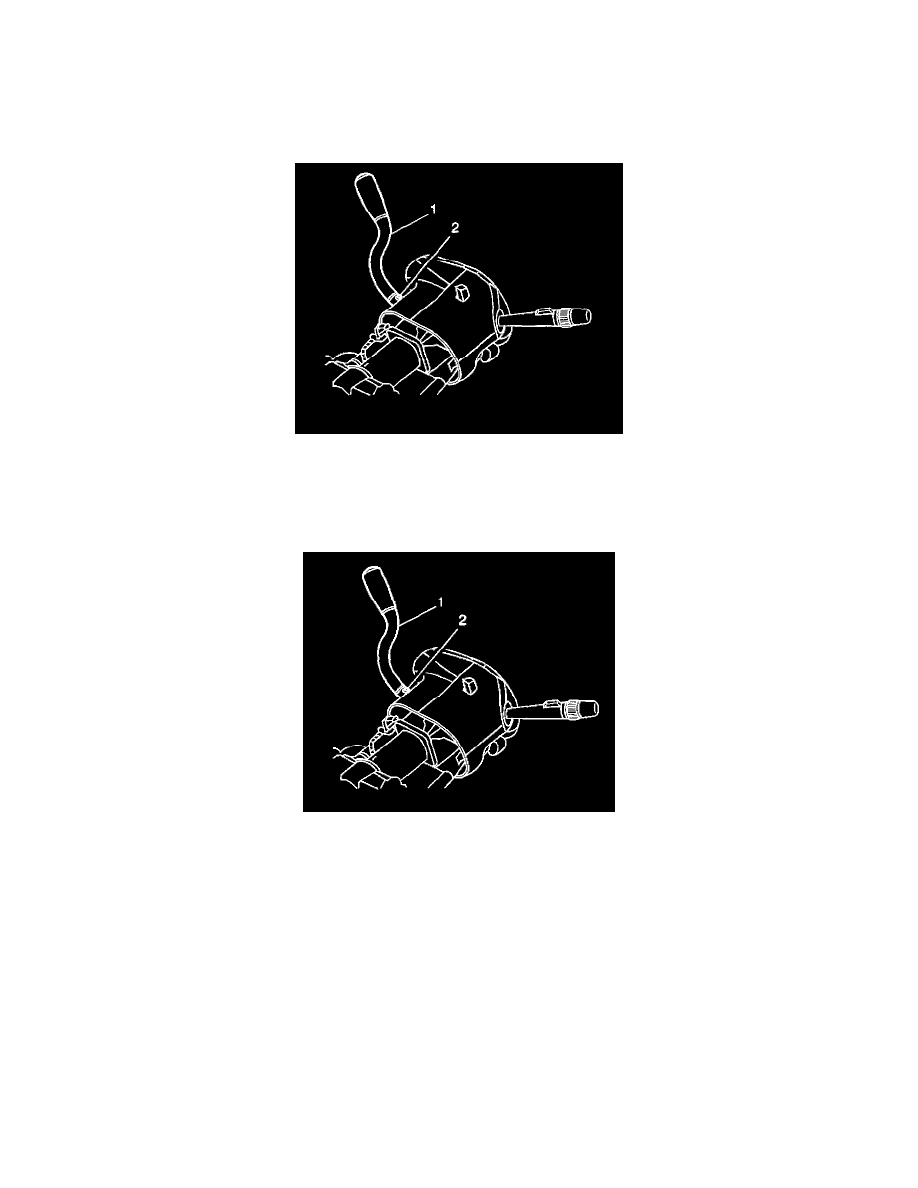
REMOVAL PROCEDURE
1. Roll back the seal until the TORX head screw is exposed.
2. Remove the TORX head screw (2).
3. Remove the shift lever (1).
INSTALLATION PROCEDURE
1. Install the shift lever (1).
2. Install the TORX head screw (2).
^
Tighten the screw to 22 Nm (16 ft. lbs.).
Notice: Refer to Fastener Notice in Service Precautions.
3. Roll the seal over the TORX head screw.
Shift Lever Seal Replacement - On Vehicle
REMOVAL PROCEDURE
1. Remove the TORX head screws from the lower column cover.
2. Do not remove the cover.
Allow pivoting of the lower column cover on the upper column cover.
3. Roll the seal back until the TORX head screw is exposed.
4. Remove the TORX head screw from the shift lever.
5. Remove the shift lever.
6. Remove the shift lever seal.
INSTALLATION PROCEDURE